Configuring Export
Export is a specific kind of integration, which loads data from cloud applications and relational databases to CSV files.
Creating an Export Integration
To create an export integration, click + Create New in the top menu and select Export in the Integration column. When the integration details page opens, perform the following steps:
- Specify a source connection you export data from and a target connection you load data to;
- Create export tasks;
- Optionally schedule the integration for automatic execution.
Source and Target Connection
Source Connection
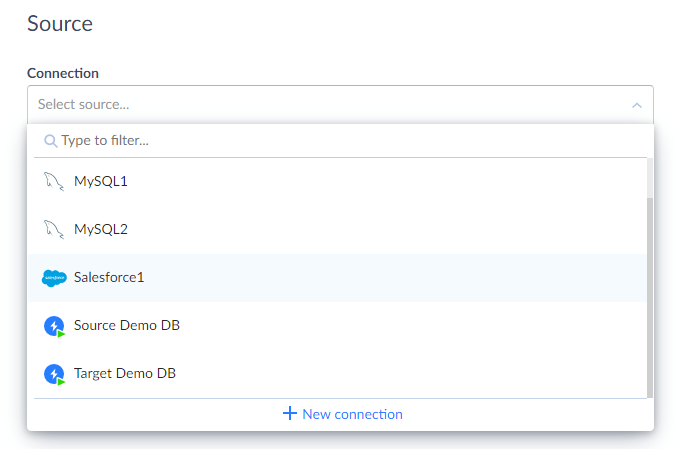
Under Source, in the Connection list, select a source connection you want to use from the drop-down list or create a new one if you have not created it yet. You can use the Type to filter box to quickly find the necessary source connection. In order for you to create a new connection, click +New connection in the drop-down list (learn how).
Target Connection
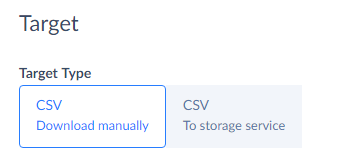
There are two scenarios of data export to target:
-
By default, data are exported to CSV file(s) downloaded manually.
-
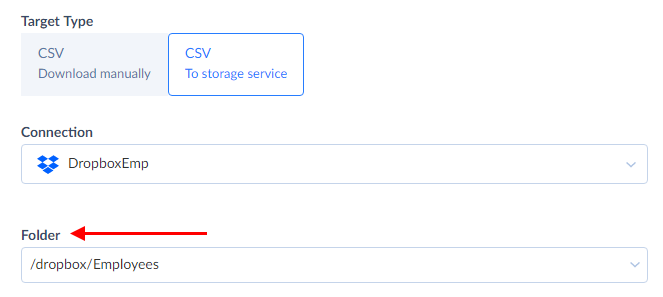
If you want to save CSV file(s) to a file storage service or FTP, click CSV to storage service in the target type. After this, click Select target and select a target connection or create a new one if you have not created it yet. In order to create a new connection, click +New connection in the drop-down list.
After this, select the Folder where to place the result file(s).
Additional Options
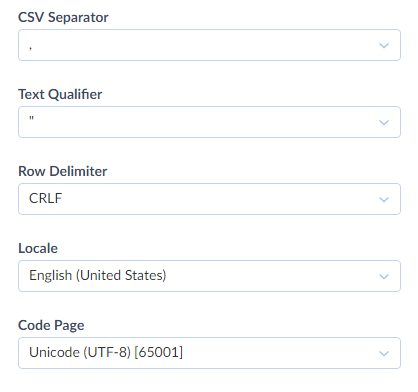
If necessary, specify the Code Page of the exported file with data.
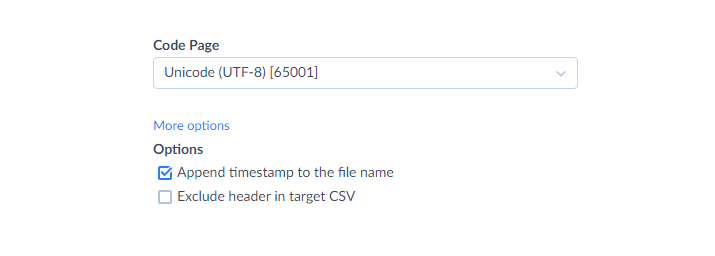
Additionally, you may click the More options link and specify CSV options shown below to detect columns correctly.
The Append timestamp to the file name checkbox determines whether to add the timestamp to the end of the result CSV file name. It is applied only for export tasks using simple mode, and only if you don’t customize file name in an export task.
This check box is selected by default. This means that the result file name will consist of the name of exported object and a timestamp of integration run, for example, Account_20211201_1447.csv. If you clear this check box, the result file name will be the same as the name of the exported object, unless you customize the name in the task.
The Exclude header in target CSV checkbox determines whether to exclude the header row (with column names) from the result CSV file.
The Create empty files checkbox determines whether to create target files if there are no records to export (the exported object has no records, or no records match filter conditions, or etc.).
Creating Export Tasks
To create an export task, click the Add new link and configure a new export task as described in the How to Create Export Task topic.
How to Download Exported Files
After you create an integration, the following three tabs are displayed in the middle of the toolbar of the details page: Model, Monitor and Log.
The Model tab shows source and target connections, tasks/schedule/parameters of the integration, etc.
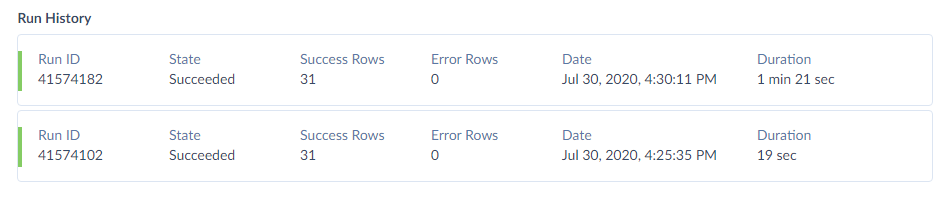
The Monitor tab shows 5 most recent integration runs and whether the integration is currently running.
The Log tab shows runs for the selected period.
When you export data to a CSV file, you can download the result file manually in the following way:
- Сlick the Monitor tab of the integration details page.
-
In the open tab, click the integration run you want to download the results of.
-
After you do it, the History Details window will open with detailed information.
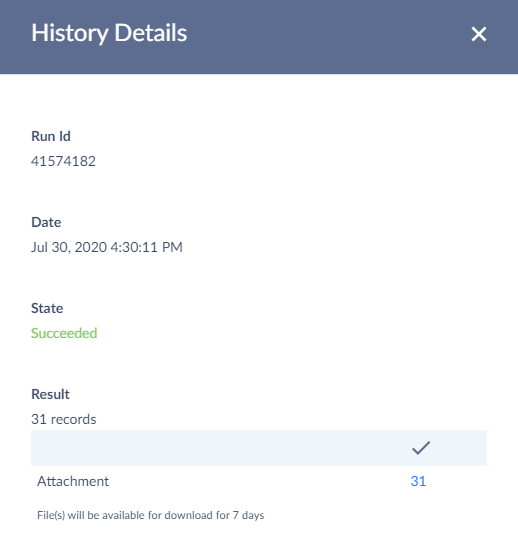
- Under Result, click the number of records to download the result CSV file.
Files are available for download for 7 days since the integration run.
Note if you have more than 5 integration runs, you cannot see all of them on the Monitor tab. Instead you should go to the Log tab, which shows all integration runs for any selected period.
To download the result file, perform the following steps:
- Click the Log tab of the integration details page.
- Select Last 7 Days.
- Click the integration run you want to download the results of.
- After you do it, the History Details window will open with detailed information.
- Under Result, click the number of records to download the result CSV file.