How to Create Export Task
To create an export task, select a valid source connection and click Add new. This will open a Task Editor. Skyvia offers two task editor modes for export integrations — Simple and Advanced.

The advanced task editor mode allows querying data, using the Execute Command or Execute Query actions. You can enter the SQL statements manually or use the query builder tool to compose queries in a visual designer.
Simple Task Editor Mode
The simple task editor mode is selected by default in export integrations. Export task setup process consists of three steps: Source Definition, Target Definition, and Output Columns.
Source Definition
-
On the Source Definition page, select the object you want to export from the Object drop-down list.

-
Select which object’s fields to include. Skyvia selects all fields by default, use checkboxes to make adjustments manually. To quickly find the necessary field, use the Type to filter box. Additionaly, Skyvia allows you to export fields of the related objects. For example, if the Account object contains an OwnerId foreign key, you can also export the Account.Owner fields.

- Specify the filter conditions if necessary.
- To specify the order of the rows, click Add and select the object, field, and either Asc (ascending) or Desc (descending) order. To undo the order settings click Remove.
- Click Next Step to proceed to the Target Definition.
Target Definition
-
On the Target Definition page you can set a custom name for your CSV file. If you click Next Step without setting a name template for your file, Skyvia will name it automatically. By default, the result file name will consist of the the object name and a timestamp in a {yyyyMMdd}_{HHmm} format. For example, if you export the Account object, the name will look like this: Account_20240615_1324. You can disable adding the timestamp in the export integration options, by clearing the Append timestamp to the file name checkbox. In this case, the file name will be the same as exported object name.
To configure custom file naming, click the Target File Name box. Here you can enter a very custom name, and use template parts to speed up the process. To use a prebuilt template, place your cursor at any place in the name box and click on a template to include it in the file name. You can use multiple templates in a single file name if needed. You can find all the available naming options in the Cheat Sheet by clicking (i).

Do not forget to set the proper timezone for the timestamps to be generated correctly.
-
To compress a file select a Compression Type. Skyvia supports zip and gzip compressions. By default the type is set to None.
-
Click Next Step to proceed to Output Columns.
Output Columns
-
To change the name of the CSV column enter a new name in the CSV Name box.

By default, column names are taken from the data source metadata. However, if you include the related object fields, those will be prefixed with the relation name. For example if we have a User object, and a related Account object. Exported account fileds will look like: Account.Name.
-
To change the column order in the CSV file, drag columns by using the move handle on the left side of the column. Default column order is determined by the order of columns selected on the Source Definition page.
-
To restore default column names or default columns order, click Actions and select the necessary option.
Advanced Task Editor Mode
Click Add new to open the task editor. Simple mode is selected by default in the task editor. To switch to the advanced mode, click Advanced under Editor Mode and select one of two possible actions. Currently, Skyvia offers the Execute Command and Execute Query actions to users. However, more actions are expected in future.

Entering SQL Statements via Command Text
Please note that Skyvia supports only SQL SELECT statements in export integrations. When you select an Execute Command action, you type and edit your SQL statement directly in the Command Text box. For example, to select and export Mailchimp lists with the number of subscribed and unsubscribed members, you enter the SELECT statement as on the screenshot below.

You can also check public queries via the General Gallery in your Skyvia account. Public queries are predefined templates, which contain most common query samples. You can copy the predefined query if the one you need is available in the Gallery and paste it directly into the Command Text box and edit the way you need (if necessary). To find predefined queries, click the +NEW button in the top menu and switch to Gallery. Read more about it here.
Additionally, you may click the Open in Editor link if you need to open the command in the Query Editor. The Query Editor has the Connection Object List on the left, in which you can browse connection objects and view connection metadata in order to enter table and column names without errors in your commands. To see the fields (columns), the query returns, you can click Preview in the bottom left corner of the query editor.

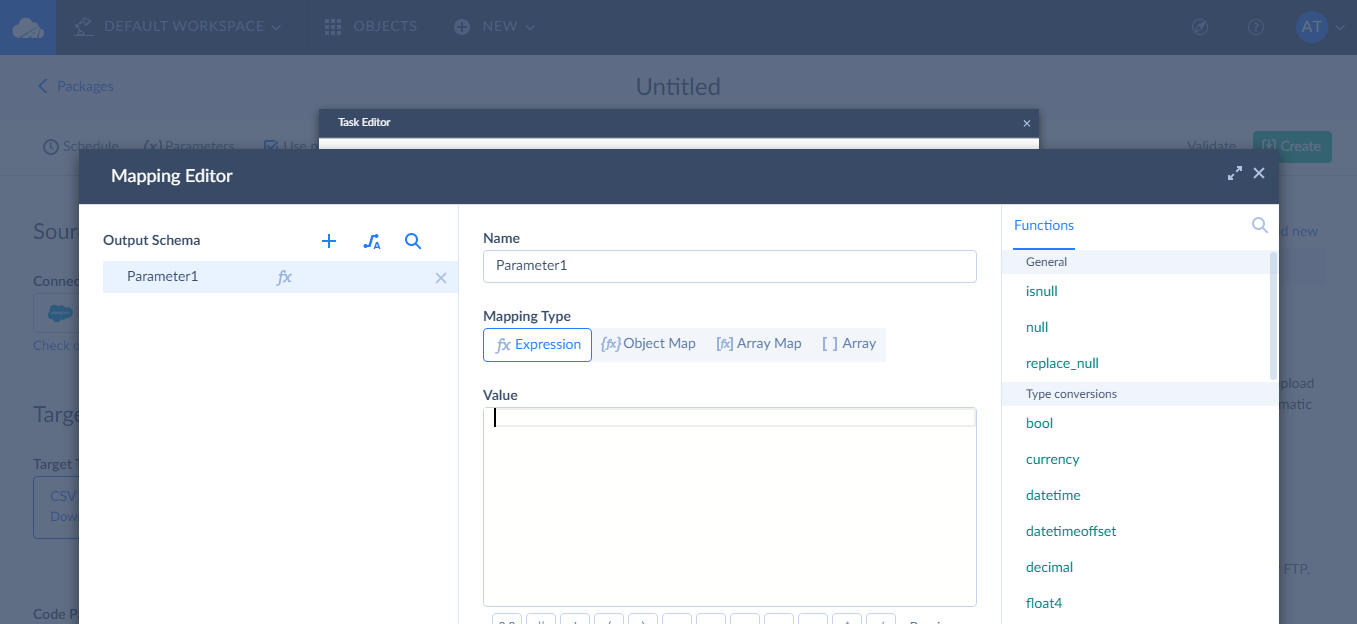
If you need to add additional parameters, click ![]() icon next in the Parameters section to open the Mapping Editor. In the Mapping Editor, you can add/delete parameters, rename them, and map them using Skyvia expressions. You can read more about the Mapping Editor and how to work with it in the Mapping Editor topic.
icon next in the Parameters section to open the Mapping Editor. In the Mapping Editor, you can add/delete parameters, rename them, and map them using Skyvia expressions. You can read more about the Mapping Editor and how to work with it in the Mapping Editor topic.
Before saving the task, you need to specify the target file name in the Target File Name box, otherwise the task will not be saved. Then create a integration and run it.
Creating Queries with Visual Query Builder
You can compose SELECT queries visually with our convenient query builder without typing a code. That is a good option if you are not much familiar with SQL. When you select an Execute Query action, the Query Model box appears. Click Open Query Builder to open and work in the Query Editor.
Query Editor allows viewing connection metadata. The Connection Object list to the left of the query editor displays the information on the metadata of available objects/tables from the source connection. You can drag a necessary table from the Connection Object List to the Result Fields pane to query its data (add it to the SELECT and FROM clauses of the SELECT statement). The Result Fields pane displays fields (columns) the query returns. By clicking a certain table, you can open and view the list of its fields.
To filter data by certain columns (i.e. to add them to the WHERE clause of the query), drag these columns from the Connection Object list to the Filters pane. Filters pane displays query filters and filter groups. Please note that query filters are type-specific, the available filters depend on the data type of the column. For example, if you need to filter Salesforce accounts by the CreatedDate column within a certain period, you simply drag the column to the Filters pane and select value to compare the field with (like equal to or between) in the Filter list on the right.
Value filters simply compare the field value with the specified one using different comparison operators or check whether the field value is NULL. Value filters are supported for all field types.
Skyvia also offers list filters and relative filters. List filters are supported for fields with string data only. Relative filters are supported for the fields with datetime data only.

You can read more about the Query Builder and how to configure queries in the Query section of our documentation.