How to Export Salesforce Attachments for Specific Object
In this tutorial, we will show how to export Salesforce attachments for a specific object. In our example, we will export attachments for Account object.
Creating Connection
If you haven't created the Salesforce connection yet, you need to create one first. To create a connection to Salesforce, perform the following steps:
-
Click +NEW in the top menu.
-
Click Connection in the menu on the left.
-
In the opened Select Connector page, select Salesforce. To quickly find it, you can either use the Type to filter box or filter connectors by categories using the All list (for Salesforce, select the CRM category).
-
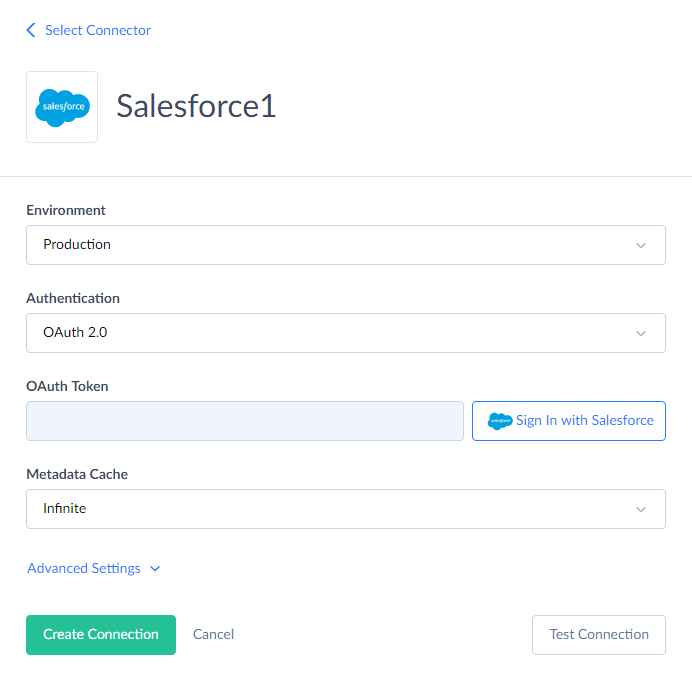
The default name of new connection is Untitled. Just click it to rename the connection, for example, to Salesforce1.
-
From the Environment drop-down list, select the environment type of Salesforce to export data from.
-
From the Authentication drop-down list select the authentication method for connecting to Salesforce. If you don't mind storing your Salesforce credentials on our Skyvia server, select User Name & Password. If you prefer not to store your credentials, select OAuth 2.0.
-
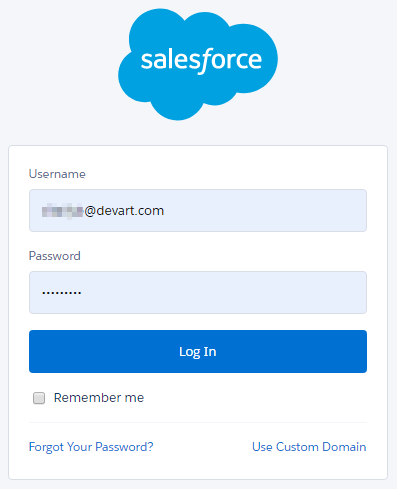
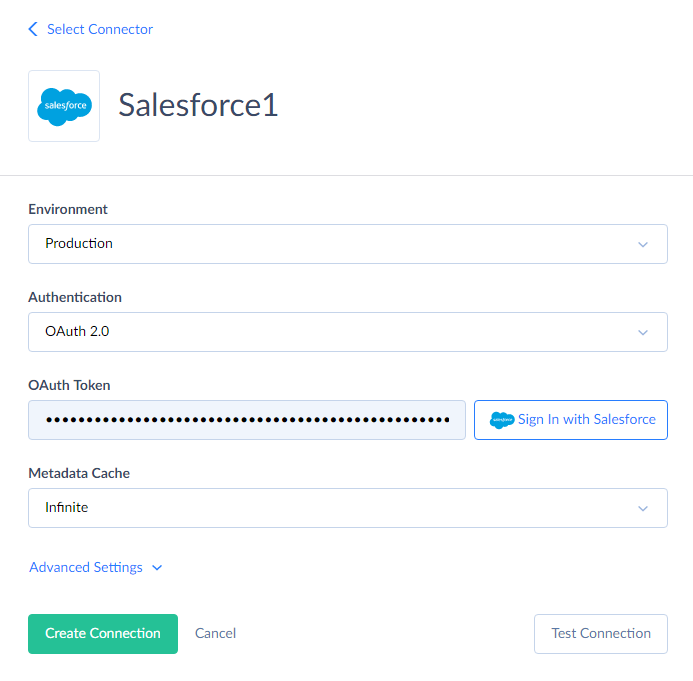
If you have selected User Name & Password, on the previous step, specify your Salesforce account e-mail, password, and security token. Otherwise, if you have selected OAuth 2.0 authentication, click the Sign In with Salesforce button and login via the Salesforce website on the opened page. The result OAuth token will be stored in the connection data. Your Salesforce credentials will not be stored on our website.
-
Click Create Connection.
Creating Integration
Now let's create the corresponding export. To create an integration, perform the following actions:
-
Click +NEW in the top menu.
-
In the Integration column, click Export. The export details page will open.
-
Rename your integration by clicking and editing the integration name. The default integration name is Untitled. Please note, if you omit this step, the integration name will remain Untitled in the list of created integrations.
-
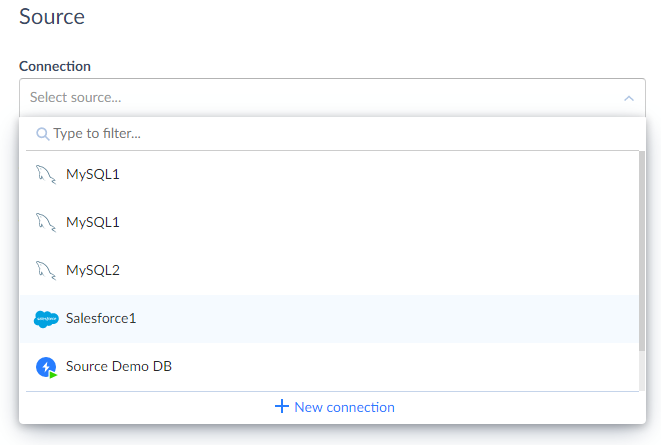
Under Source, in the Connection list, click Select source and select Salesforce connection from the drop-down list.
-
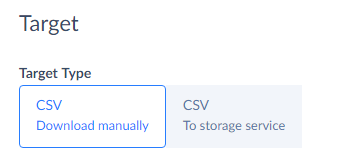
Then select Target Type you want to export data to. By default, data are exported to CSV file(s) downloaded manually to a local computer. We use this option in our tutorial. See the screenshot below.
-
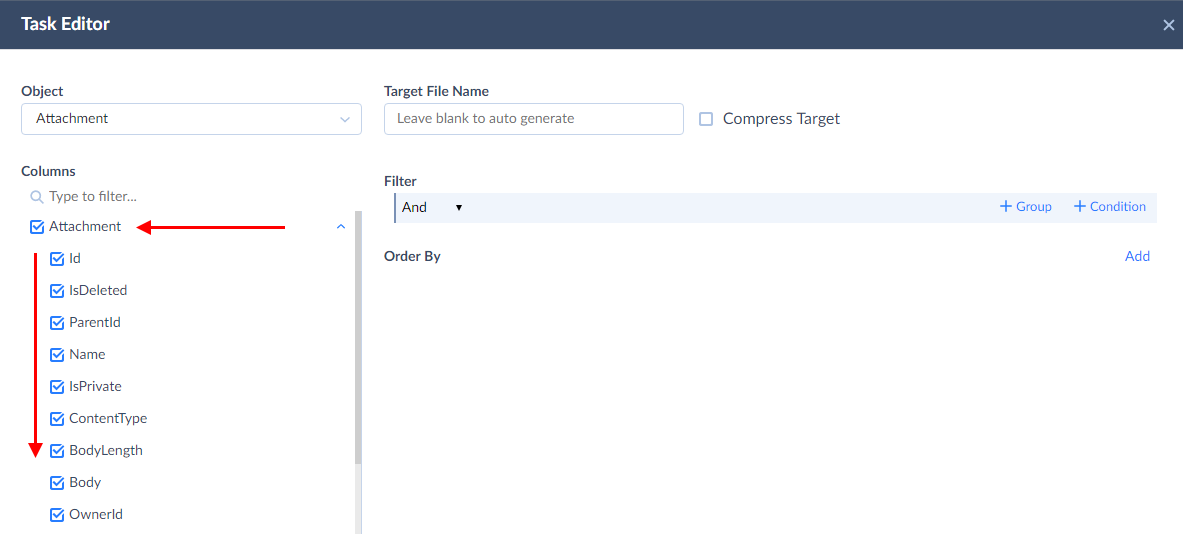
Click the Add new link to open the Task Editor.
-
From the Object drop-down list, select Attachment.
-
All the Attachment fields are selected automatically. Clear the checkboxes next to those fields, you don't want to export.
-
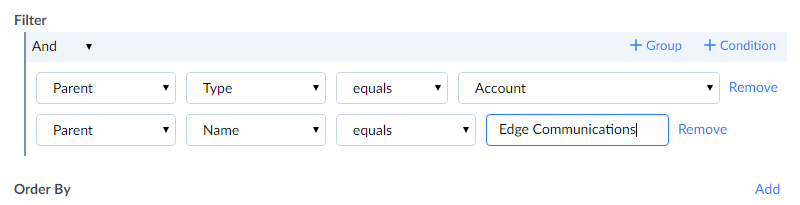
After this, let's filter the export results by the attachment parent objects. In our case, we want to export attachments with Account parents. For this click +Condition under Filter.
-
In the first box of the added condition, select Parent.
-
In the second box, select Type.
-
In the last box of the condition, select Account. After this, our integration will export only attachments with Account parents. You can save the task and the integration and run it for execution if this is enough. However, let's demonstrate a case, when you need to export attachments for a specific account.
-
Click +Condition under Filter once again.
-
In the first box of the added condition, select Parent.
-
In the second box, select Name.
-
Enter the name of the account into the rightmost box of the condition. In our case it's 'Edge Communications'.
-
Click Save to save the task.
-
Click Create to create the integration.
-
Run the integration.
-
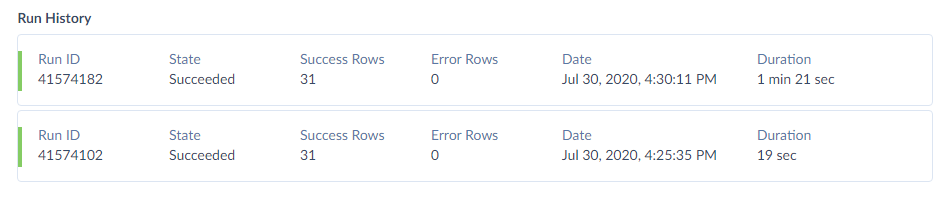
Then, click the Monitor tab of the integration details page to see the export Run History. Click the integration run you want to download results of.
-
After you do it, the History Details window will appear with detailed information. You can export attachments to your computer by clicking the number of records.
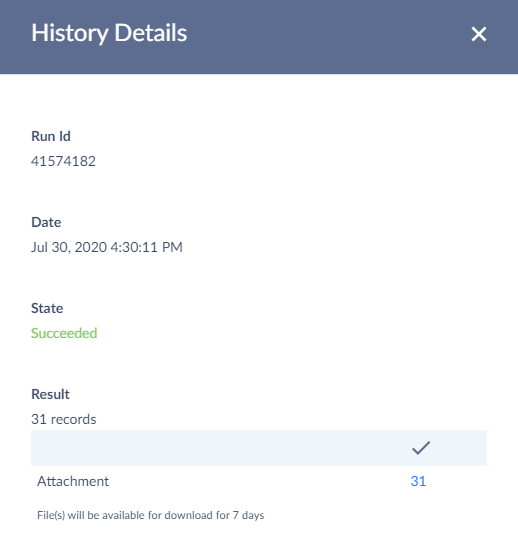
Note that when you export attachments, the result file will be a zip archive containing the CSV file together with an attachment (binary files).
When you export data to a locally downloadable CSV file, the file is available for download for 7 days.