How to Create Import Task
Skyvia integrations can include one or more tasks. Import task imports data from a file, cloud application object, or database table or view to one or more target tables or objects.
To create an import task, click the Add new link on the right of integration details page. Note that the integration should have a valid connection before creating or editing tasks. You should also make sure which mode you want to use in the task editor.
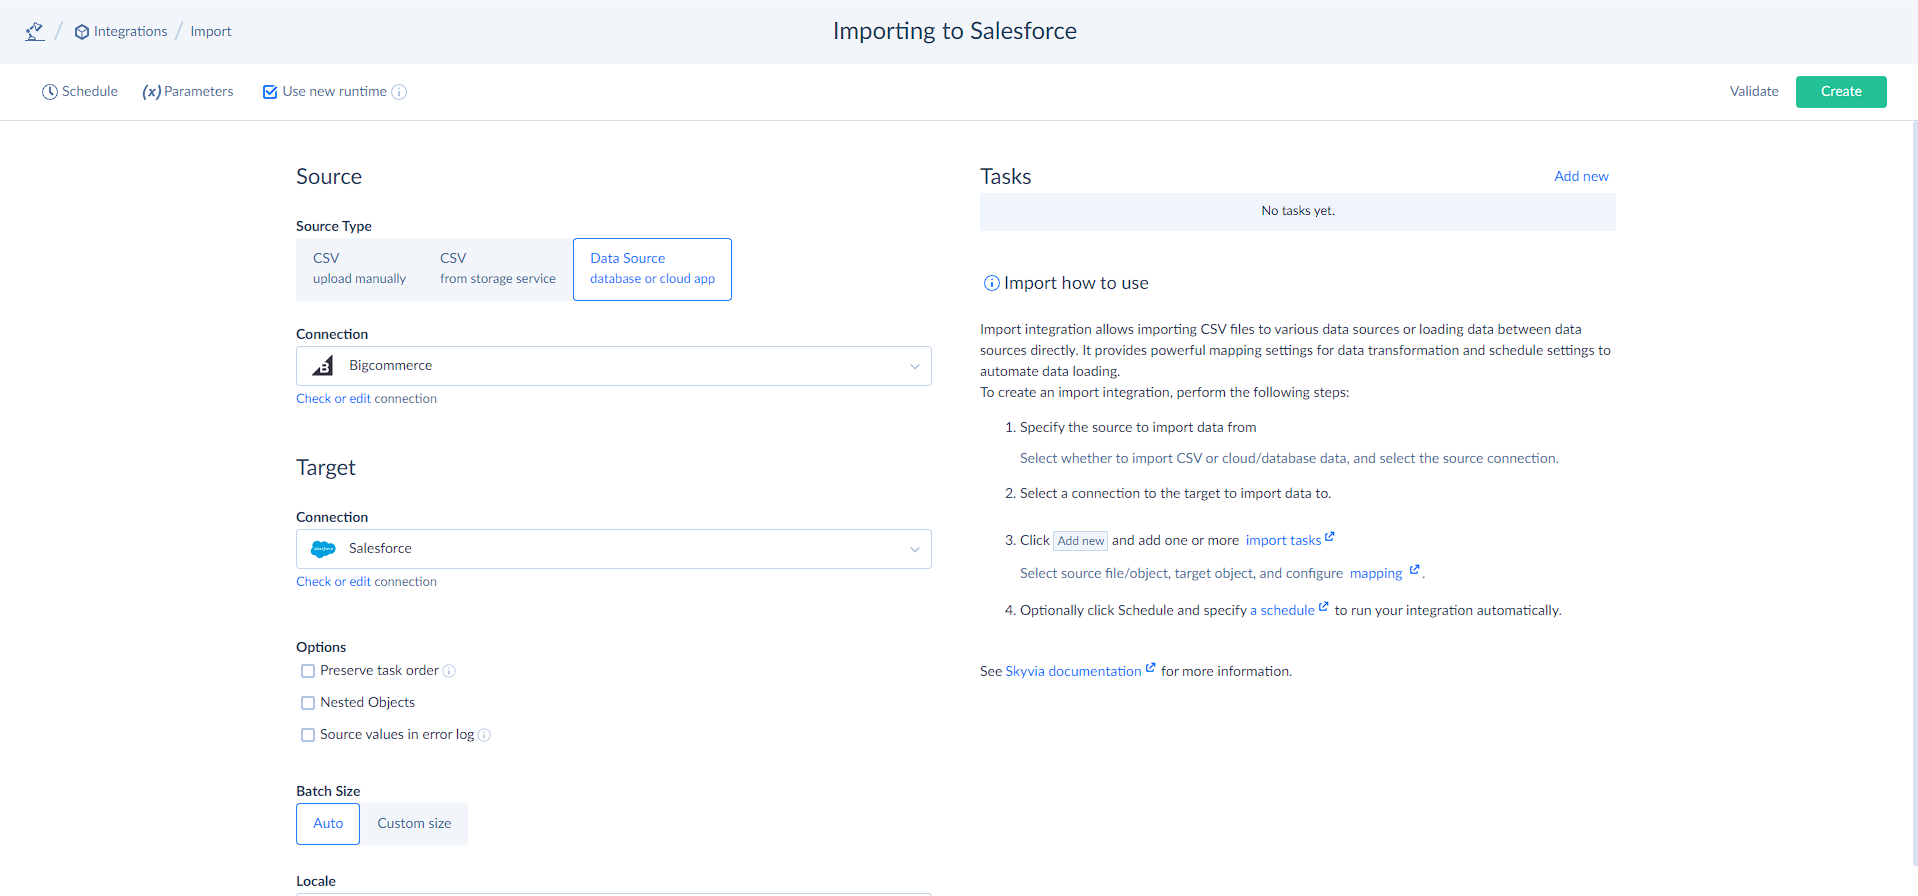
Skyvia offers two task editor modes for import integrations — Simple and Advanced. The simple task editor mode can be used both for integrations with old and new data integration runtimes. The advanced task editor mode is available only in the import integrations with the new data integration runtime selected, i.e. the Use new runtime checkbox selected, and only if you import data from a cloud app or database. It is not available for CSV file import.
The advanced task editor mode provides powerful data extraction, allowing you to get prepared and preformatted data for import, using the Execute Command or Execute Query action. For example, you can perform aggregations, change capitalization, add various calculated columns, etc.
In general, when the task editor opens, you should perform the following steps to create the task:
- Specify source settings. Select source file, cloud app object, or database table/view to import data from, and, if necessary, configure data filtering. Alternatively, you can select the Execute Command or Execute Query action to query data (in the advanced mode).
- Specify target settings. Select the target object (table) or multiple objects (tables) to import data to and the operation to apply when loading data.
- Configure mapping of target columns to source columns, expressions, constants, lookups, etc.
Task Editor consists of three pages: Source Definition, Target Definition, and Mapping Definition. Each of these pages provides settings for the corresponding actions listed above.
You can switch between these pages by the corresponding icons in the editor header and by clicking the Next step or Previous step buttons.
Source Settings
Simple Task Editor Mode
Settings for CSV File Source
-
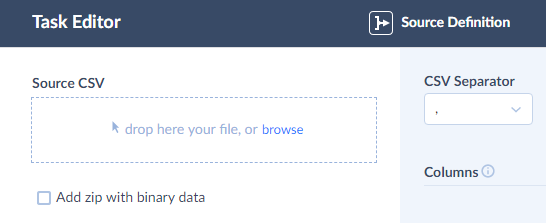
If you are importing a CSV file from your computer, drag your file to the drop here your file, or browse area or click the browse link and upload the CSV file to import.
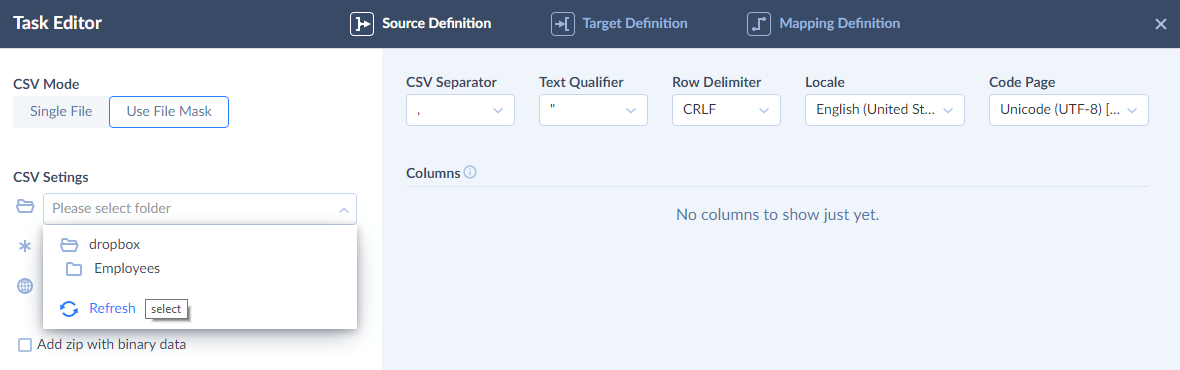
If you are importing a CSV file from a file storage service, select this file in the CSV Path drop-down list. This drop-down list displays folders and files from the specified source connections. You can open and close folders by clicking them. By default, data import is configured using single CSV files.
You can also configure import using file masks for Dropbox, FTP, and SFTP storage. This allows you to specify a file mask with a date/time template. Each time the integration runs, a date/time template in the file mask will be substituted with the current date and time of a file.
To use file masks, click Use File Mask under CSV Mode. Select a folder to load files from, specify file mask and timezone to use. See How to Import CSV Files via File Masks for more details.
When importing data to relational databases and to some of the cloud data sources, Skyvia supports importing binary data as a ZIP archive with binary files. You can add this ZIP archive to import together with your CSV file. For example, you can import Salesforce attachments and provide the attachment bodies as files in a ZIP archive. See How to Import Binary Data for more details.
Importing binary data as a ZIP archive is supported only to target fields of certain data types. See the list of the supported data types and sources in the How to Import Binary Data topic.
-
Specify the CSV options if necessary.
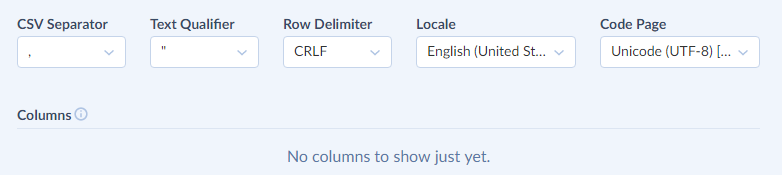
When setting CSV options, take a look on the Columns grid below, which displays the list of the detected columns and allows you to explicitly specify column data types. If the columns are not correctly detected, this often means that CSV Separator, Code Page, or Text Qualifier settings are incorrect, and you need to set them to correct values.
-
If necessary, select the data types of the columns in the corresponding drop-down lists in the Columns grid. This may be necessary when you use a numeric or date/time column in Expression Mapping, and its type is not determined automatically.
-
Click the Next step button at the bottom right of the dialog box to open the Target Definition page.
Settings for Database or Cloud Source
-
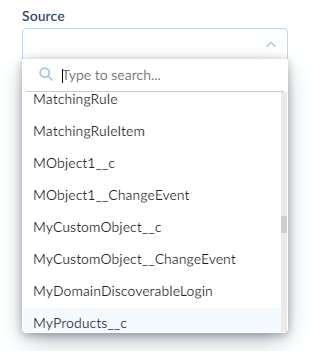
Select the source table or object from the Source list. You may use the Type to search box to quickly find the necessary object.
-
Optionally configure filters for data to import. See Filter Settings for more details.

-
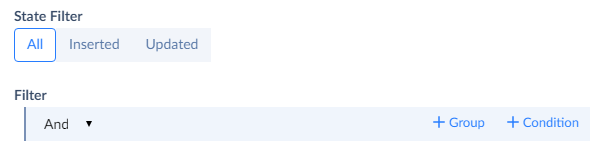
If the source is a cloud application, like Salesforce, HubSpot, etc., you can optionally import only recently inserted and updated records from it using the State Filter parameter.
For this, click Inserted or Updated in the State Filter group. The Inserted filter imports records created since the previous integration run (or integration creation, if the integration was never run). The Updated filter imports both records that were created and records that were modified since the previous integration run.
Note that the source object in a cloud app must have fields storing the record creation and last modification timestamps in order for the corresponding filters to be available. If the object does not have one or both of such fields, the corresponding filter or both of them will not be available. See more details in the How to Import Only Recently Added or Changed Data from Cloud Sources topic.
-
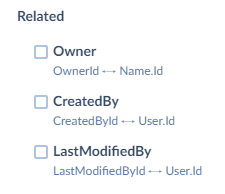
{: #imported-table}If the imported table or object has foreign keys, you can optionally join the fields of the referenced objects to the import. For this select the checkboxes for the corresponding relations under the Filter settings, after Related. After this, you can use the fields of the selected related objects in mapping.
Advanced Task Editor Mode
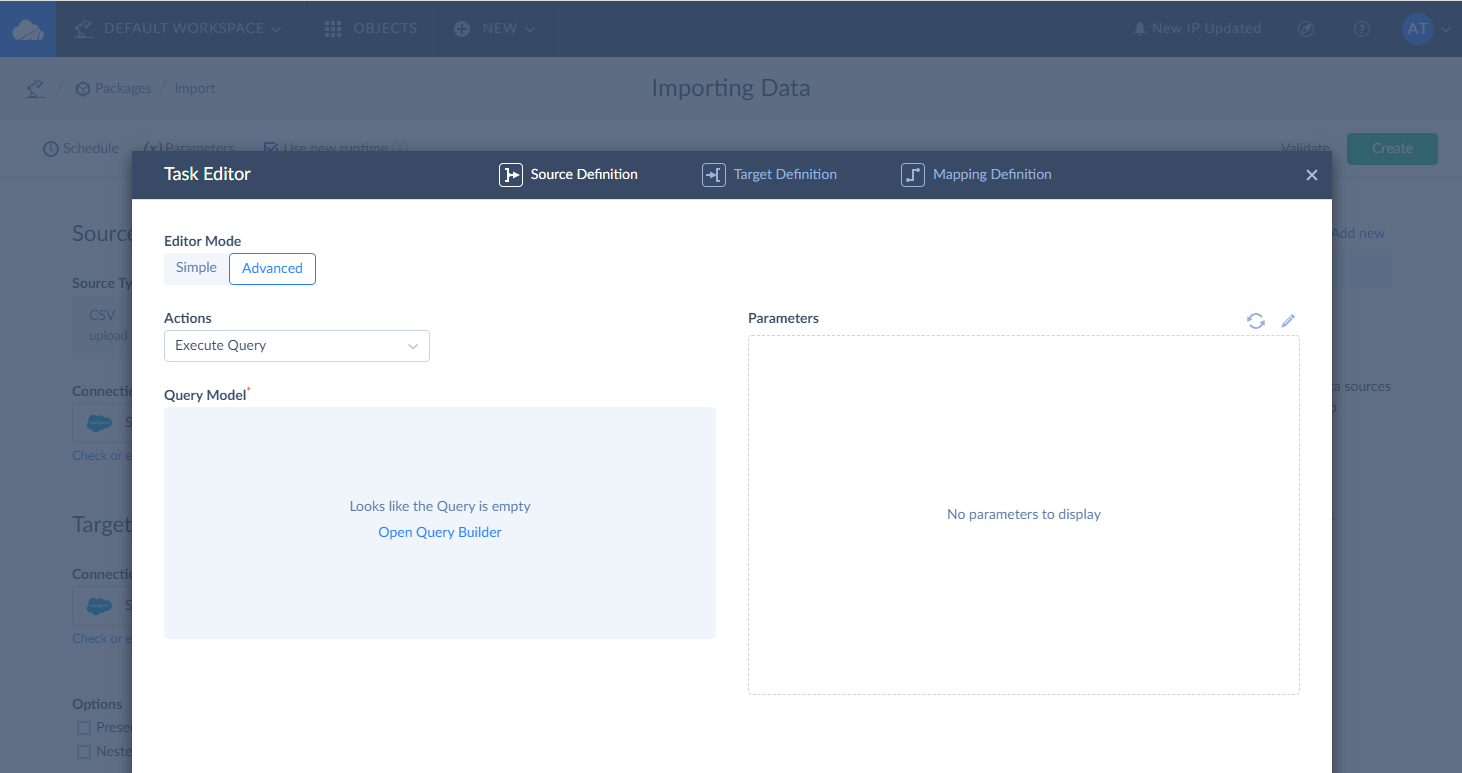
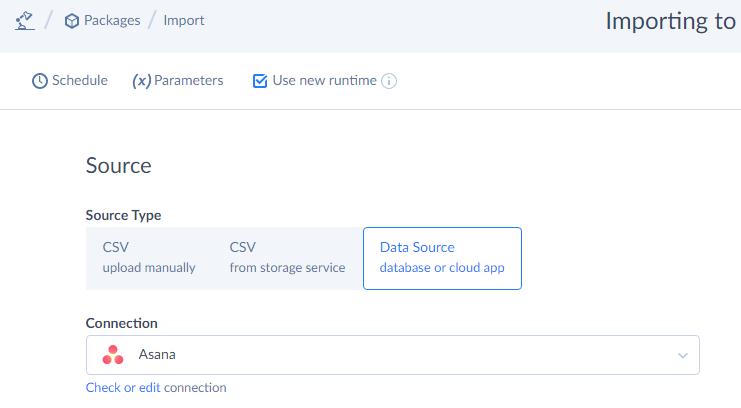
The Advanced task editor mode is available when the Use new runtime checkbox is selected on the tab bar of your import, and when the data are imported from database or cloud app, which means you need to click Data Source database or cloud app under Source Type in the integration editor and select the corresponding database server or cloud app from the drop-down list. Then click the Add new link to open the task editor.
Please note that Simple mode is selected by default in the task editor. To switch to the advanced mode, click Advanced under Editor Mode and select one of two possible actions. Currently, Skyvia offers the Execute Command and Execute Query actions to users. However, more actions are expected in future.
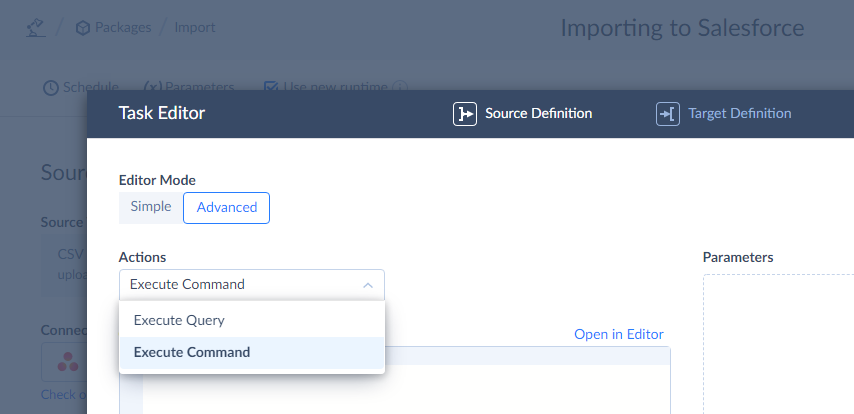
When you select an Execute Command action, you type and edit your SQL statement directly in the Command Text box.
When you select an Execute Query action, you compose SELECT queries visually with our convenient query builder without typing a code. That is a good option if you are not much familiar with SQL. You can read more about the Query Builder and how to configure queries in the Configuring Queries with Query Builder section of our documentation.
Please note that Skyvia supports only SQL SELECT statements in import integrations. When you import data using the advanced task editor mode, the Returning feature and its settings are not available on the Mapping Definition tab.
Target Settings
-
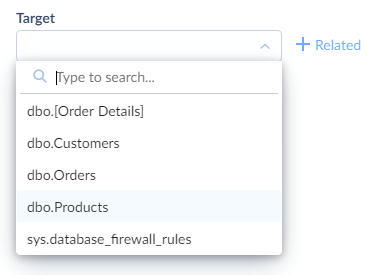
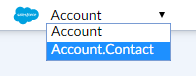
Select the object to import data to from the Target list. If you want to import data to multiple related CRM objects or database tables, you need to select the main object first, and related objects (that have a foreign key to the main one) are selected after it. You may use the Type to search box to quickly find the necessary object.
-
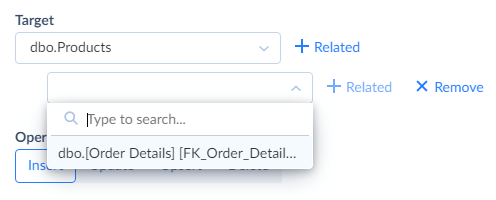
If you want to import data to multiple related objects, click the +Related button and select an object related to the main one in the new drop-down list box. Repeat it until you add all the necessary related objects. Note that you can add not only objects related to the first one, but objects related to any of already added objects by clicking the +Related button near this object. Please note that you can perform only the Insert operation into several related objects.
-
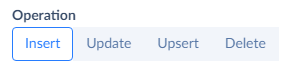
Select the type of operation for the task: Insert, Update, Delete, or Upsert. Click the corresponding button near Operation. You can find more details about Upsert option in the How to Perform UPSERT Operation topic. See also how to Perform UPDATE and DELETE.
-
Click the Next step button at the bottom right of the dialog box to open the Mapping Definition page.
Mapping Settings
On the Mapping Definition page, you should configure mapping of target columns to source columns, expressions, constants, lookups, etc. Columns with the same names in source and target are mapped automatically.
You must map at least the target columns marked as Required in order for the task to be valid. When importing data to multiple related objects, you need to specify mapping for all the target objects (at least, their Required columns) selected on the Target Definition page. Configure mapping for the main object first, then you can select other target object in the target table name list and map the columns of this object. Repeat this for all the objects, selected on the Target Definition page.
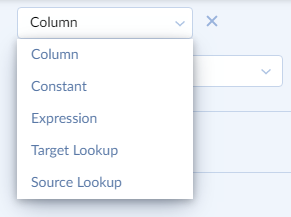
The Mapping Definition page displays a grid with the target columns on the right and their mapping on the left. To map a target column, you need to click its row, then select the kind of mapping in the topmost drop-down list, and after this specify the necessary parameters for the selected kind of mapping. To see the description of the available mapping kinds and their parameters, go to the Mapping section.
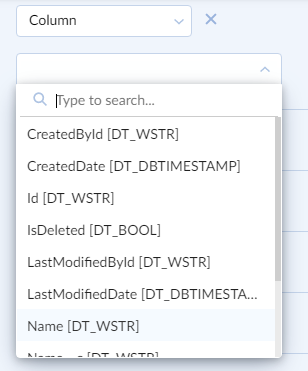
The simplest way to import data is to map necessary target properties/columns to the source columns directly. For this, click a target property and then select the corresponding source file column in the corresponding drop-down list.
Mapping Nested Object Fields
There are three possible scenarios when working with nested object fields:
-
You have similar fields with nested objects or arrays on both sides. Such a scenario can occur when you load data between two instances of the same cloud app or, for example, when you load orders between two accounting apps.
In this case you use Column mapping for the fields and map them to each other. Then, you can map the fields of the target nested object/array to the fields of the source nested object/array. You can see an example of such case in the tutorial Easy Importing Invoices and Customers Between QuickBooks Online Accounts.
-
You have a field with nested objects or arrays in the target only. We can load data of one object into other target object fields, and load data of a related object into its field storing nested object data.
This scenario can be implemented via Source Lookup mapping. For this lookup you don't select the result column. The lookup returns whole records, and you can map their fields to the fields of the target nested object/array. You can see an example of such case in the tutorial Importing Data from Salesforce Opportunities to QuickBooks Invoices.
-
You have a field with nested objects or arrays in the source. In this case you can either import contents of this nested object to the target object directly or use data splitting to import data of the source nested object or array to the child object on the target side. You can select the source scope in the drop-down list. This list includes the source object itself and all its fields, storing nested objects and arrays.

Then you can map target fields to the fields of the nested object. You can see an example of it in the tutorial Importing QuickBooks Invoices to Salesforce Opportunities.
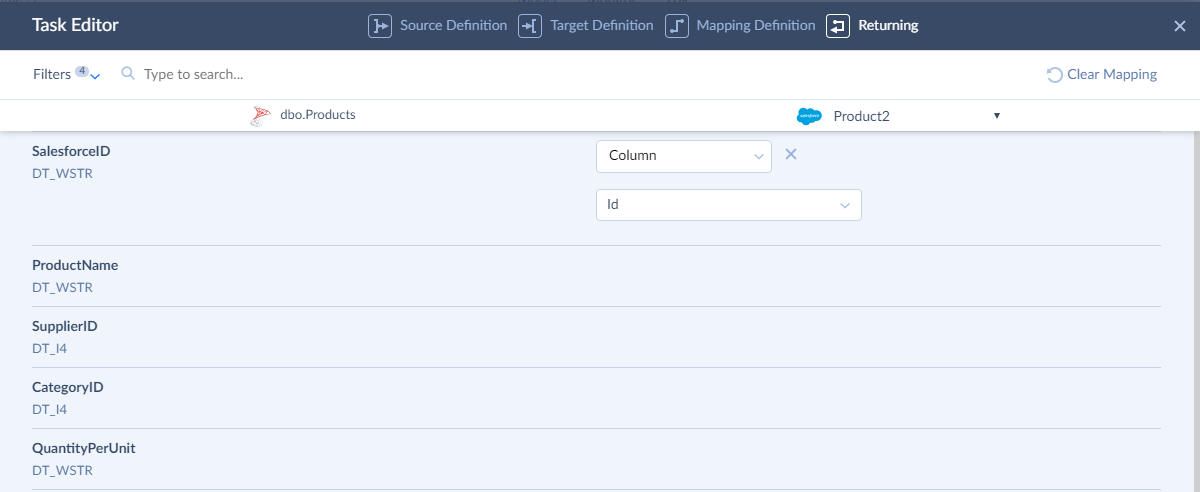
Returning Settings
On the Mapping Definition page you may also select the Use returning checkbox to enable Returning Settings. These settings allow returning the ids (or any other fields) of the records inserted to target back to a field (or fields) of the corresponding source record.
After you select this checkbox, the Returning page is displayed. You can click the Next step button to open it.

To have the Returning feature, i.e the Use returning checkbox available, the following requirements must be met:
- The integration must import data from a database or cloud app.
- The integration must use the new integration runtime (Use new runtime checkbox selected).
- The source object or table must allow update operation.
- The Simple task editor mode must be used in the source settings.
- The task must have INSERT or UPSERT operation selected on the Target Definition page.
For the UPSERT operation, source records will be updated only for records inserted to target. They won't be updated for existing records updated in target.
On the Returning page, you should configure mapping to update source records with the values from the imported target records. You configure mapping as usually. Please note that the following kinds of mapping are not available for returning: External ID and Lookup.
Records, updated in the source by the Returning feature, are not counted to your subscription limit. Only records, successfully loaded to target, are counted.
If you are importing data from a database table or cloud object, and you would like to import related data as well, select the corresponding checkboxes next to related objects on the Source Definition tab. When you do it, you can later select columns of the related data as well as columns of the imported object or table on the Mapping Definition tab.
When editing a task, on each of the steps you can reload metadata from source and target connections by clicking the Refresh button in the bottom left corner of the Task Editor.