How to Synchronize Product Data
In this tutorial, we will show how to create a synchronization that syncs Salesforce Product2 objects with a slightly modified Products table from the Microsoft sample database Northwind on SQL Azure. This tutorial also demonstrates how to create an export.
The difference between the Products table used in this tutorial and the Products table from the Northwind database is that our Products table has two columns that store two different prices for each product: UnitPrice1 and UnitPrice2.
Using Constant Mapping
While in the SQL Azure database all the information about the products with two prices is stored in a single table, in Salesforce product prices are stored in a separate PricebookEntry object. Thus, one row from the SQL Azure Products table corresponds to one Product2 Salesforce object and two PricebookEntry objects. The first price from the UnitPrice1 column goes to the 'Standard' Pricebook, and the second price goes, for example, to the 'Discount' Pricebook. If you don't have such a pricebook, you may use any other pricebook or create a new one for this tutorial and name it 'Discount'.
To implement this scenario, we go to Columns Definition tab of the Task Editor. In the Column drop-down list, we select Constant mapping. In synchronization integrations it has an additional checkbox — Use this value as filter of target records. If you set constant mapping for one direction (for example, from source to target) and select this checkbox, only the data having the column values equal to the specified constants participate in synchronization when performing synchronization in opposite direction.
In our tutorial we map the fields of the Product2 object and two PricebookEntry objects to the columns of the Products table. We will simply map the Pricebook2Id fields of the PricebookEntry objects to the constant values equal to the IDs of the Standard and Discount Pricebook2 objects. The UnitPrice field of these PricebookEntry objects will be mapped to the UnitPrice1 and UnitPrice2 columns respectively.
After this, when synchronizing data from SQL Azure to Salesforce, the PricebookEntry objects will refer to the necessary Pricebooks since their ID are assigned to them. When synchronizing data from Salesforce to SQL Azure and getting values for UnitPrice1 and UnitPrice2 columns, only the PricebookEntry objects with the corresponding Pricebook2Id values specified in the constant mapping, will be retrieved from Salesforce for synchronization, and thus the correct values are applied.
In our tutorial, we will get the ID values of Salesforce Pricebook2 with an export and then create a synchronization itself.
Creating Connections
In order to synchronize data from SQL Azure to Salesforce, first we need to create connections to Salesforce and SQL Azure. If you have already created the necessary connections, you may skip these steps. To create a connection to Salesforce, perform the following steps:
-
Click +NEW in the top menu.
-
Click the Connection button in the menu on the left.
-
In the opened Select Connector page, select Salesforce. To quickly find it, you can either use the Type to filter box or filter connectors by categories using the All list (for Salesforce, select the CRM category).
-
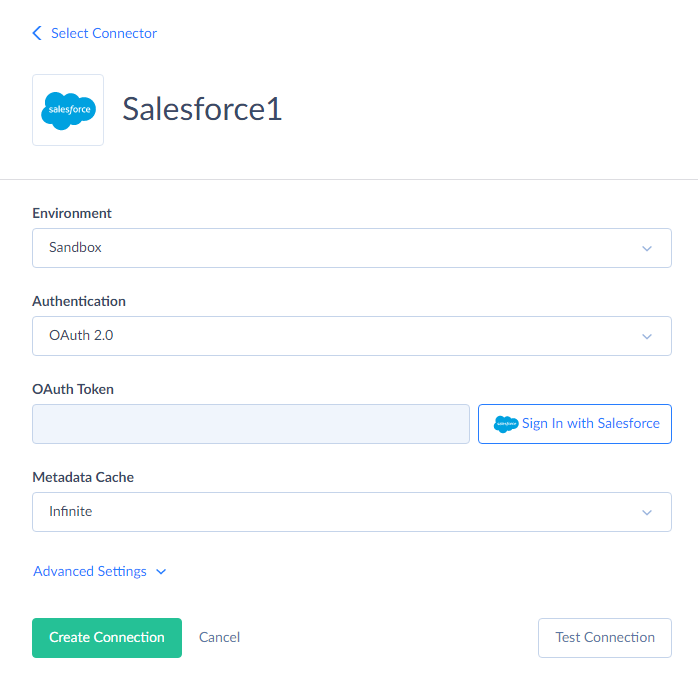
The default name of a new connection is Untitled. Just click it to rename the connection, for example, to Salesforce1.
-
From the Environment drop-down list, select the Salesforce environment type to import data to. Since this is just a sample walkthrough, the Sandbox environment is recommended.
-
From the Authentication drop-down list select the authentication method for connecting to Salesforce. If you don't mind storing your Salesforce credentials on Skyvia server, select User Name & Password. If you prefer not to store your credentials, select OAuth 2.0.
-
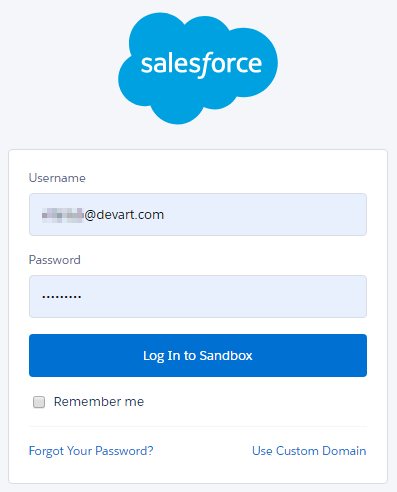
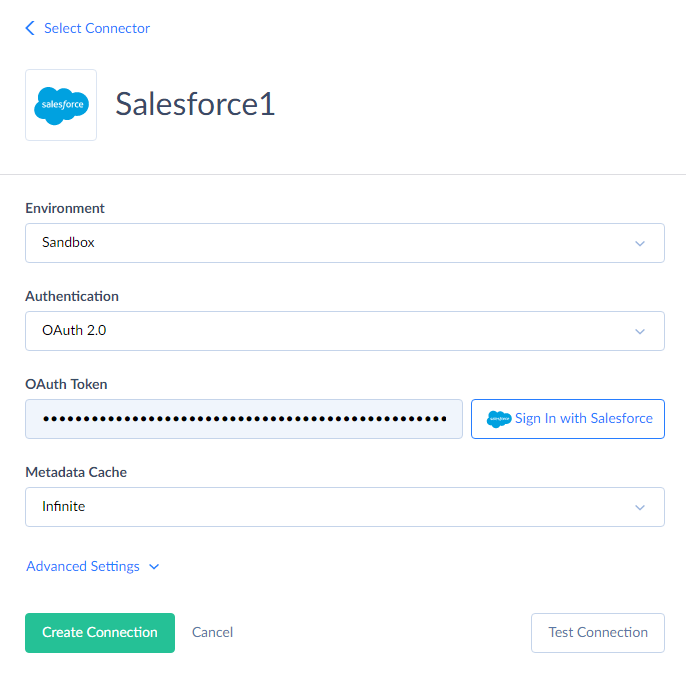
If you have selected User Name & Password, on the previous step, specify your Salesforce account e-mail, password, and security token. Otherwise, if you have selected OAuth 2.0 authentication, click the Log In with Salesforce button and log in via the Salesforce website on the opened page. The result OAuth token will be stored in the connection data. Your Salesforce credentials will not be stored on our website.
-
Click Create Connection.
To create a connection to SQL Azure, perform the following steps:
-
Click +NEW in the top menu.
-
Click the Connection button in the menu on the left.
-
In the opened Select Connector page, select SQL Server. To quickly find it, you can either use the Type to filter box or filter connectors by categories using the All list (for SQL Server, select the Database category).
-
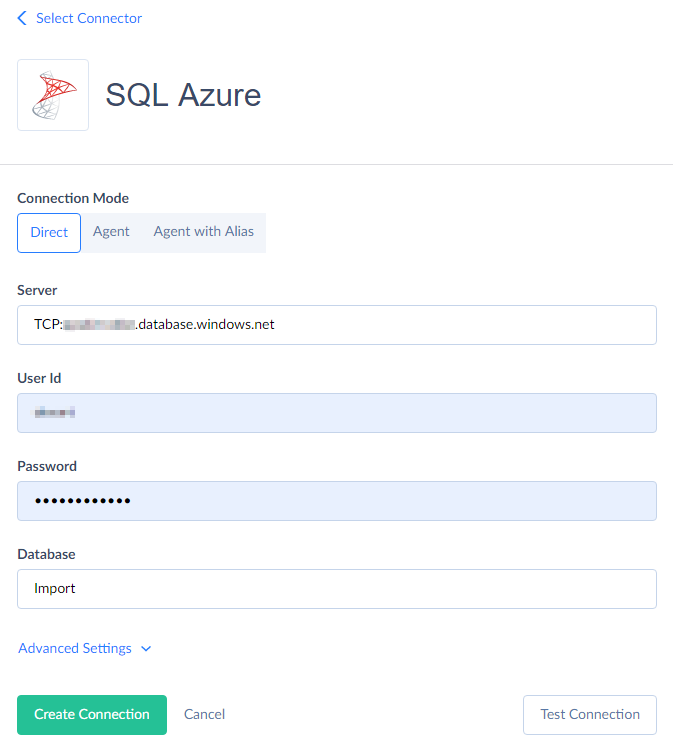
The default name of a new connection is Untitled. Just click it to rename the connection, for example, to SQL Azure.
-
In the Server box, enter "TCP:<server name>". Replace "<server name>" with your actual server name.
-
Specify your User Id, Password, and Database to connect to.
-
Click Create Connection.
Now we have the necessary connections created. Let's create an export that gets the necessary Pricebook2 ID values.
Creating Export for Getting Pricebook2 IDs
-
Click +NEW in the top menu.
-
In the Integration column, click Export. The export details page will open.
-
Rename your integration by clicking and editing the integration name. The default integration name is Untitled. Please note, if you omit this step, the integration name will remain Untitled in the list of created integrations.
-
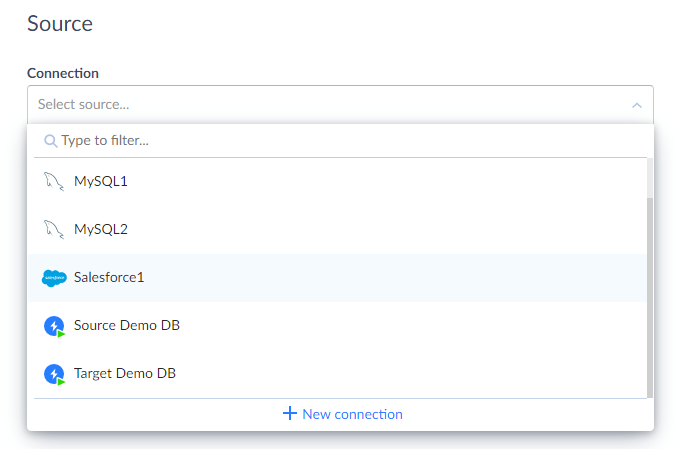
Under Source, in the Connection drop-down list, select the Salesforce connection.
-
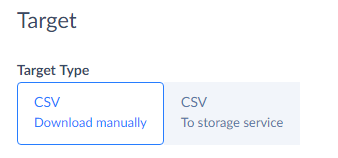
By default, data will be exported to a manually downloaded CSV file.
-
Click the Add new link to open the Task Editor.
-
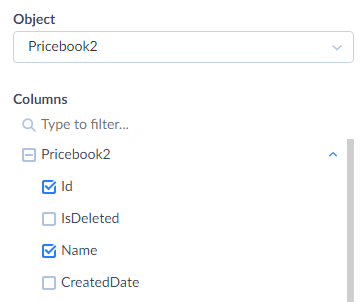
From the Object drop-down list, select Pricebook2. All the Pricebook2 fields are selected automatically.
-
Clear the checkbox next to Pricebook2 to deselect all its fields. Then select the Id and Name checkboxes and click the Save button at the bottom of the Task Editor.
-
Click the Create button to create the integration.
-
Run the integration.
-
Now we have a CSV file with Pricebook names and Ids. Click the corresponding link in the Run History. The History Details window will open.

-
Click the number of successful records in the window. The result file will be automatically downloaded to your computer.
Creating Synchronization
To create a synchronization, perform the following steps:
-
Click +NEW in the top menu.
-
In the Integration column, click Synchronization. The synchronization details page will open.
-
Rename your integration by clicking and editing the integration name. The default integration name is Untitled. Please note, if you omit this step, the integration name will remain Untitled in the list of created integrations.
-
Under Source, in the Connection drop-down list, select the Salesforce connection.
-
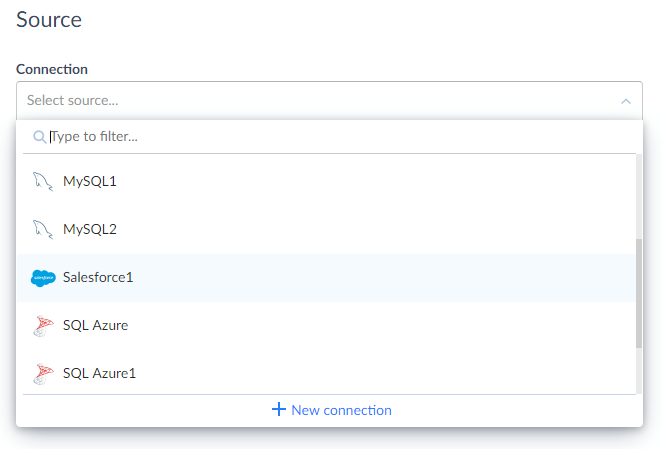
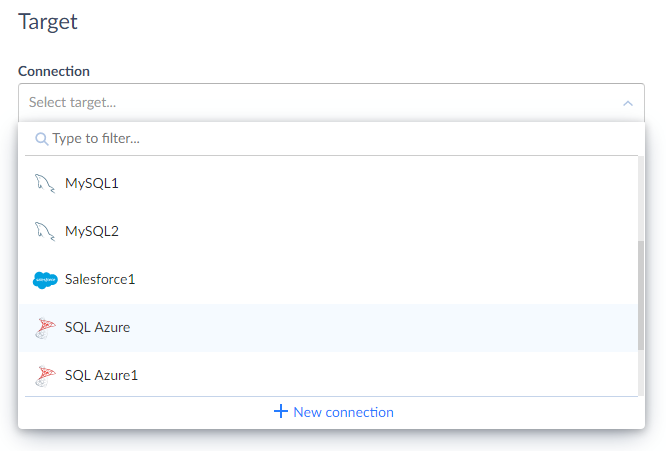
Under Target, in the Connection drop-down list, select the SQL Azure connection.
-
Click the
 button.
 -
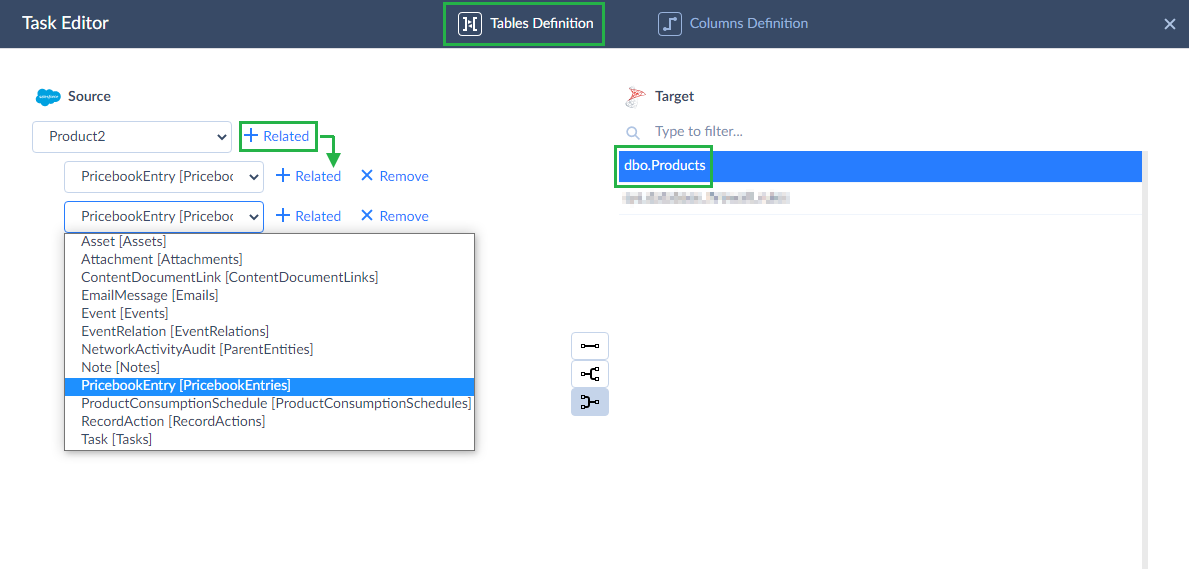
In the drop-down list, under the Source, select Product2.
-
Click the +Related button twice.
-
In both new drop-down lists, select PricebookEntries.
-
In the Target list, select the Products table and click Next step.
Source to Target Mapping
Next, you need to configure mapping settings. You can read detailed information about mapping here or follow the steps below:
-
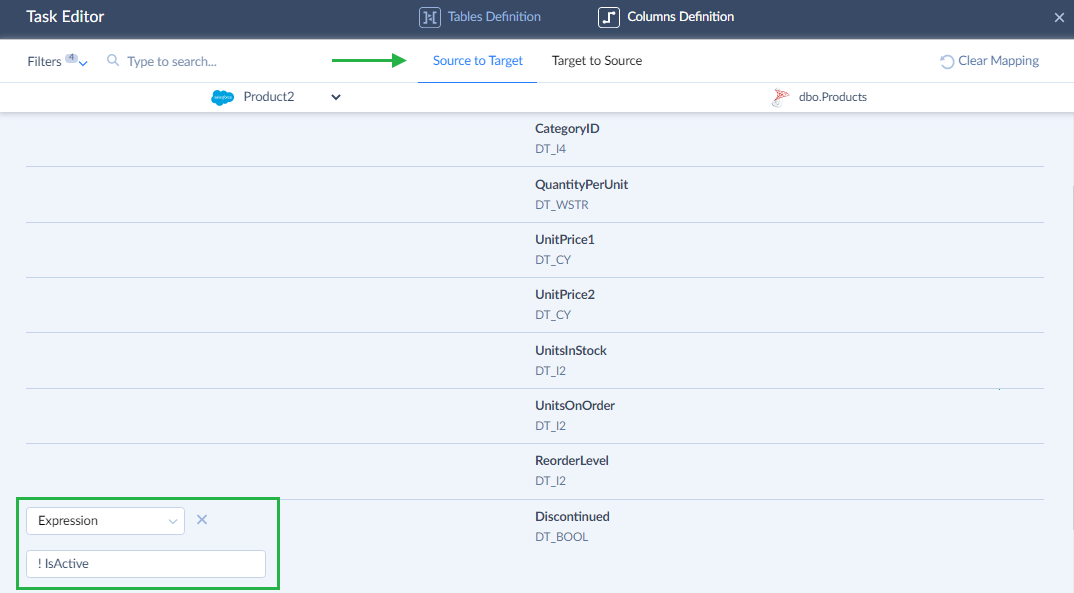
On the Source to Target tab, map the Name column to the ProductName field.
-
Click the Discontinued column, then, in the Column drop-down list, select Expression and enter "! IsActive" (without quotes) to the box below.
-
In the drop-down list that is at the top of the Task Editor, select the first PricebookEntry object.
-
Click the UnitPrice1 field and, in the Column drop-down list, select UnitPrice.
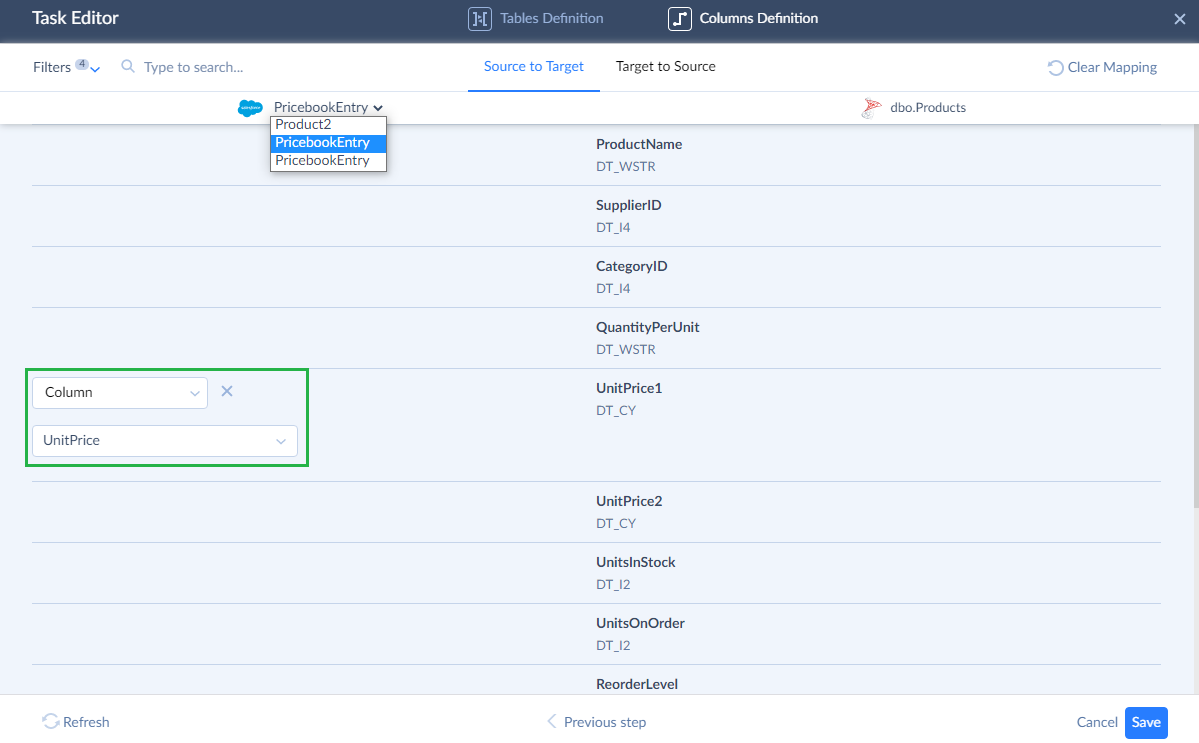
-
Next select the second PricebookEntry object in the top drop-down list of the Task Editor.
-
This time click the UnitPrice2 field and, in the Column drop-down list, select UnitPrice.
Target to Source Mapping
Since the data is synchronized in both directions, you need to configure mapping settings to load data in a reverse direction. For this, perform the following steps:
-
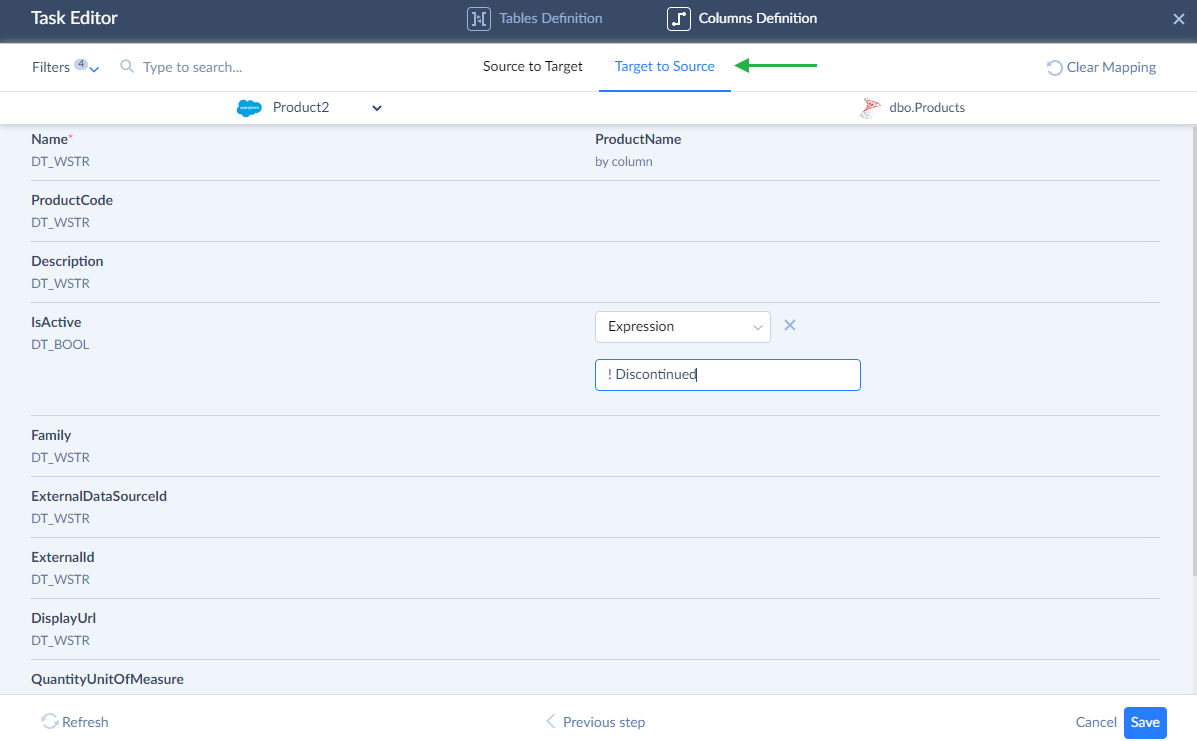
Click the Target to Source tab and map the ProductName field to the Name column.
-
Click the IsActive field, then, in the Column drop-down list, select Expression and enter "! Discontinued" (without quotes) to the box below.
-
In the drop-down list that is at the top of the Task Editor, select the first PricebookEntry object.
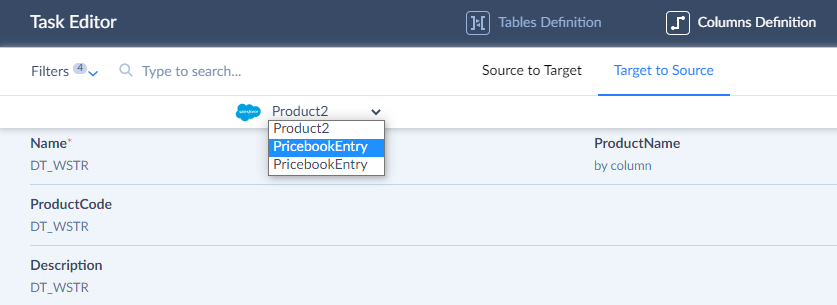
-
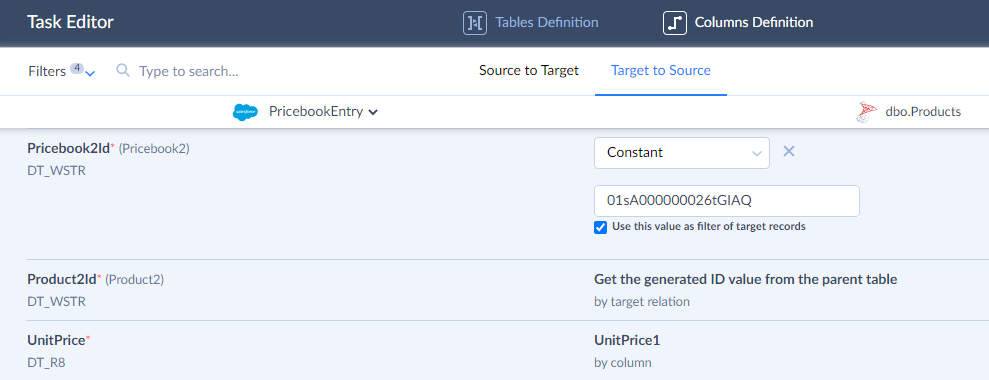
Click the Pricebook2Id field. For this field we will use the constant mapping as described above. Open the CSV file with exported pricebook data and copy the Id value of the standard pricebook. Then switch back to the browser with the integration editor, click the Pricebook2Id field, select Constant in the Column drop-down list, and paste the Id value (without quotes) to the box below.
-
Select the Use this value as filter of target records checkbox. This means that when synchronizing data in the reverse direction (from Salesforce to SQL Server) only records with Pricebook2ID equal to this value are queried, other PricebookEntry records are ignored.
-
Map the UnitPrice field to the UnitPrice1 column.
-
For PricebookEntry we will map the IsActive column to be always true. You can use either Constant or Expression mapping in this case and specify the true constant as an expression. Click the IsActive field and then, in the Column list, select Expression. Enter "true" (without quotes) to the Expression box.

-
Repeat steps 3-5 for the second PricebookEntry object, using the Id value of Discount pricebook (for example), and repeat step 6 for UnitPrice2 column.
-
Click Save to save the task.
Scheduling Integration Execution
After we have created the synchronization, we want to keep the data in sync automatically. For this, we will configure the integration to run every hour during workdays. For this we will use the Incremental Update feature. When using Incremental Updates, Skyvia will not synchronize all the data each time when the integration is executed. Instead it will detect data that were changed since the last integration execution, and then synchronizes these changes. This allows reducing Salesforce calls and thus the cost of the replication operation.
Skyvia uses LastModifiedData and CreatedDate fields to track changes in Salesforce, and it creates its own tracking tables and triggers to track changes in the SQL Server database.
Note that since we used Salesforce connection as the source, its changes have a priority, and if a record was changed both in Salesforce and SQL Server database, Salesforce changes are applied.
Perform the following actions to set the schedule:
-
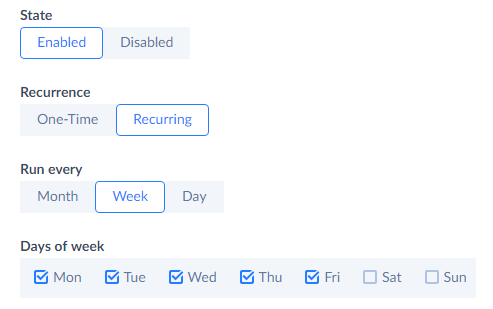
Click Schedule on the left side of the toolbar.
-
Under Run every, select Week.
-
Under Days of week, select checkboxes with all the workdays.
-
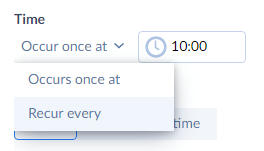
Click Occur once at and select Recur every.
-
Enter "1" (without quotes) into the Recur every box and click the Set time restrictions link.

-
Enter 09:00 and 18:00 to the corresponding boxes.

-
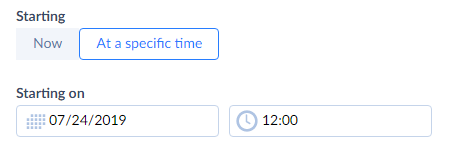
Click Now to put the schedule into action immediately or select At a specific time in the Starting list and specify the necessary date and time you want the schedule to be enabled from.
-
Click Save to schedule integration execution.
After this our integration will run automatically every hour between 09:00 and 18:00 of every workday.
You can also visit Scheduling Integrations to get more detailed information on setting an integration schedule.