Jira (Deprecated)
Jira is an issue tracking solution with bug tracking, issue tracking, and project management functions.
Data integration: Skyvia supports importing data to and from Jira, exporting Jira data to CSV files, replicating Jira data to relational databases, and synchronizing Jira data with other cloud apps and relational databases.
Backup: Skyvia Backup supports Jira backup.
Query: Skyvia Query supports Jira.
Terminology
Jira API versions. Version 2 and version 3 offer the same collection of operations. However, version 3 provides support for the Atlassian Document Format (ADF) in:
bodyin comments, including where comments are used in issue, issue link, and transition resources.commentin worklogs.descriptionandenvironmentfields in issues.textareatype custom fields (multi-line text fields) in issues. Single line custom fields (textfield) accept a string and don't handle Atlassian Document Format content.
Establishing Connection
Skyvia supports Jira Cloud and Jira Server connections. You may connect to Jira Cloud through API versions 2.0 and 3.0 with OAuth and Basic authentication. Jira server connection provides Basic authentication only.
Getting Credentials
To connect to the Jira instance you need to fill out Site field, your Jira user name, and API token.
- Site is a public IP address of your Jira instance or its DNS analog. Copy its value from the address bar. It should look like https://yourcompanyname.atlassian.net.
- You can manage your Atlassian API tokens on the Atlassian Token Management page. Refer to Atlassian API Tokens Documentation in case of any questions.
Creating Connection
Creating a connection to Jira may slightly differ depending on whether you connect to Jira Server or Jira Cloud.
Jira Server Connection
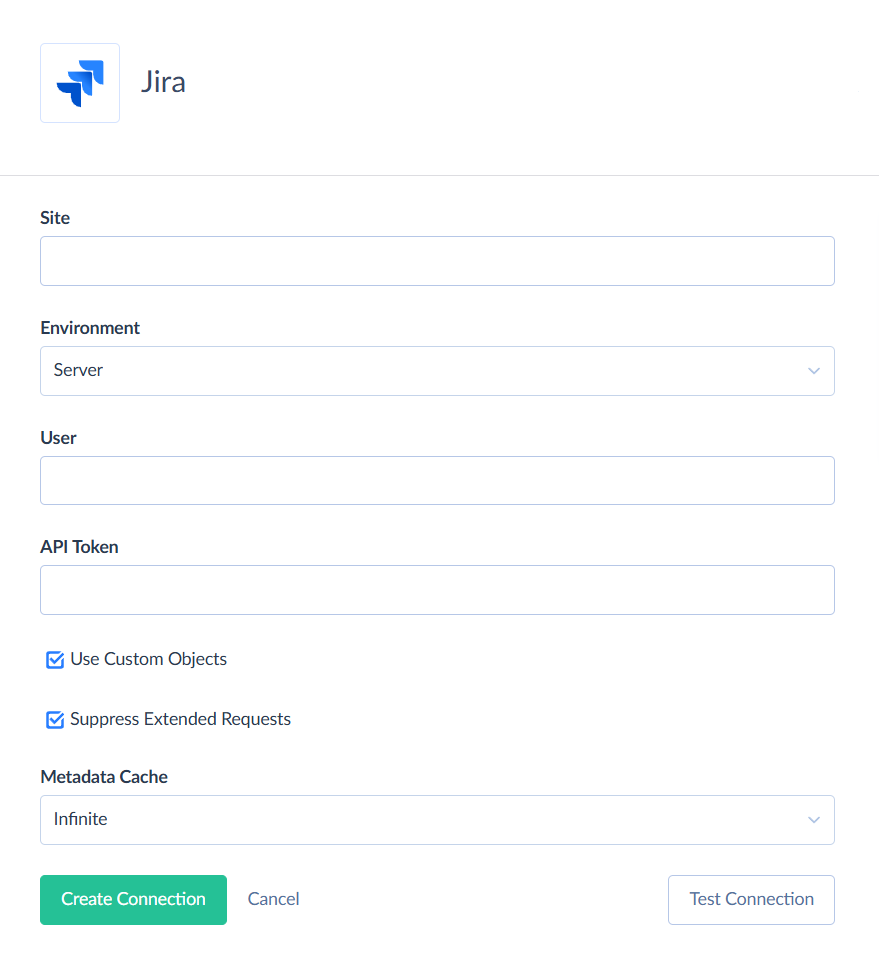
- Enter your Site address.
- Select Server in the Environment dropdown.
- Enter your user name and API token. You can manage your Atlassian API tokens here.
- Click Create Connection.
Jira Cloud Connection
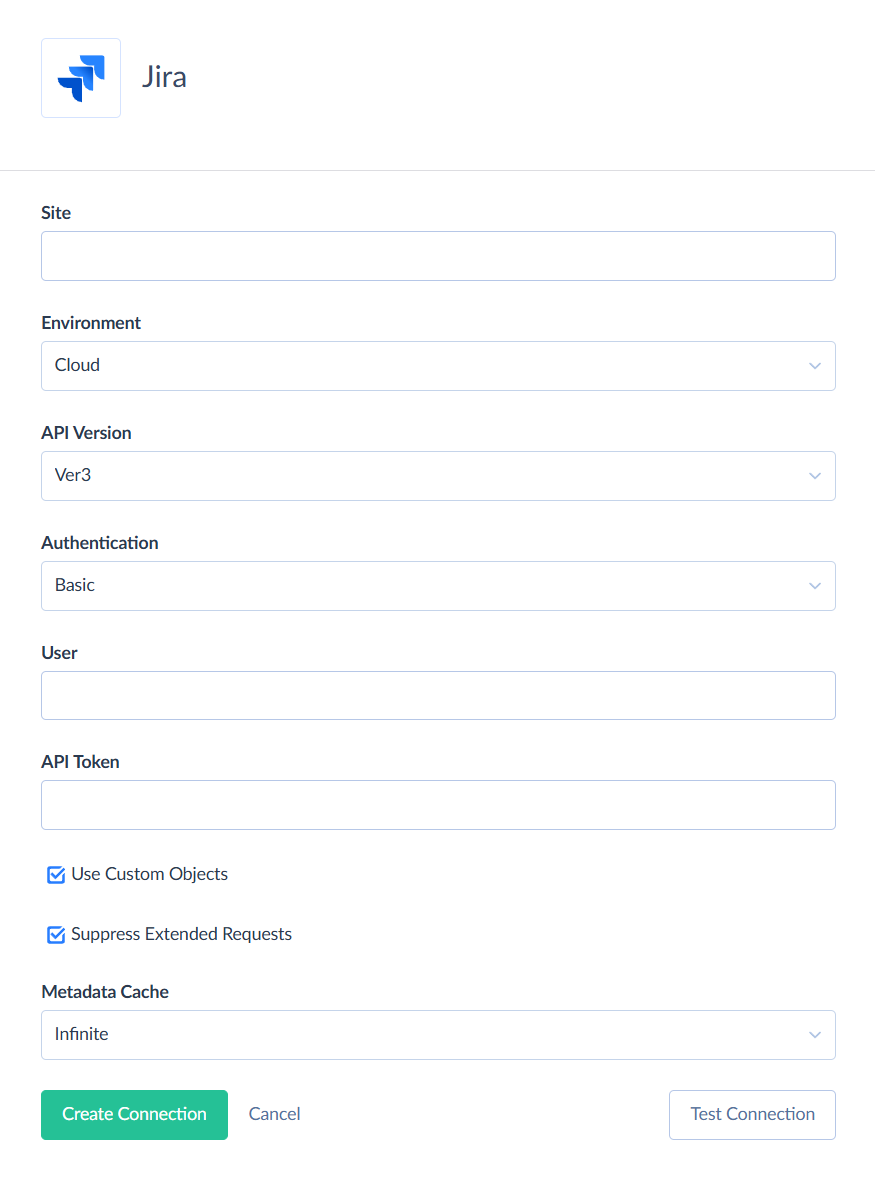
- Enter your Site address.
- Select Cloud in the Environment dropdown.
- Choose the preferred API version.
- Choose the Authentication type. If you choose Basic, enter your Jira login and password. If you choose OAuth, login with your Jira account, your access token will be applied automatically.
- Click Create Connection.
Connector Specifics
Object Peculiarities
Some Jira objects can be accessed only via their parent objects. For example, to query ProjectComponents, ProjectStatuses, ProjectProperties and ProjectVersions objects, Jira API requires the id of the corresponding project.
Skyvia does not require id of the parent object from the user. If you don't specify the ids of the parent objects, Skyvia will query all parent objects and get their ids. Then, it will query child objects for parent object records. This allows querying child objects without knowing their parents. However, this method takes a lot of time and consumes many API calls. It uses at least one API call for every parent object even if this object does not have any child records.
It is strongly recommended to use filters on the parent object fields when querying data from child objects. This limits the number of parent object records, for which child object data must be queried.
Nested Objects
Some Jira objects contain fields that store complex, nested data in JSON format. These include:
| Object | Field |
|---|---|
| Issues | IssueLinks |
| IssueChangeLogs | Items |
The Nested Objects mapping feature allows you to insert or update these nested values when configuring import. To replicate nested data into separate tables with the new replication runtime, select the Separate Tables option for Unwind Nested Objects.
Incremental Replication and Synchronization
Incremental Replication requires the object to have either CreateDate or UpdatedDate field. Synchronization requires both fields.
DML Operations
Skyvia supports the following DML operations for Jira objects:
| Operations | Objects |
|---|---|
| INSERT, UPDATE, DELETE | Filters, IssueComments, IssueLinkTypes, Issues, IssueTypes, IssueWorklogs, PermissionSchemes,ProjectCategories, ProjectComponents, ProjectRoles, Projects, ScreenTabs |
| INSERT, UPDATE | ProjectVersions |
| INSERT, DELETE | SharePermissions |
| INSERT | ApplicationProperties, Groups, IssueFields, IssueVotes, IssueWatchers, ScreenTabFields |
Supported Actions
Skyvia supports all the common actions for Jira.