Inviting and Deleting Users from Accounts
Inviting Users
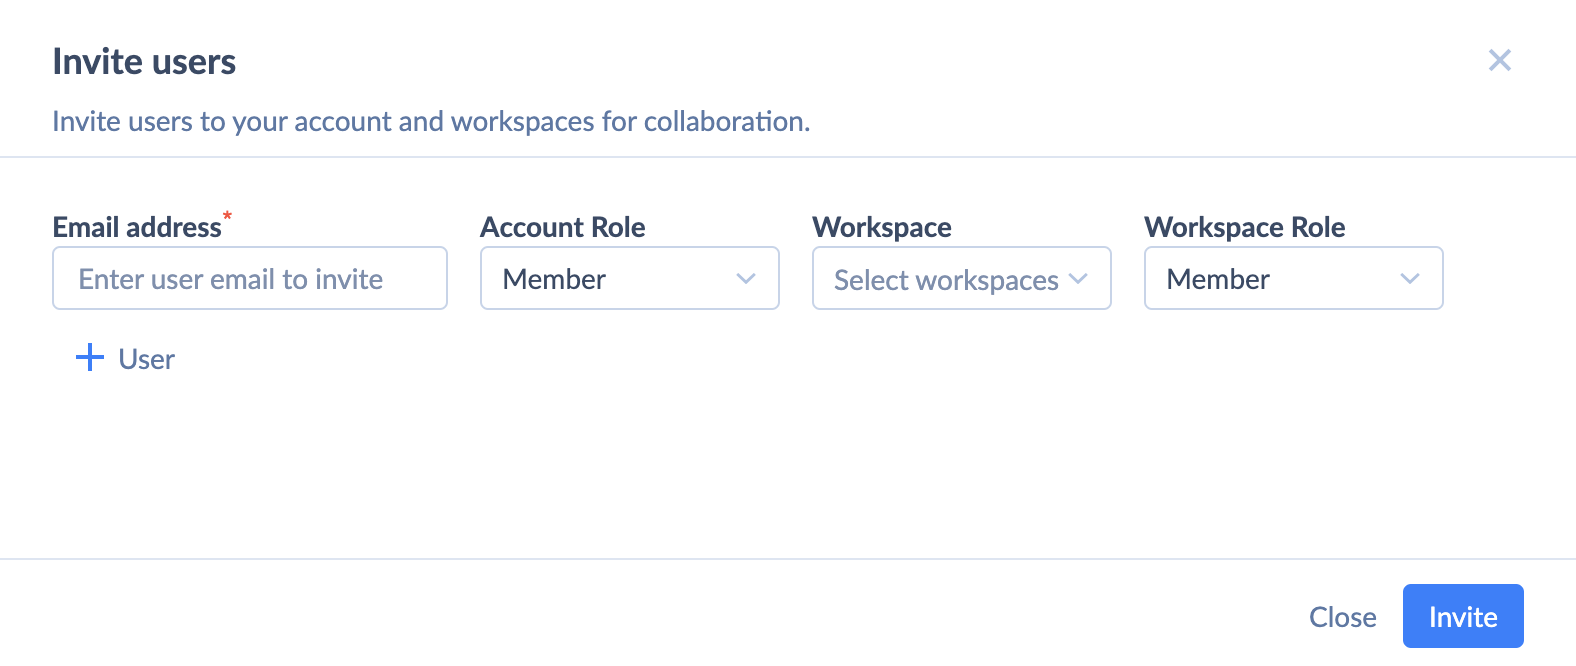
Invite users to your account and workspaces from the Users page in the Account settings. You can invite Skyvia users and the ones that do not have a Skyvia account yet.
To invite new users:
-
Click + User on the right.
-
Enter the user's email address.
-
Select the account role, workspaces to invite to and workspace roles to assign.
-
To invite more users, click + User below, and fill out new invitation details.
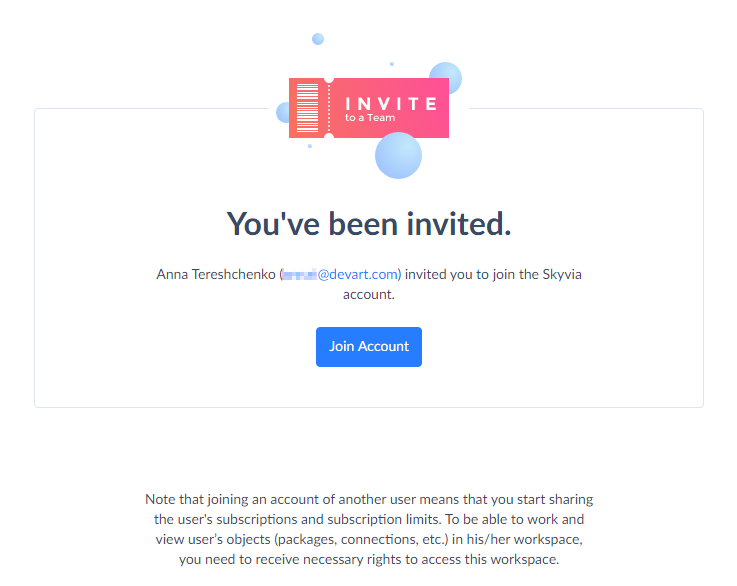
Accepting Invitation
Skyvia sends an email with an invitation to the user's email address. To accept an invitation, open it and click the here link.
If you are logged out from Skyvia, you will be transferred to the Skyvia Sign In window. Sign up or enter your Skyvia email and password and click Join Account.
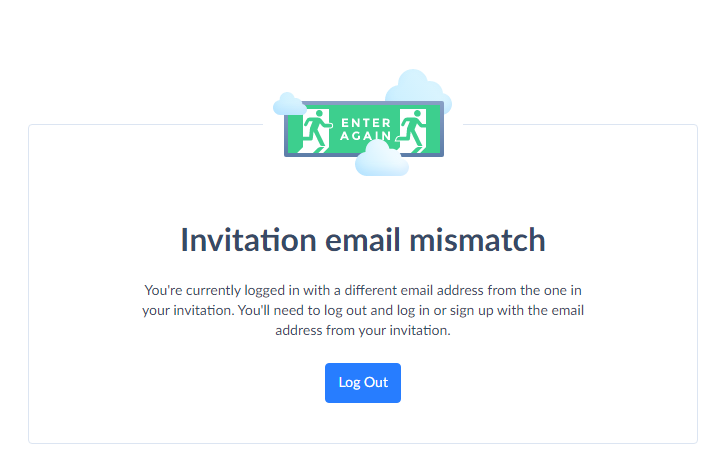
If you are logged in to Skyvia under the email address that differs from the one specified in the invitation, you will receive an Invitation email mismatch notification. Log out from Skyvia and log back in with the proper email to accept the invitation.
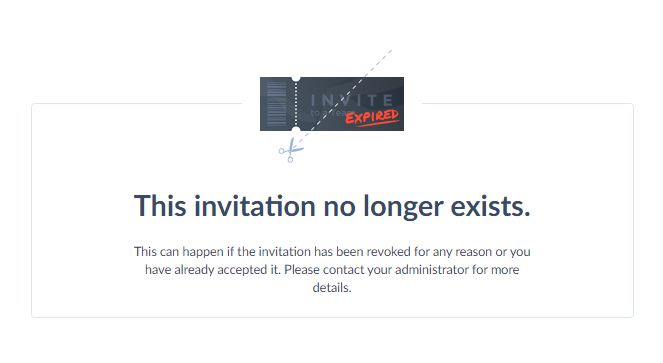
It can happen that by the time you accept an invitation, it has been revoked by any reason. In this case, you will receive a This invitation no longer exists notification. To find out details, contact the person responsible for the invitation. There is always an option to resend it.
Same notification will appear in case you try to accept the invitation, which you have already accepted earlier.
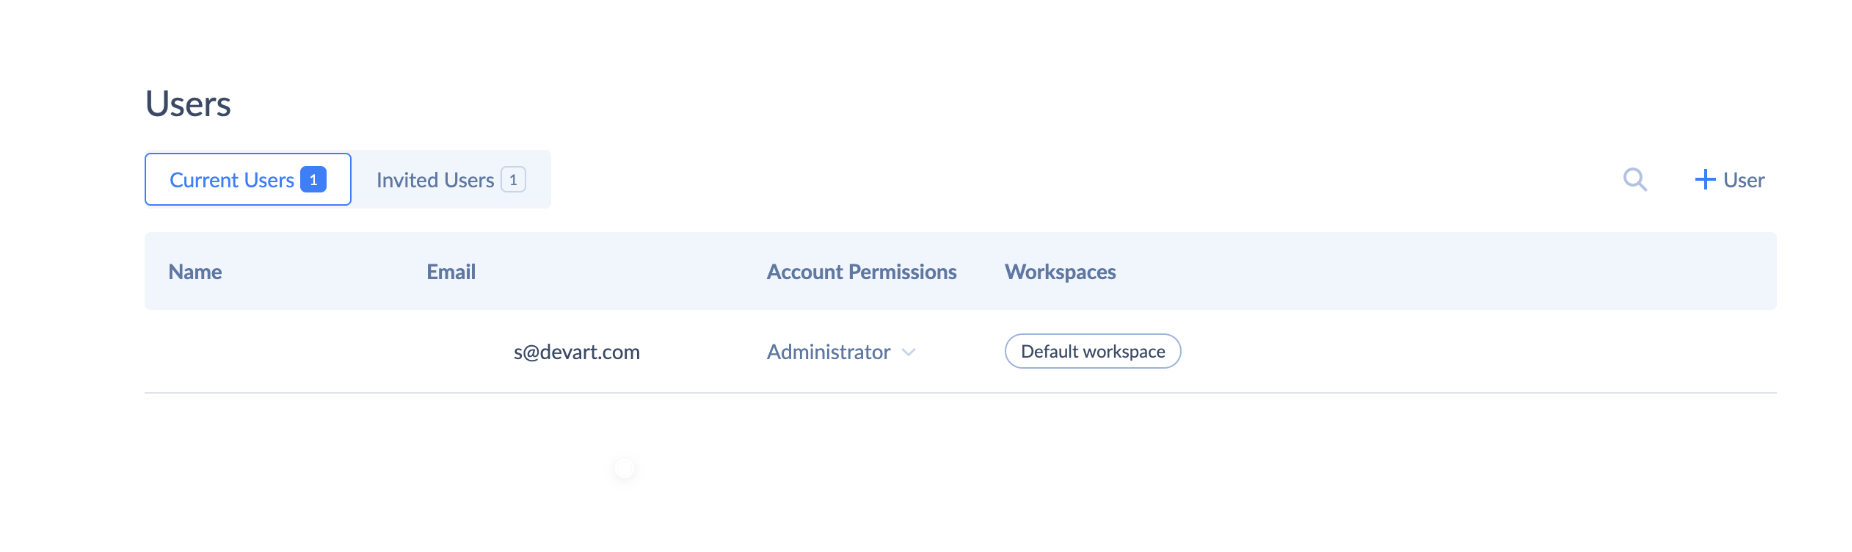
Monitoring Invitations
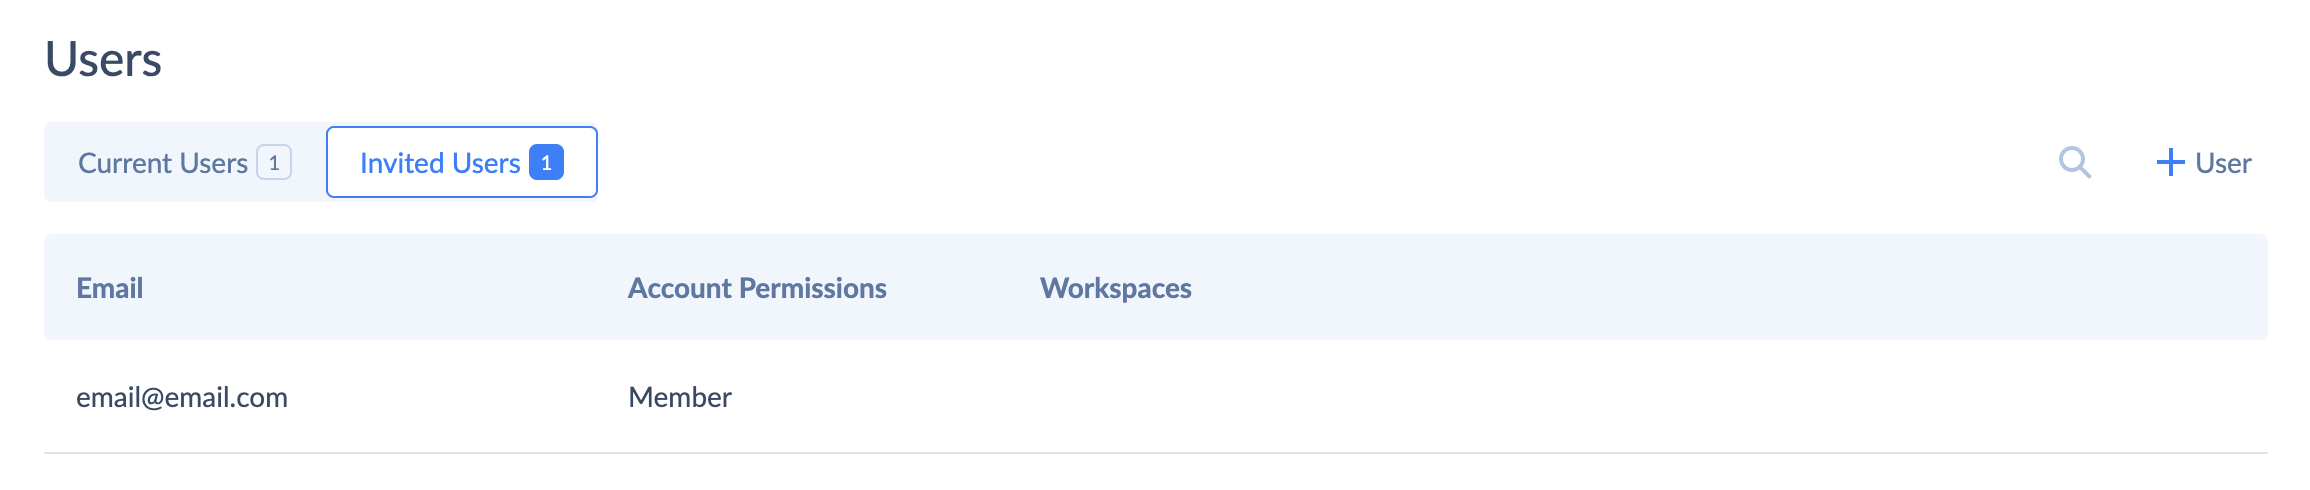
Monitor current workspace users and the users with pending invitations by switching between Current Users and Invited Users tabs.
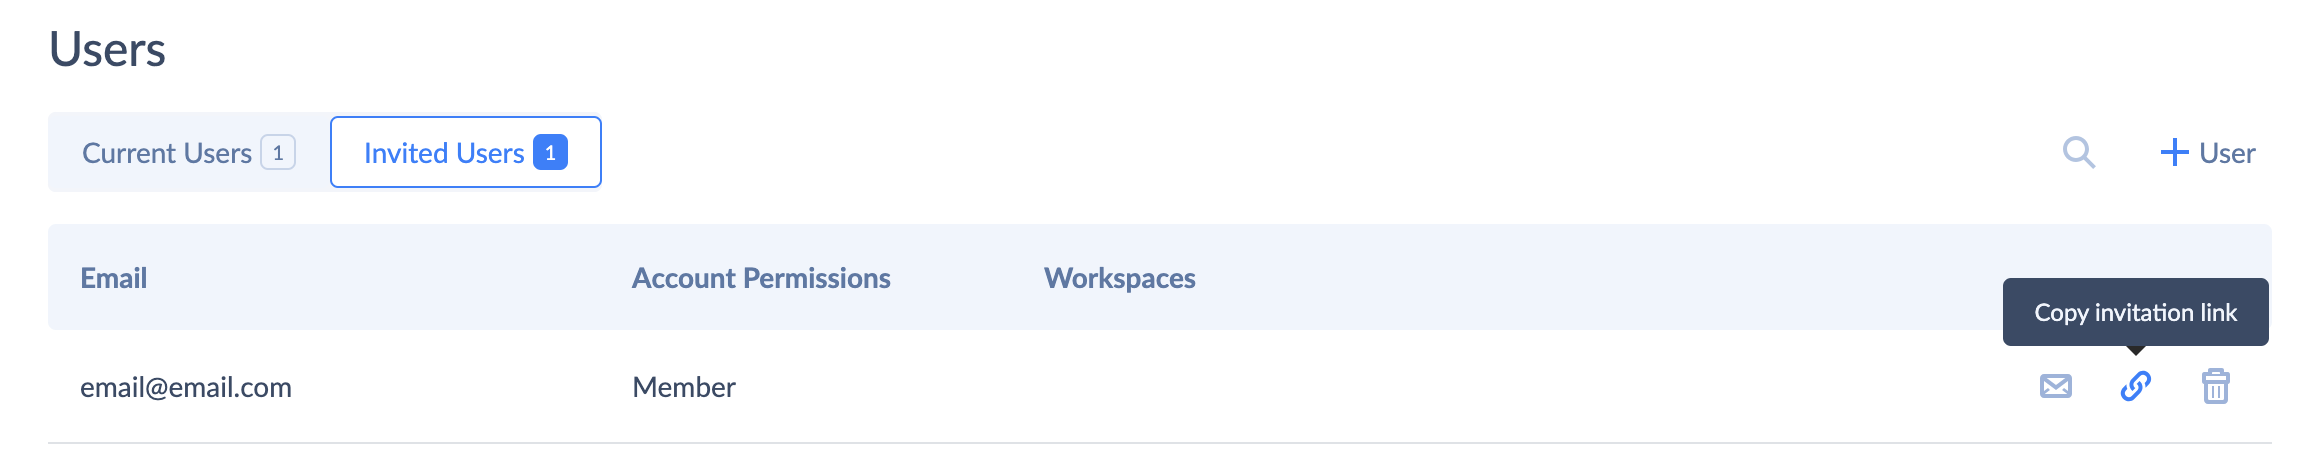
On the Invited Users tab you can resend the invitation email, copy the invitation link so you can quickly share it, for example, in a messaging app, and revoke the user invitation. To do so, hover over the invited user in the list and select the according icon on the bottom right.
Deleting Users from Accounts
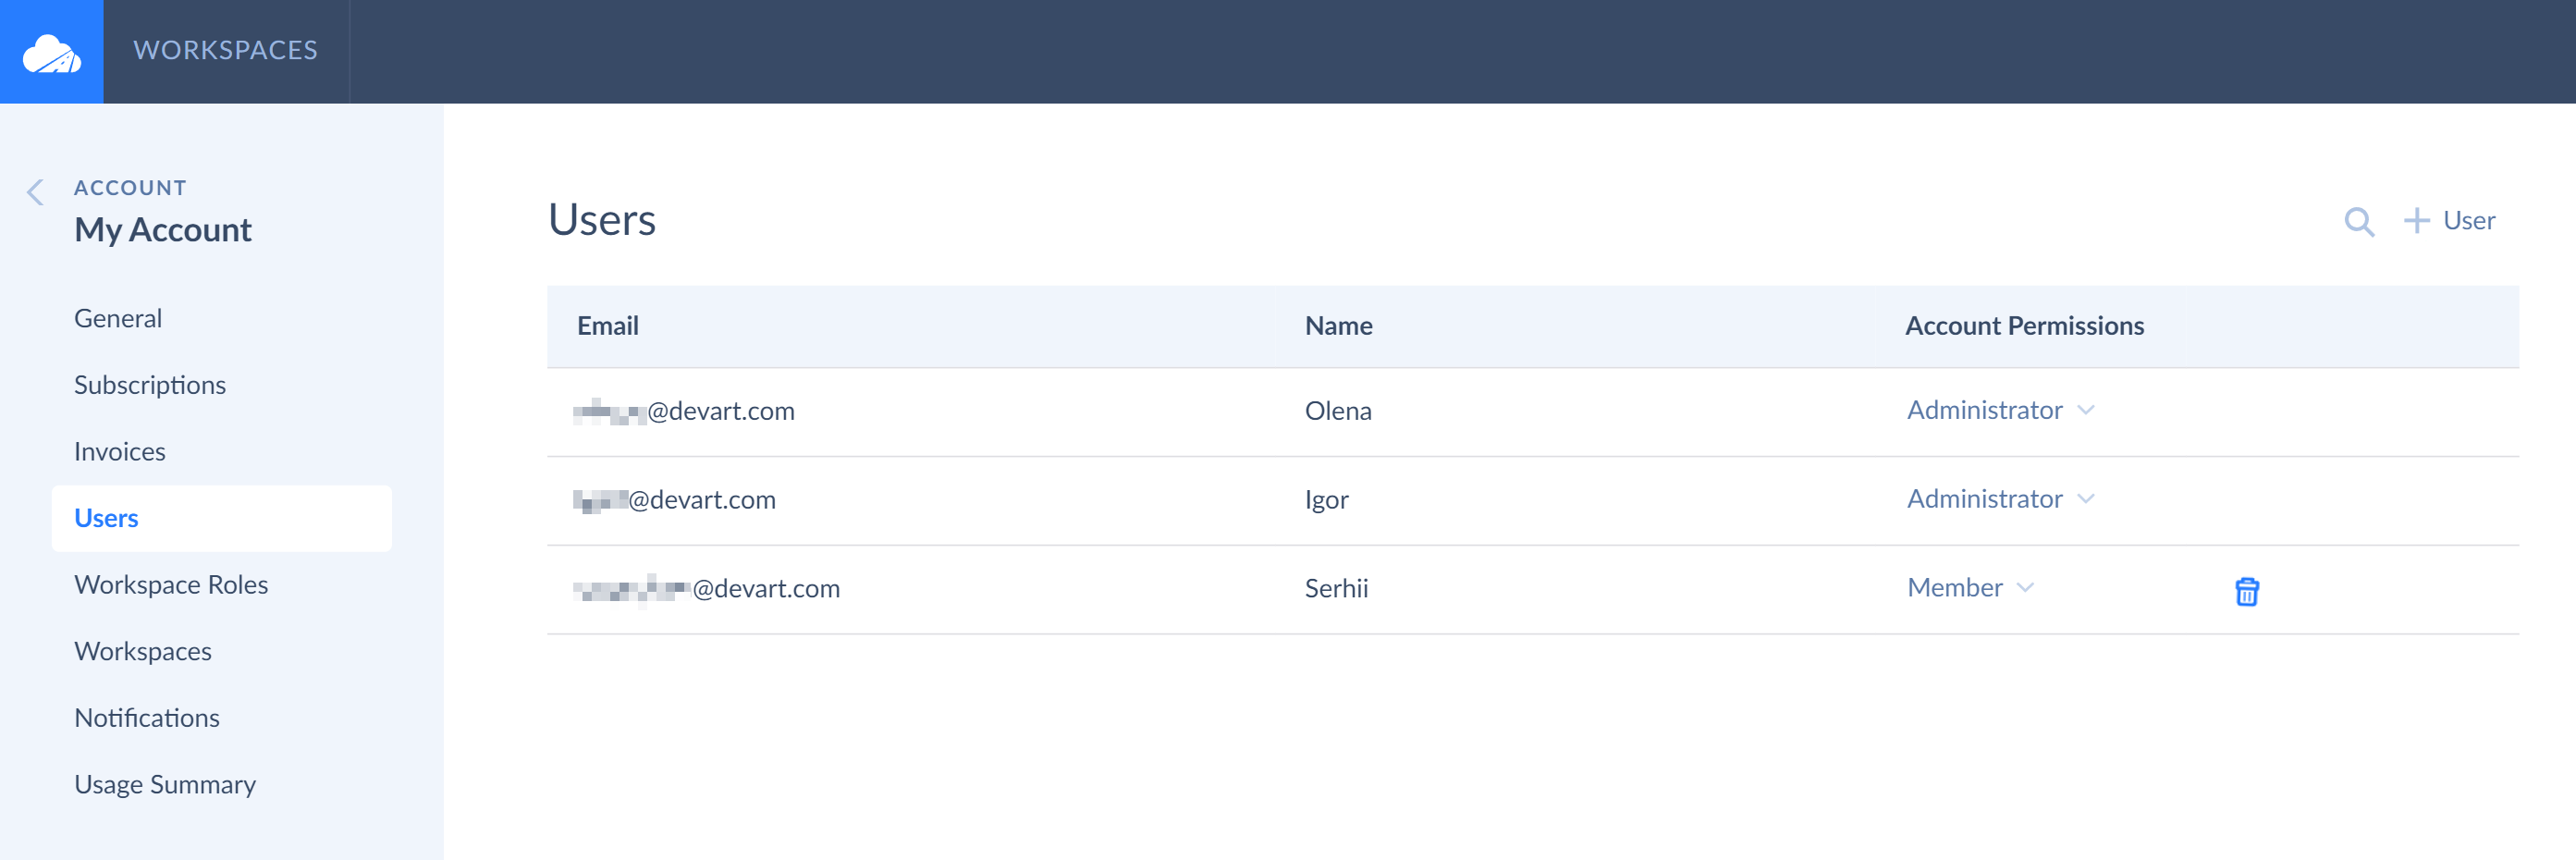
To delete invited users from your account, click the User icon in the top right corner of the Skyvia, and then — Accounts. Switch to the account you want to delete users from and select the Users tab. On this tab, click the  icon next to the users you want to delete. The corresponding users will be removed from your account. Next time these users sign in, they sign in to their own accounts.
User Statuses in the Account
The users listed in your account(s) may have one of the following statuses:
- Invited — this status shows that you have invited a user to your account, but this user haven’t yet signed in to Skyvia and received the invitation.
- Member — this status shows that the user has accepted the invitation and now uses your account.
- Administrator — this status shows that the user has administrative privileges in this account (see below).
When you sign up to Skyvia, you automatically receive administrative privileges to your default account and workspace. When you send an invitation to another user to join your account, status of this user automatically turns into Invited. When the user accepts your invitation, his/her status is automatically changed to Member. That is briefly how the sequence works.
Rights of Account Administrator
The account admins have full administrative privileges in the account. They can:
- select/edit subscriptions for products and change their auto-renewal status;
- enable the autocleaning mode for backups (except in a free plan);
- change payment information;
- create the initial account infrastructure, i.e. add workspaces to the account, create objects in the workspaces;
- invite other users to the account, assign workspace roles to users, delete users from the account/workspace, give other users administrative privileges and revoke them.
The main task of the account administrator is to manage subscription plans and payments, the overall account security and to allow users to conveniently collaborate in the system by establishing a comfortable collaborative environment on a centralized basis.
Rights of Account Member
The account members have limited permissions in the account they were invited to. They can view selected subscriptions to Skyvia products, resource limitations, but cannot manage subscriptions, cannot view or edit invoices, or any other payment information. Apart from that, account members cannot see other account users and account workspaces unless they were given access to such workspaces.
When the account member is assigned a certain workspace role, he/she can perform tasks strictly according to this role. Which workspace roles exist in Skyvia and how to assign them, find it in the Workspace Roles topic.