Acumatica
Acumatica is an enterprise resource planning (ERP) platform helping small and midsize businesses with financial management, customer relationship management (CRM), project accounting, and distribution management.
Data integration: Skyvia supports importing data to and from Acumatica, exporting Acumatica data to CSV files, replicating Acumatica data to relational databases, and synchronizing Acumatica data with other cloud apps and relational databases.
Backup: Skyvia Backup does not support Acumatica.
Query: Skyvia Query supports Acumatica.
Establishing Connection
To create a connection to Acumatica, set the Connection Mode, specify the URL, enter Client Secret and Client ID, sign in with Acumatica, and select the endpoint.
Getting Credentials
To locate the Client Secret and Client ID, create an OAuth 2.0 client.
-
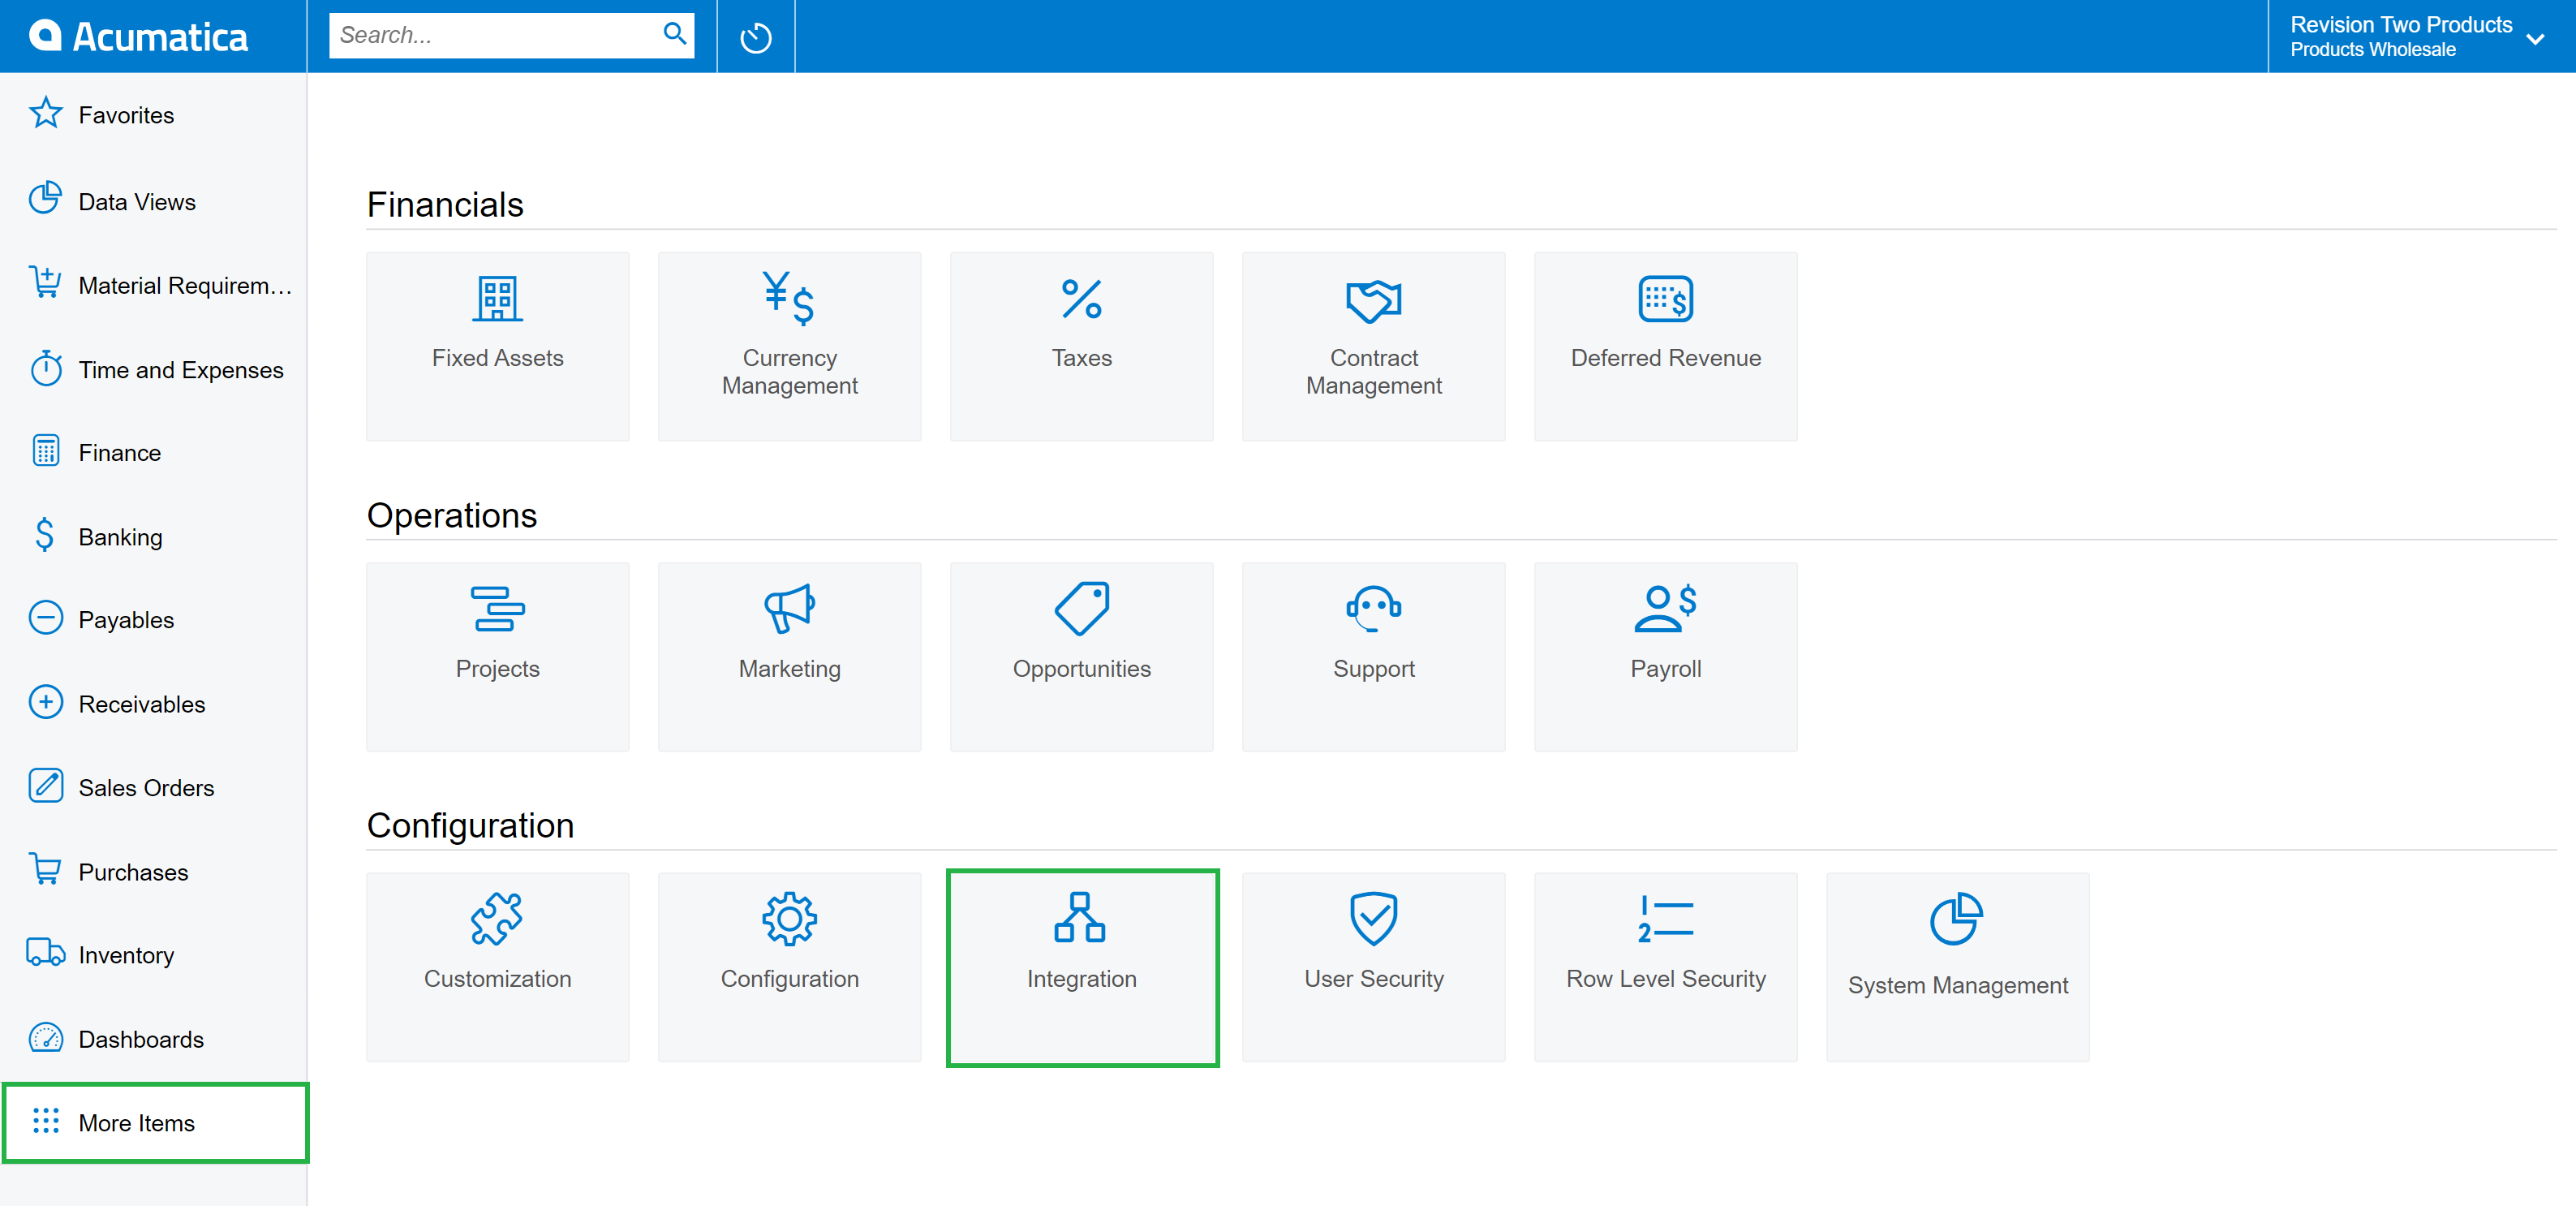
Go to your Acumatica ERP deployment, click More Items on the left and choose Integration.
-
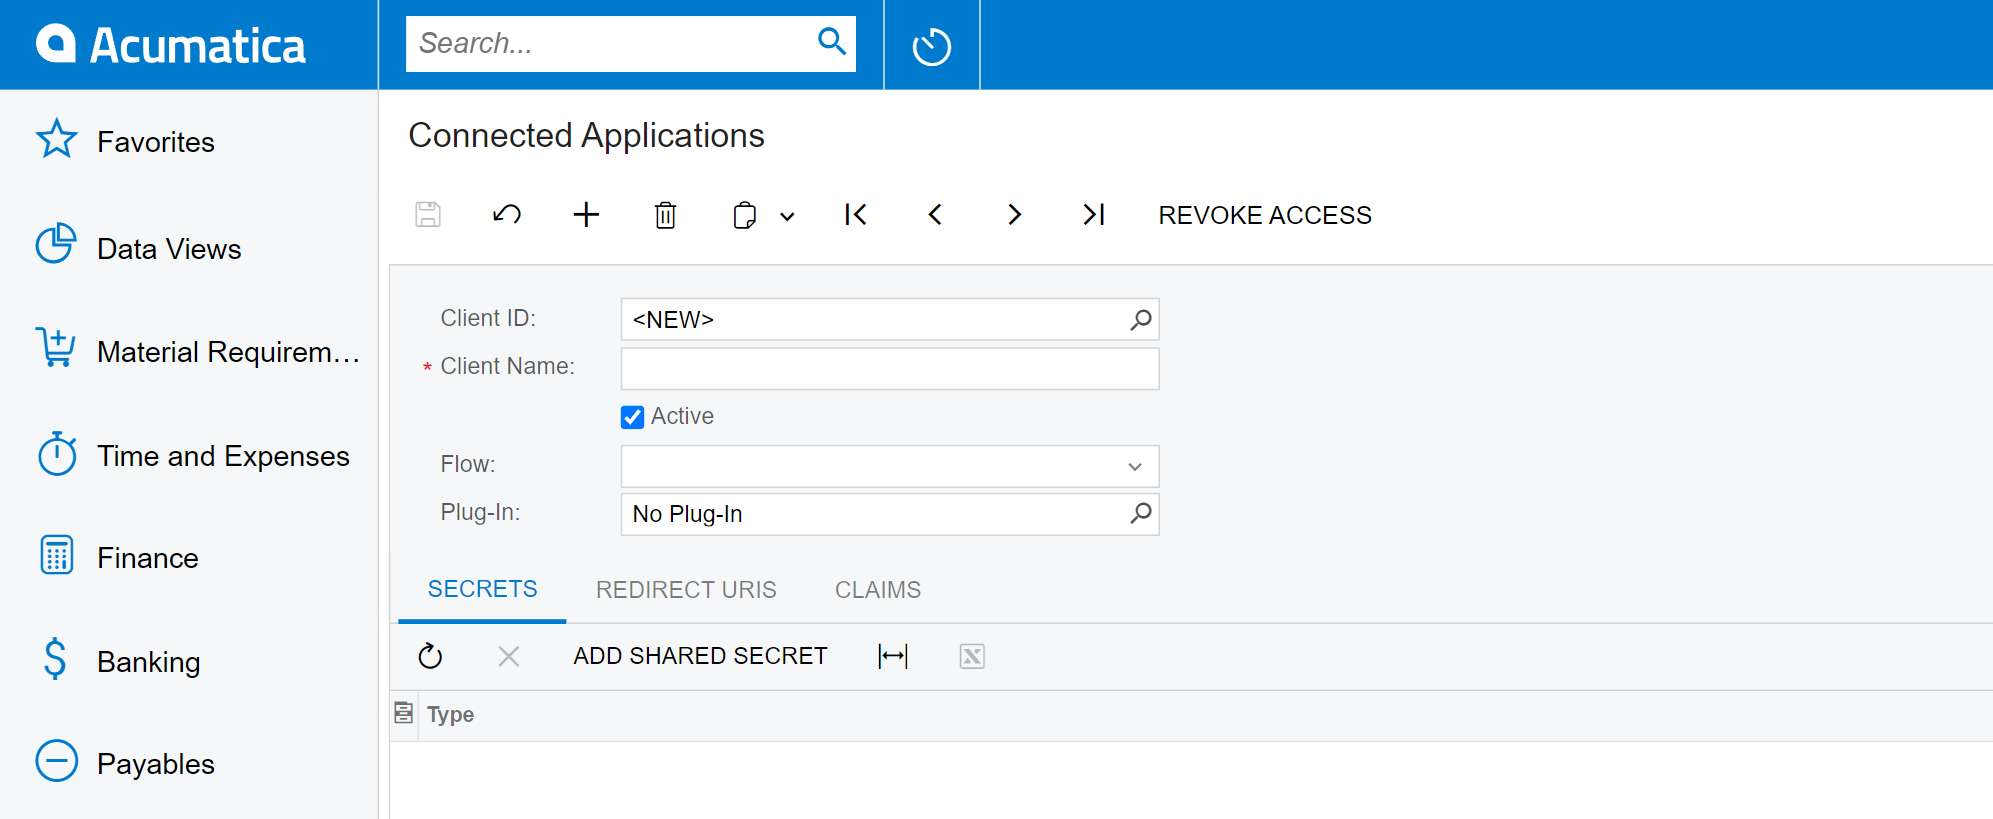
Click Show more -> Connected Applications.
-
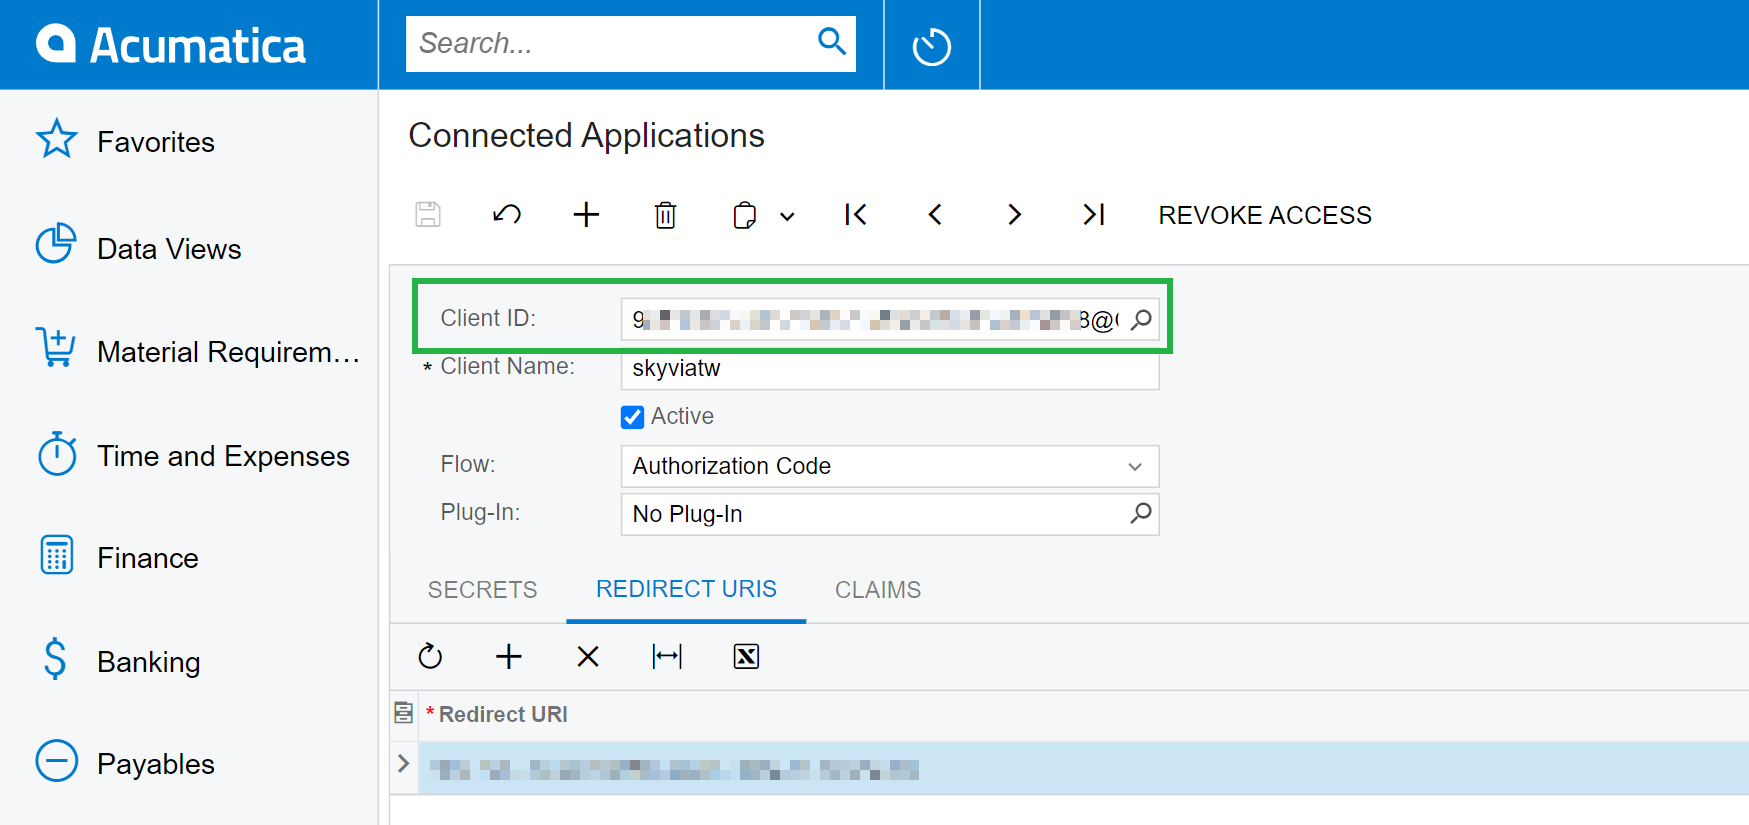
Leave Client ID as it is <NEW>. It will be automatically generated after you save the form. And give the name of your OAuth client.
-
In the Flow drop-down list, select Authorization Code.
-
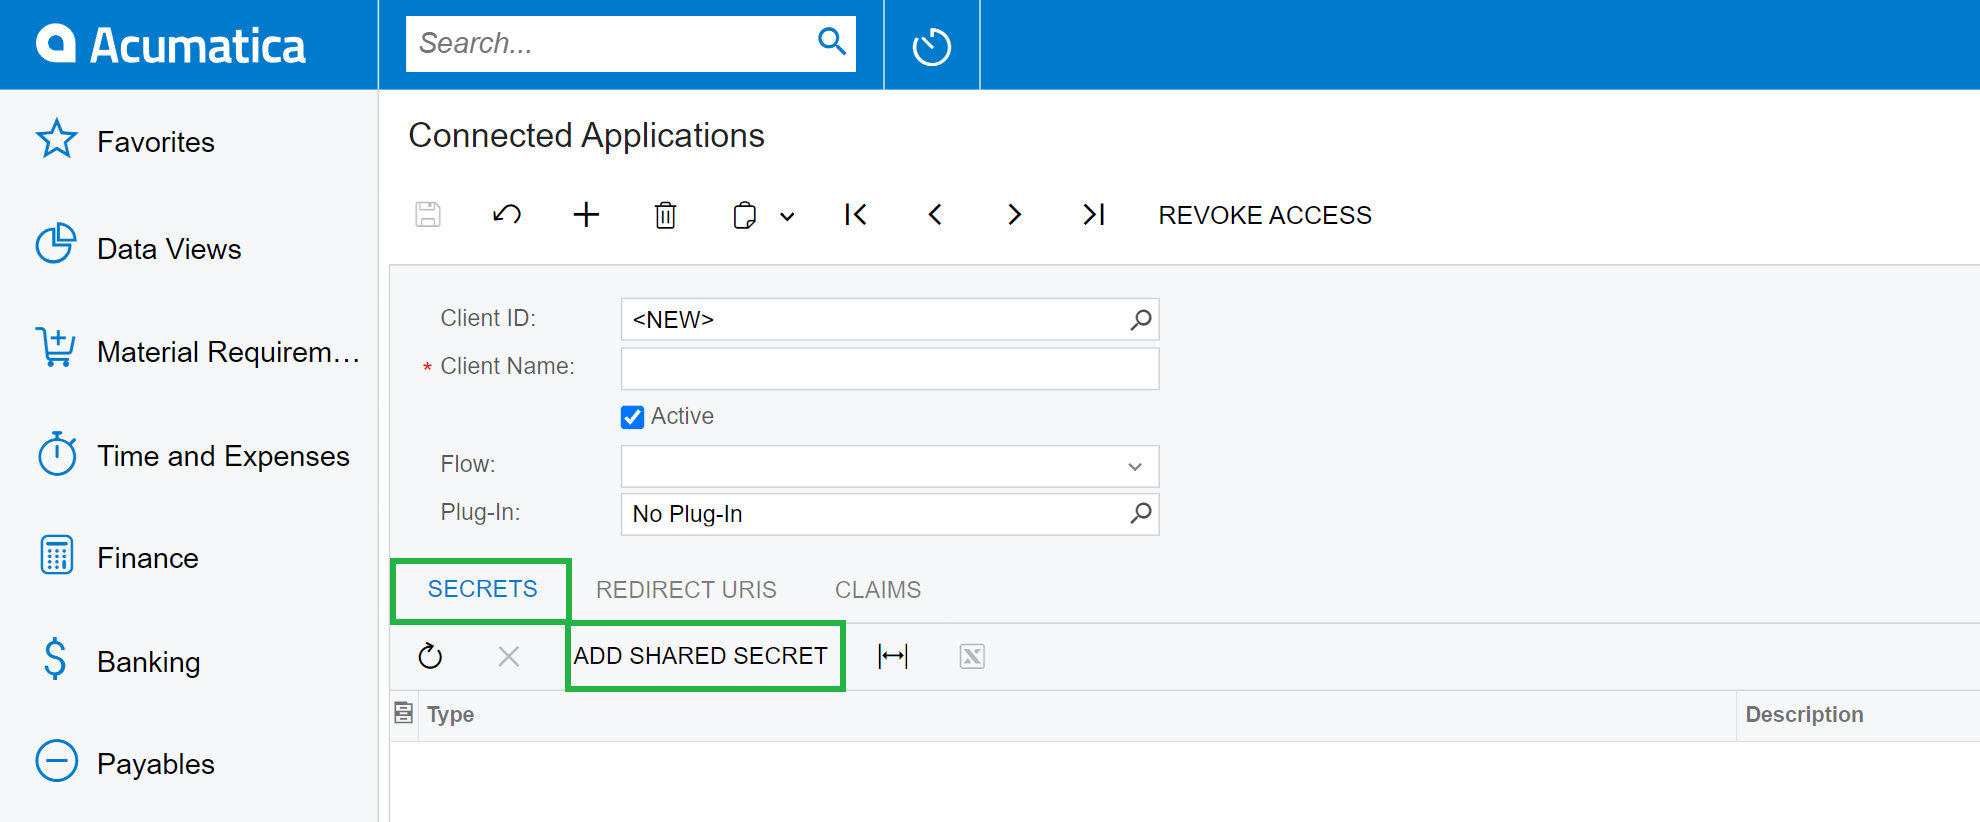
On the SECRETS tab click Add shared Secret.
-
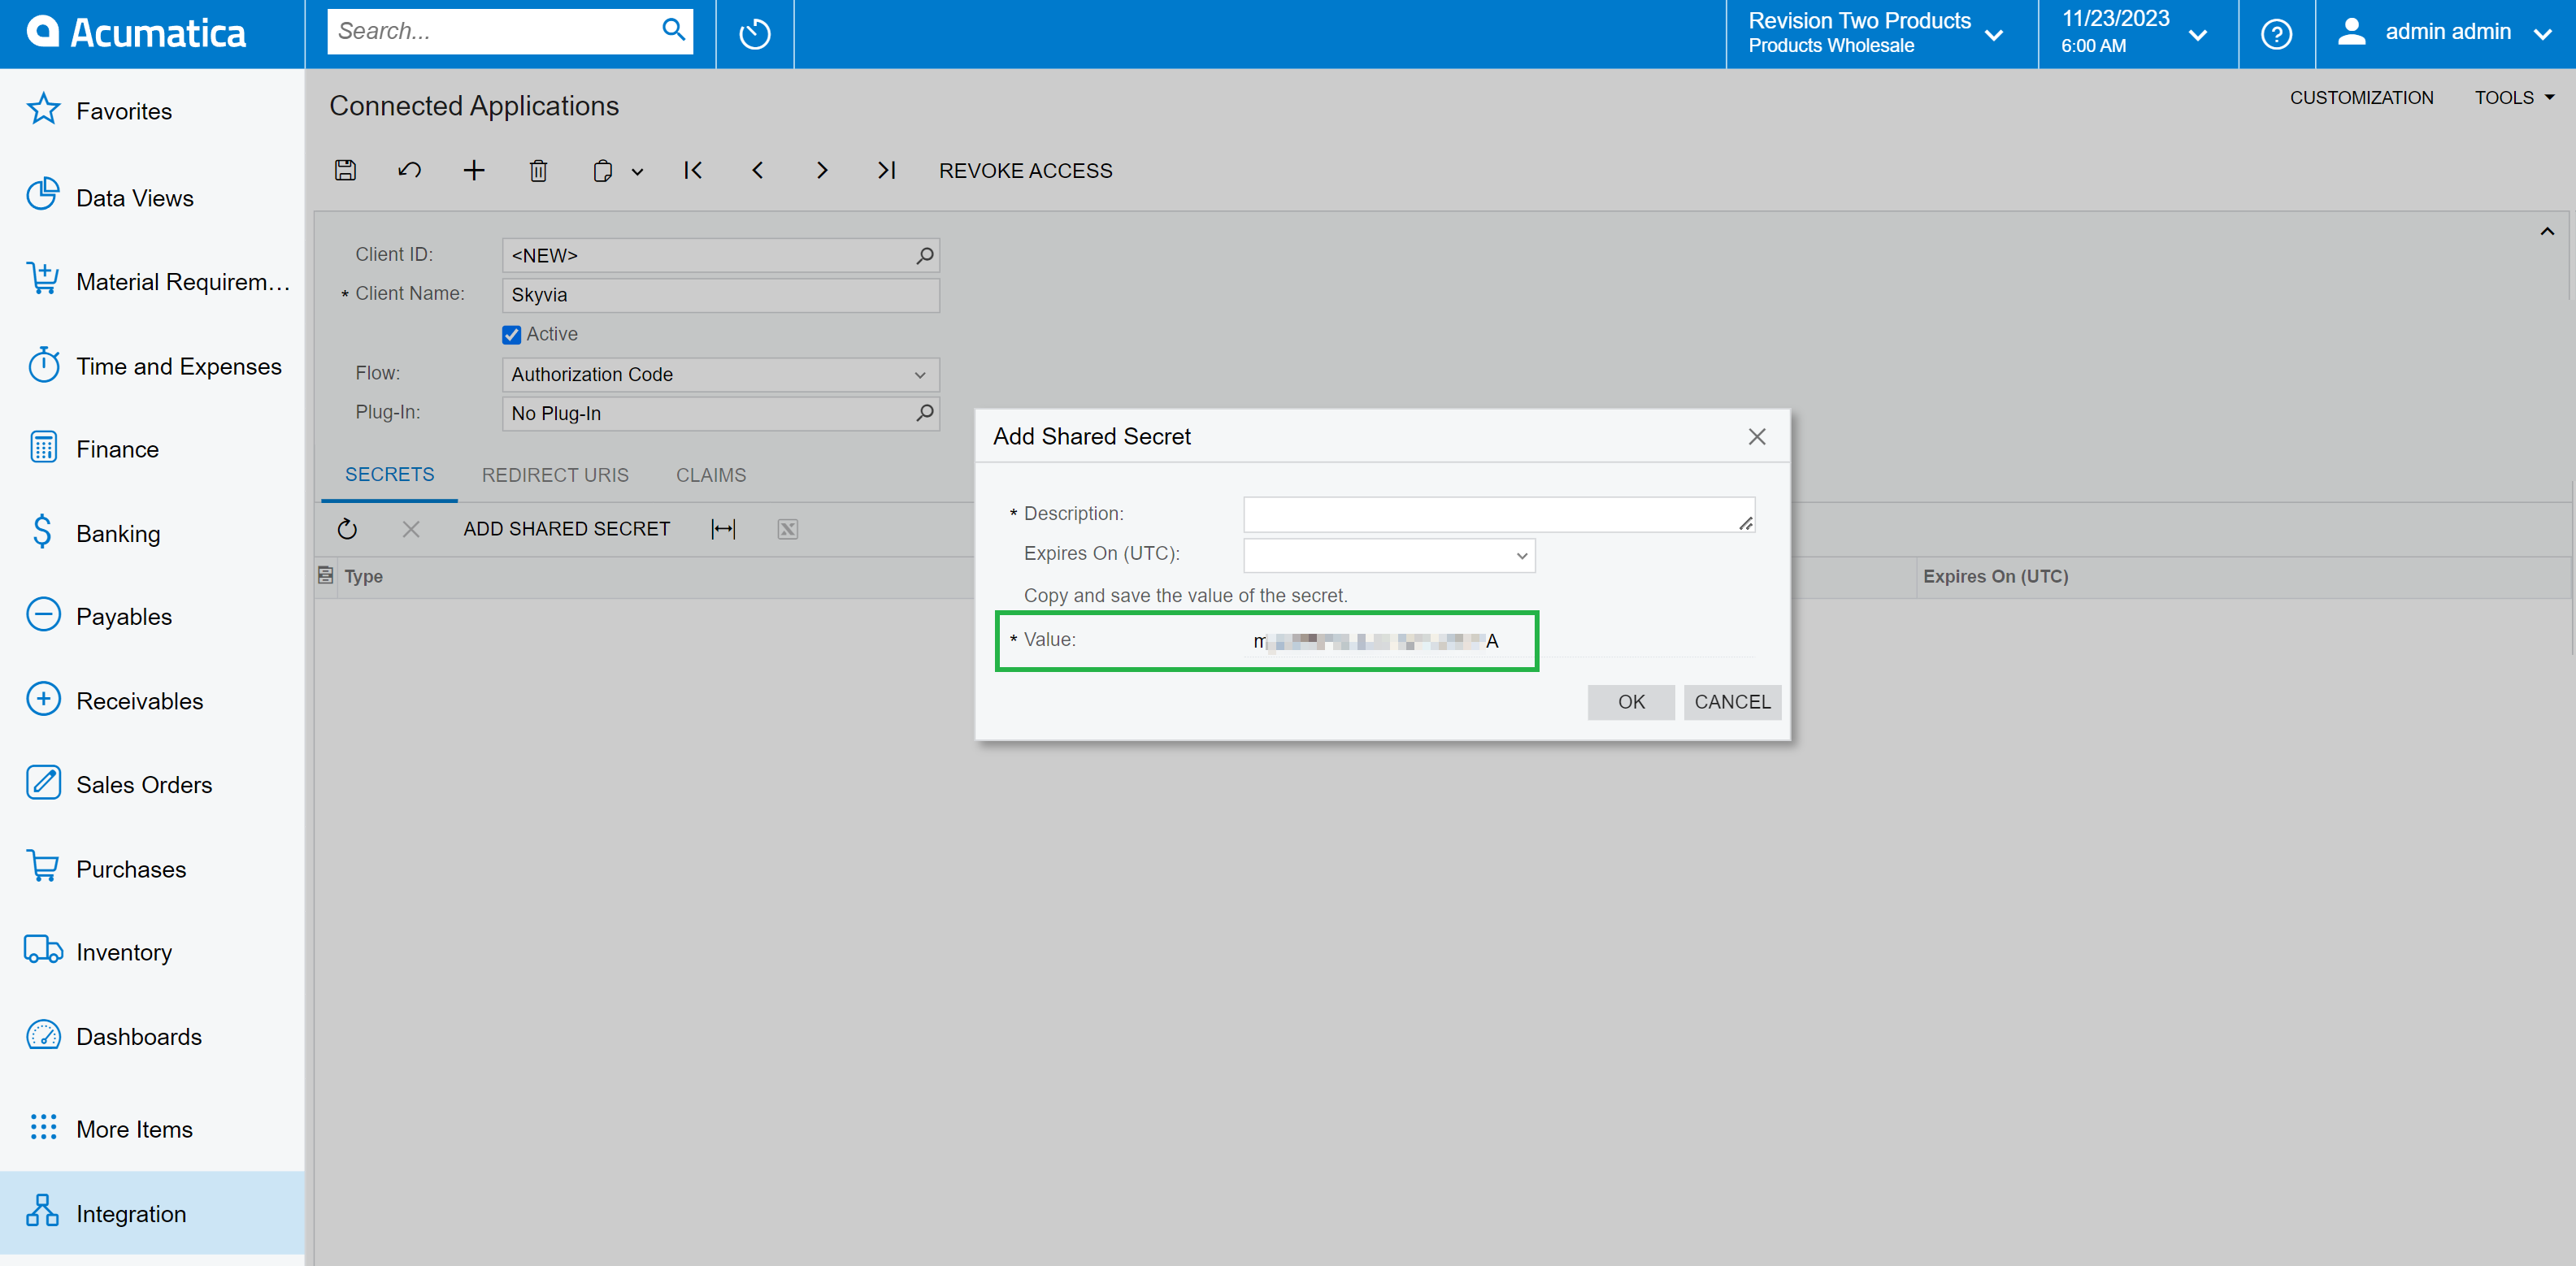
Copy the Client Secret value from the Value box.
-
Switch to the REDIRECT URIS tab. Click + and specify the following URL: https://app.skyvia.com/oauthcallback/acumatica.
-
Save the OAuth client and copy the generated Client ID.
Creating Direct Connection
If Acumatica ERP installed on your local server make sure your server is available for external connections. Skyvia will access your server from the following IPs: 40.118.246.204, 13.86.253.112, and 52.190.252.0.
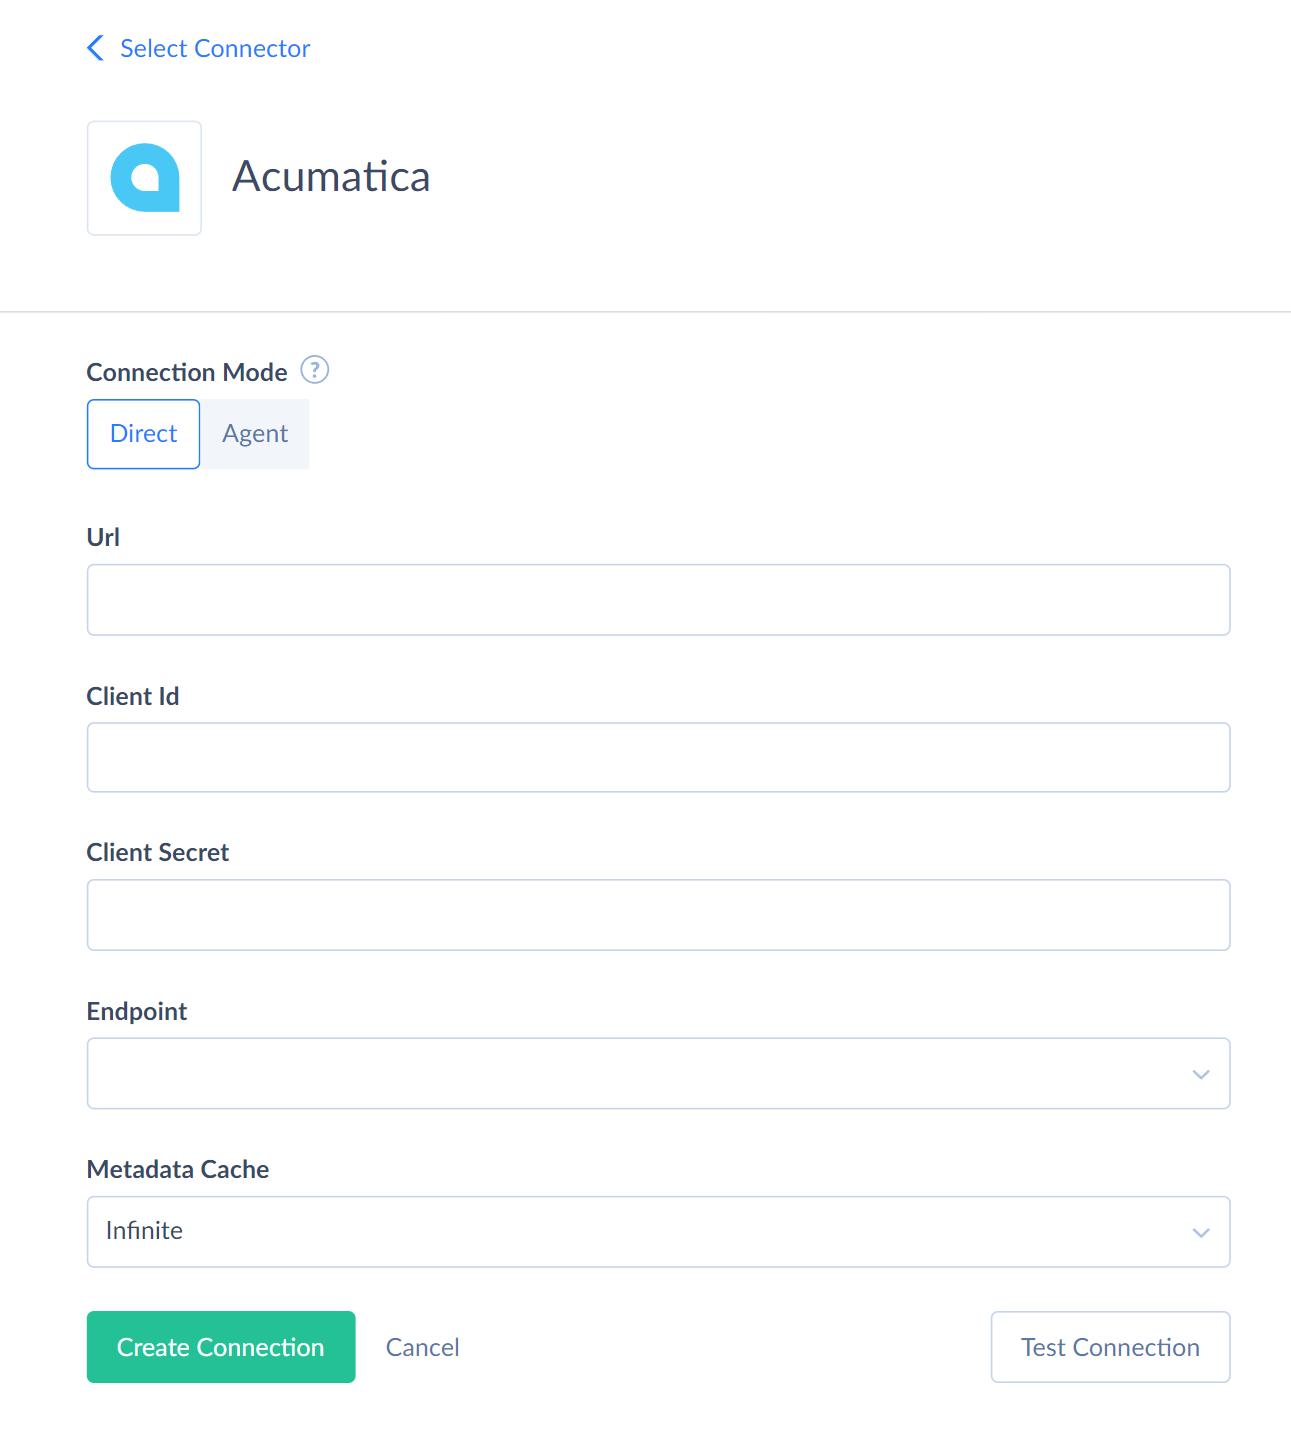
To connect to Acumatica, select the Direct connection mode and enter the following connection parameters.
-
Enter the Acumatica ERP instance URL in the URL box.
-
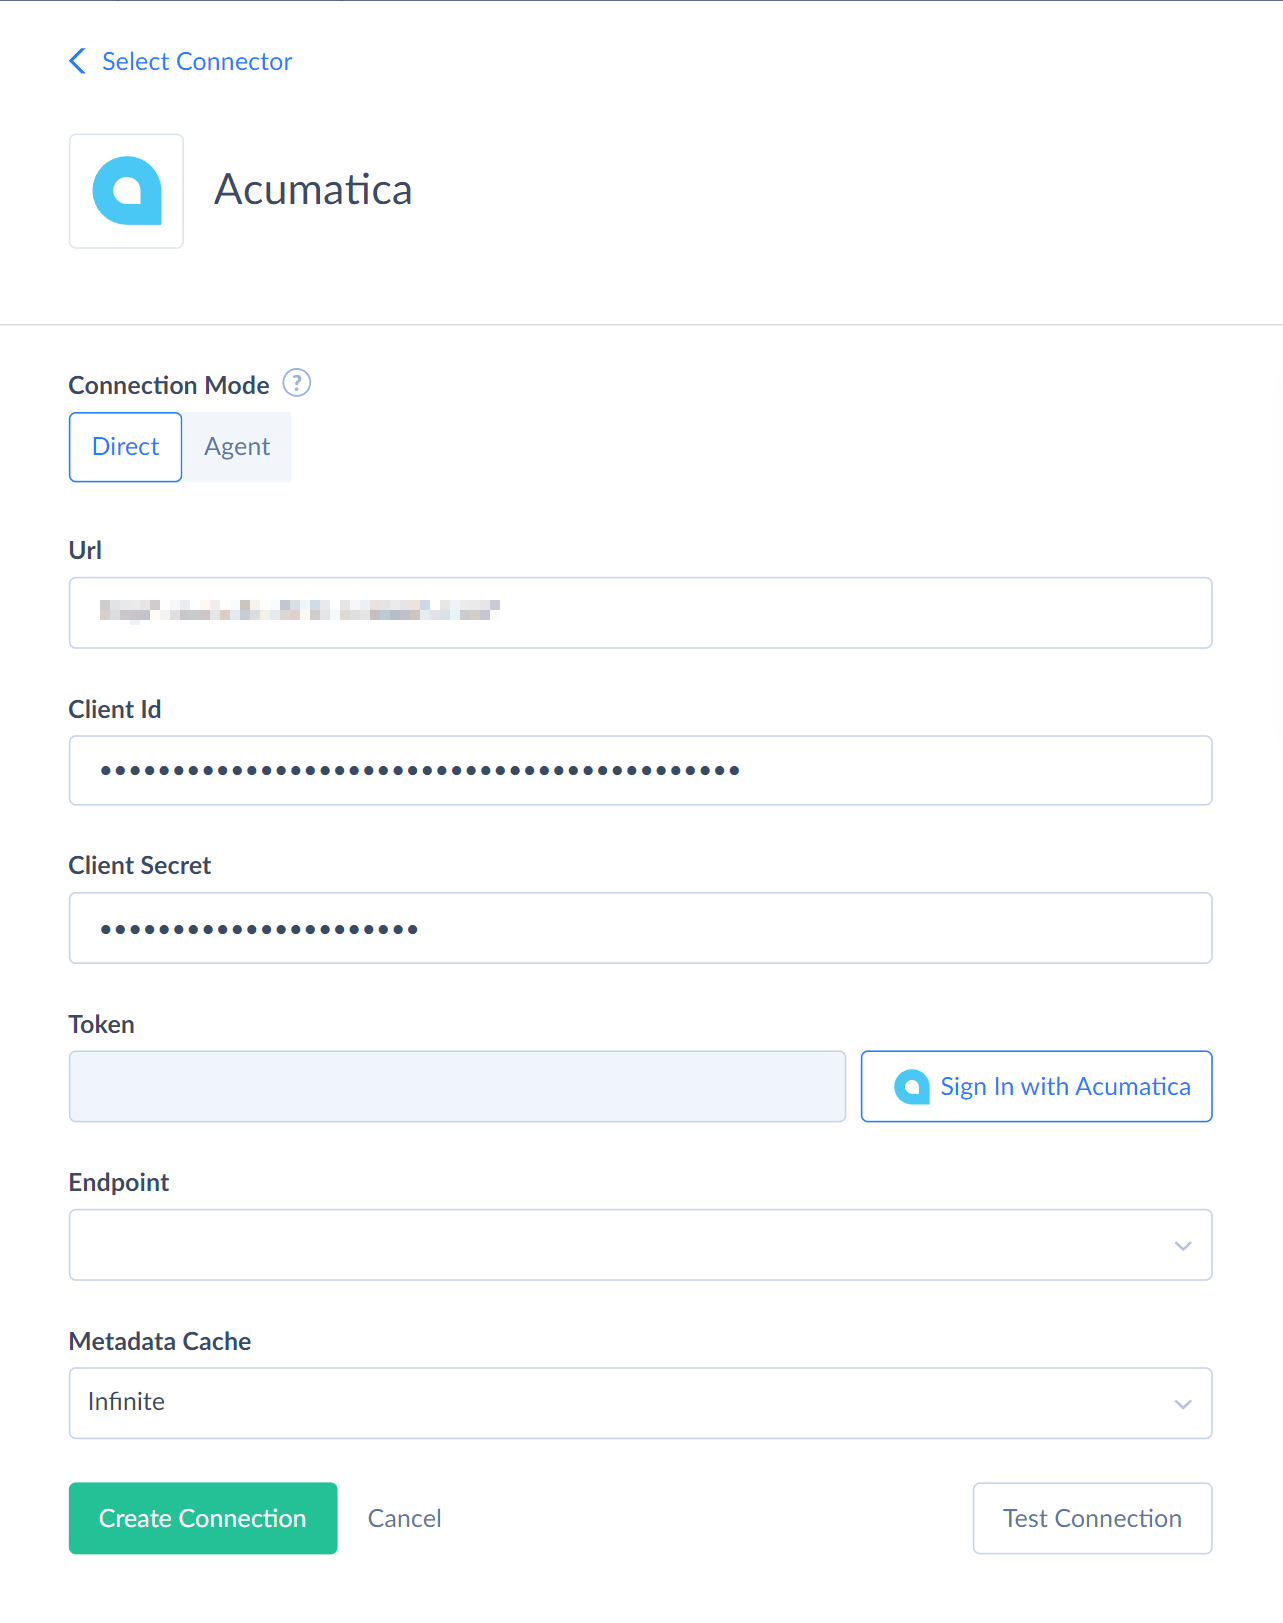
Specify the obtained Client Secret and Client ID in the corresponding boxes in the Connection Editor.
-
Click Sign In with Acumatica.
-
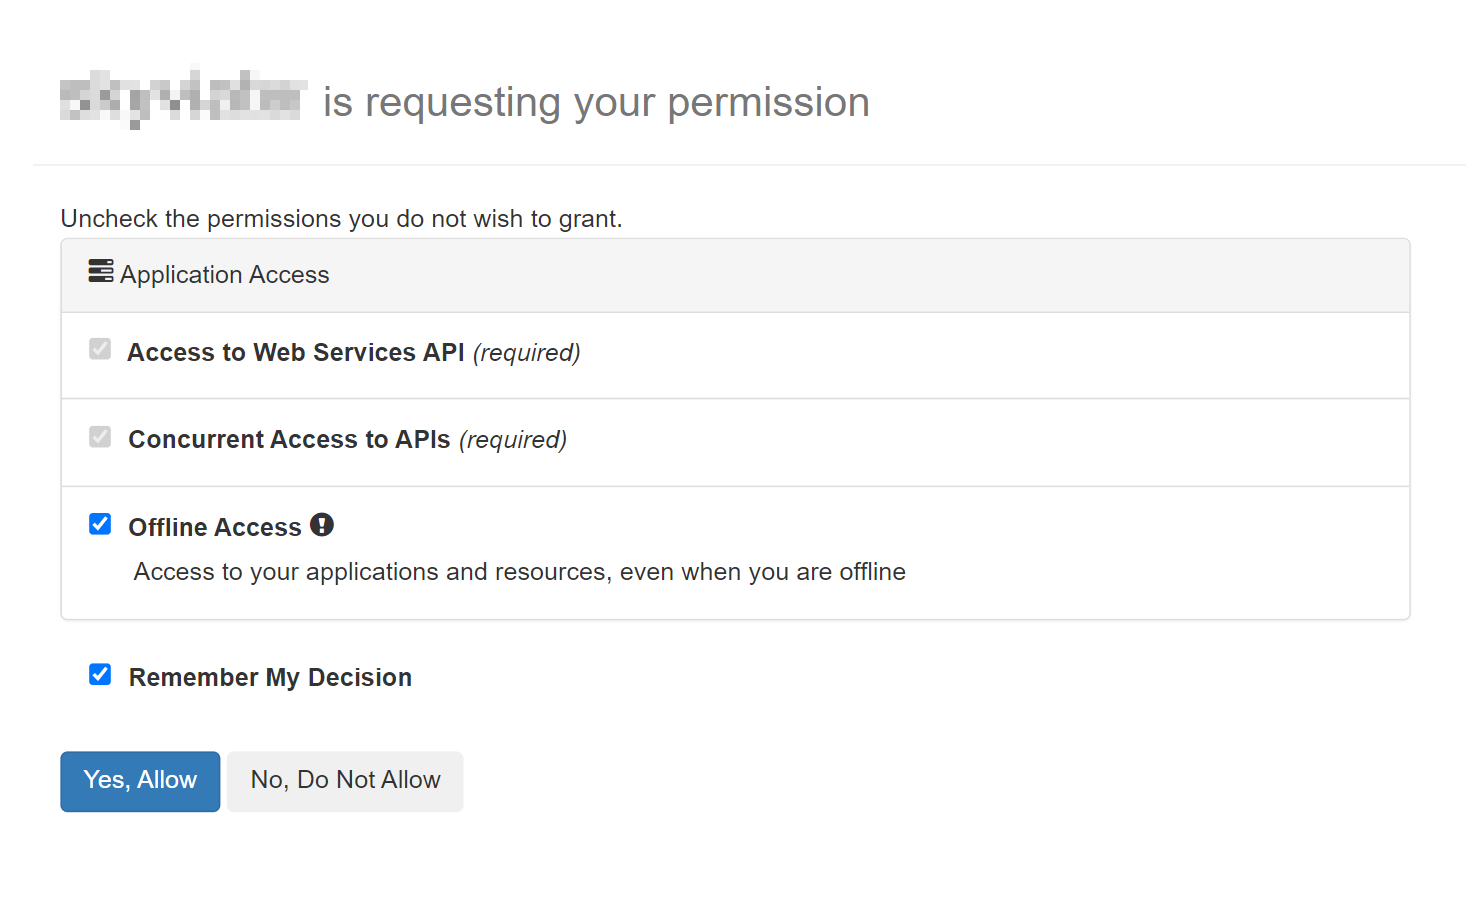
Click Yes, Allow to grant the permissions to your OAuth client.
-
Select the Endpoint from the drop-down list.
Creating Agent Connection
Install the Skyvia Agent application on a computer, from which the Acumatica server is available.
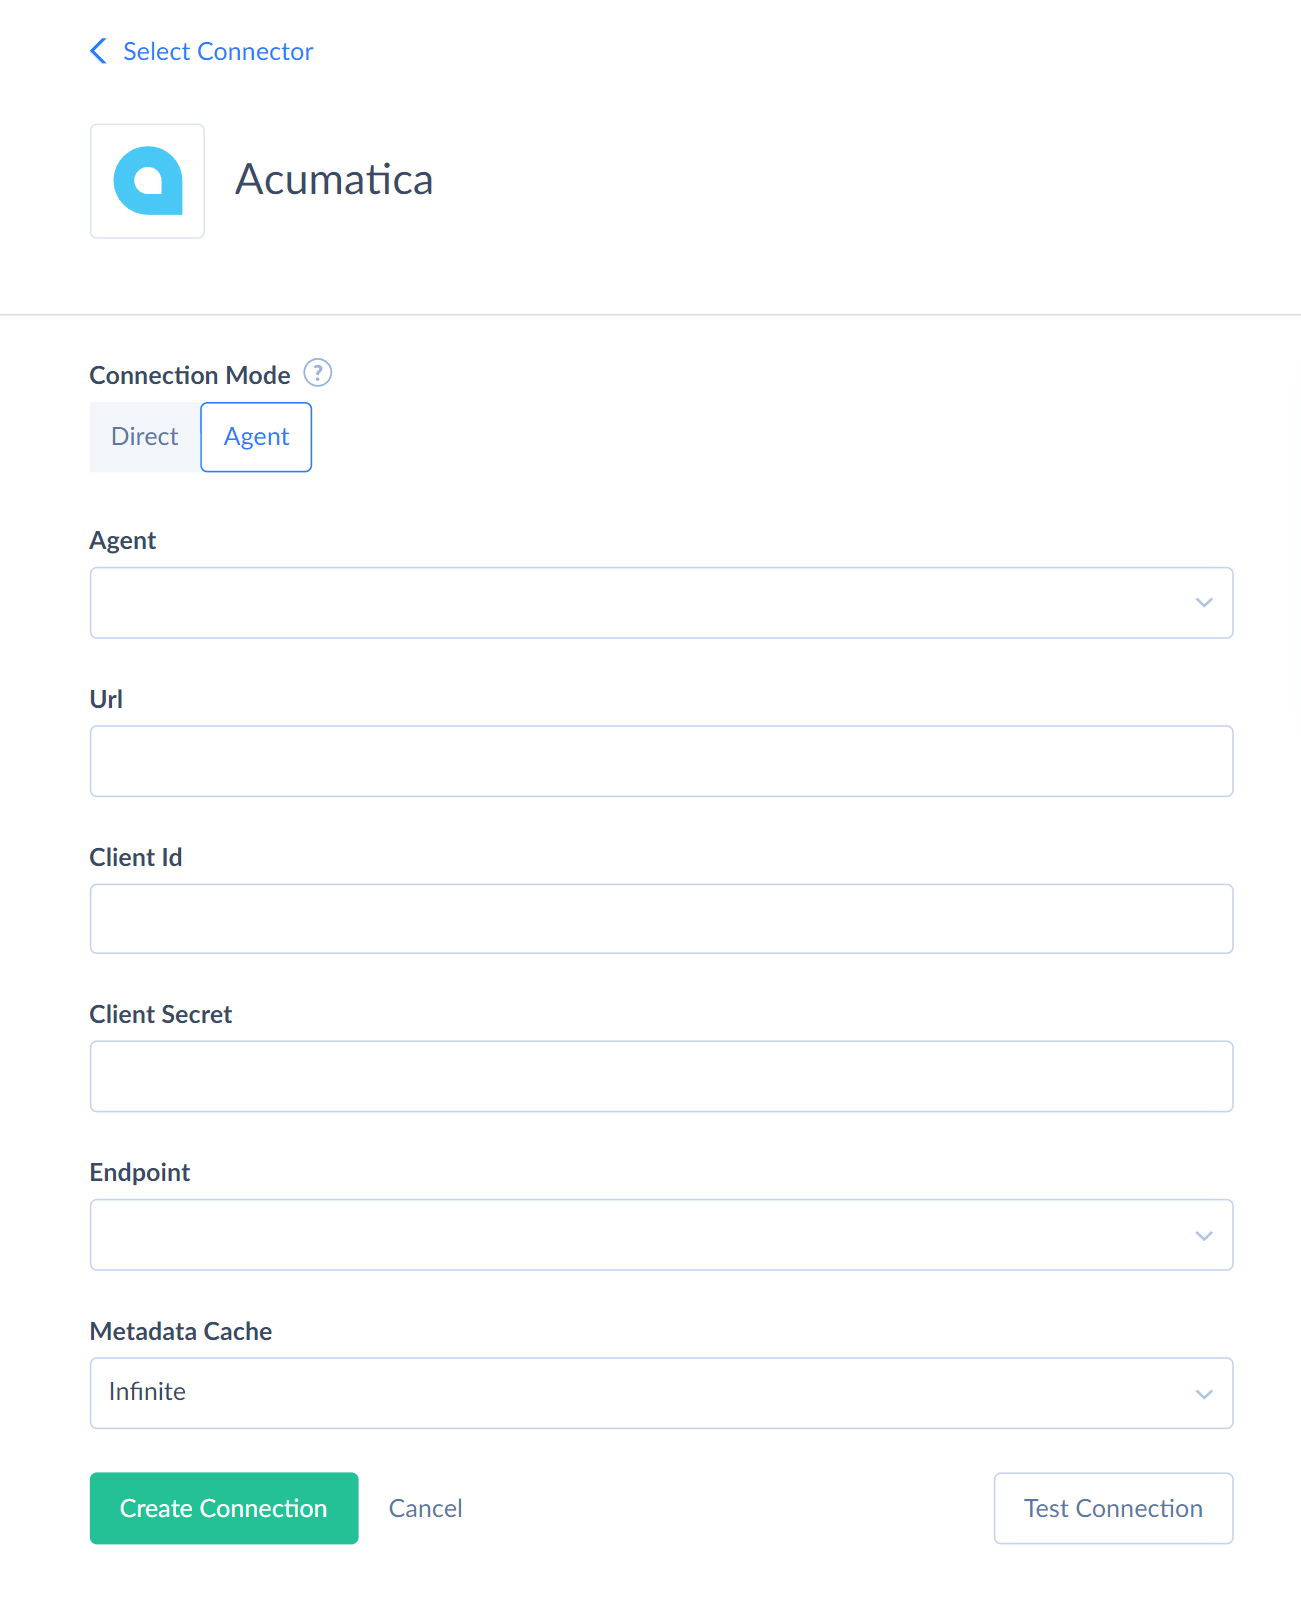
To connect to Acumatica, select the Agent connection mode and enter the following connection parameters.
-
Select the agent application from the drop down list.
-
Enter the Acumatica ERP instance URL in the URL box.
-
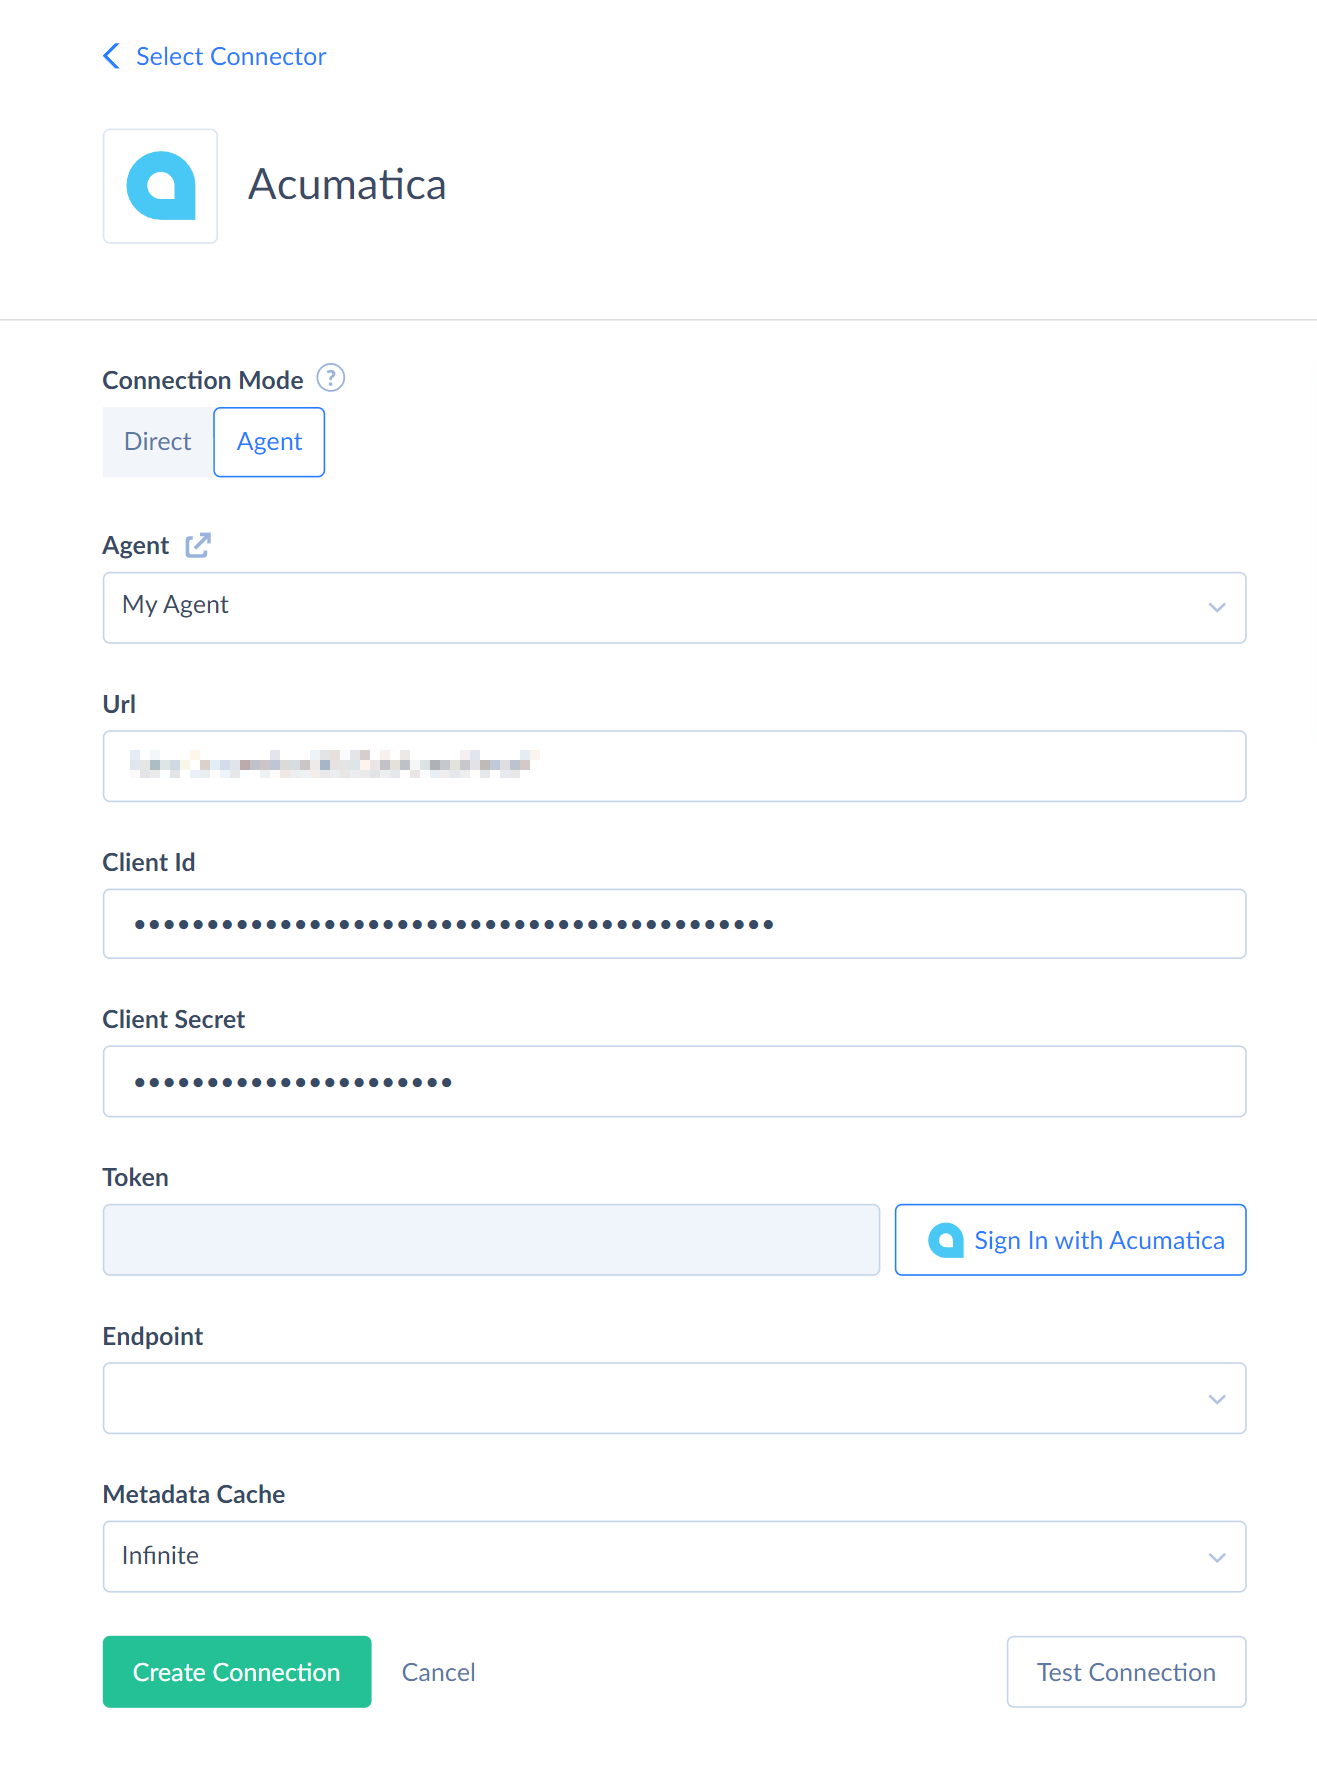
Specify the obtained Client Secret and Client ID in the corresponding boxes in the Connection Editor.
-
Click Sign In with Acumatica.

-
Click Yes, Allow to grant the permissions to your OAuth client.
-
Select the Endpoint from the drop-down list.
Additional Connection Parameters
Metadata Cache
You can specify the time after which Metadata Cache expires.
Connector Specifics
Supported Versions
There are several versions of Acumatica servers. Single Acumatica server supports endpoints of different versions. Skyvia currently supports Contract v4 version endpoints 22.200.001 and 20.200.001.
Object Peculiarities
There are two types of Acumatica objects: standard objects and the *Attachments objects.
Read-only Objects
The following Acumatica objects are read-only: FinancialPeriod, FinancialYear, ItemSalesCategory, LaborCostRate, PhysicalInventoryReview, ProFormaInvoice.
Incremental Replication and Synchronization
Skyvia supports Synchronization and Replication with Incremental Updates for Acumatica objects containing the CreatedDateTime or LastModifiedDateTime fields.
DML Operations Support
Skyvia supports the following DML operations for Acumatica.
| Operation | Object |
|---|---|
| INSERT, UPDATE, DELETE | Standard objects |
| INSERT, UPDATE | *Attachments |
Supported Actions
Skyvia supports all the common actions for Acumatica.