Importing Accounts with Binary Attachments
In this tutorial, we will show how to import binary files together with a CSV file. Suppose we need to import a CSV file with Salesforce accounts and attachments for these accounts. Attachment data are stored as a field of the base64 type. It would be impractical to convert all the attachment files to base64 values and put them inside a CSV file. Instead we will import them as is — as a collection of binary files.
To import a collection of binary files together with a CSV file, you need to zip them and add information on which file corresponds to which data row to the CSV file. The simplest way would be to add a column, containing a file name, to the CSV file.
In our case we have two choices. If we import a fixed number of attachments for each imported account, we may add all the necessary columns for attachments to the CSV file, containing the accounts. However, if the number of attachments for a single account can be different, you will need to create a separate CSV file with information about attachments. In the latter case you will need to specify an account to import an attachment for.
To avoid using Salesforce IDs in the CSV file, we consider that imported account names are unique and use account names to specify the attachment owners. We will need the following columns in the Attachments.csv file:
- AccountName — will be used to specify the account owner using Relation mapping
- ContentType — this column determines the type of the imported attachment file (can be omitted if all the imported attachments have the same type)
- FileName — name of the corresponding attachment file in the zip archive.
When importing a single CSV file, containing information on accounts and attachments, you will need to add columns, specifying the names of the files to import as attachments. The number of these columns must be the same as the number of attachments per account. In case the attachment file types are different, you will also need the same number of columns, specifying the content type.
This tutorial demonstrates both scenarios: with a single CSV file and with separate CSV files.
Creating Connection
Regardless of the way you want to use to specify parent accounts for contacts, first you need to create a connection to the target Salesforce database, if you haven't created it before. To create a connection to Salesforce, perform the following steps:
-
Click +NEW in the top menu.
-
Click the Connection button in the menu on the left.
-
In the opened Select Connector page, select Salesforce. To quickly find it, you can either use the Type to filter box or filter connectors by categories using the All list (for Salesforce, select the CRM category).
-
The default name of a new connection is Untitled. Just click it to rename the connection, for example, to Salesforce1.
-
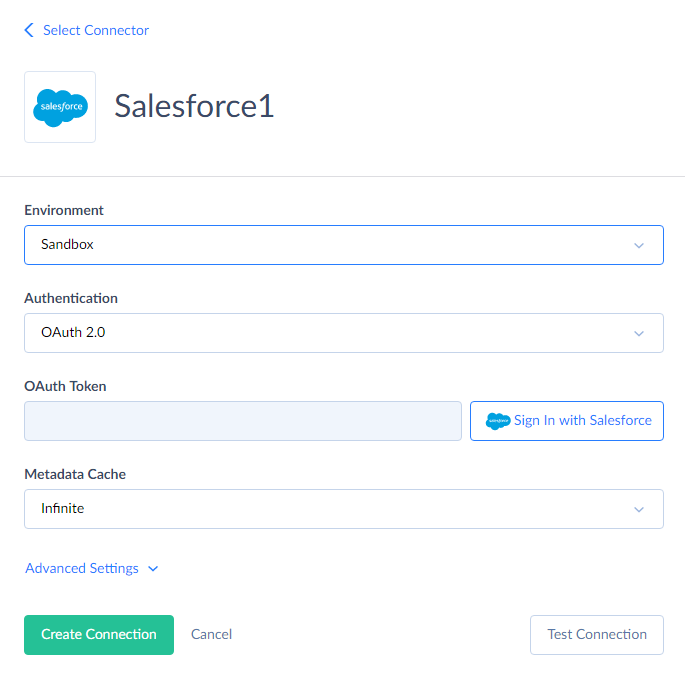
From the Environment drop-down list select the Salesforce environment type to import data to. Since this is just a sample walkthrough, the Sandbox environment is recommended.
-
From the Authentication drop-down list select the authentication method for connecting to Salesforce. If you don't mind storing your Salesforce credentials on our Skyvia server, select User Name & Password. If you prefer not to store your credentials, select OAuth 2.0.
-
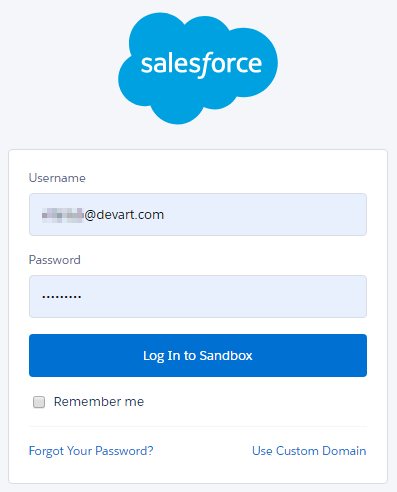
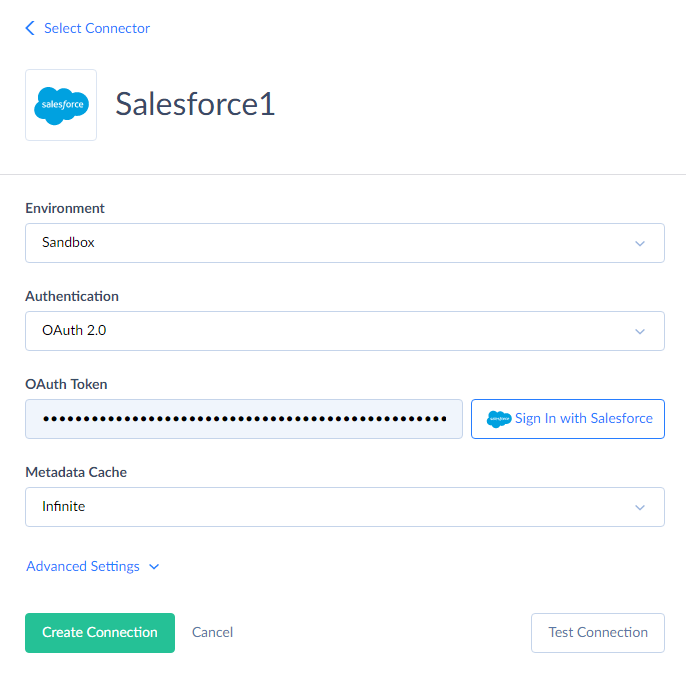
If you have selected User Name & Password, on the previous step, specify your Salesforce account e-mail, password, and security token. Otherwise, if you have selected OAuth 2.0 authentication, click the Sign In with Salesforce button and log in via the Salesforce website on the opened page. The result OAuth token will be stored in the connection data. Your Salesforce credentials will not be stored on our website.
-
Click the Create Connection button to create the connection.
Importing Accounts and Attachments stored in Single CSV File
-
Click +NEW in the top menu.
-
In the Integration column, click Import. The import details page will open.
-
Rename your integration by clicking and editing the integration name. The default integration name is Untitled. Please note, if you omit this step, the integration name will remain Untitled in the list of created integrations.
-
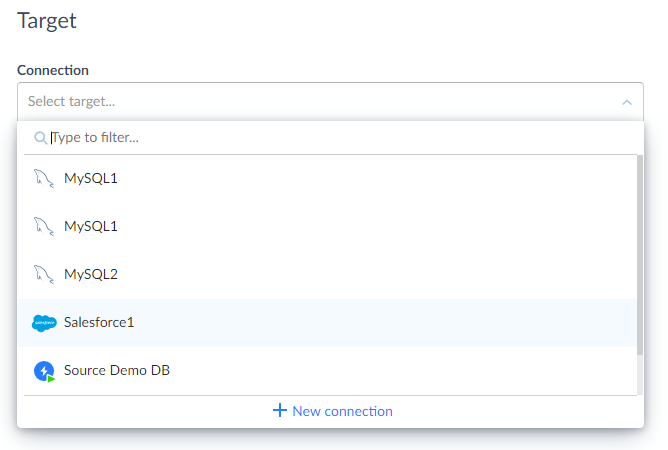
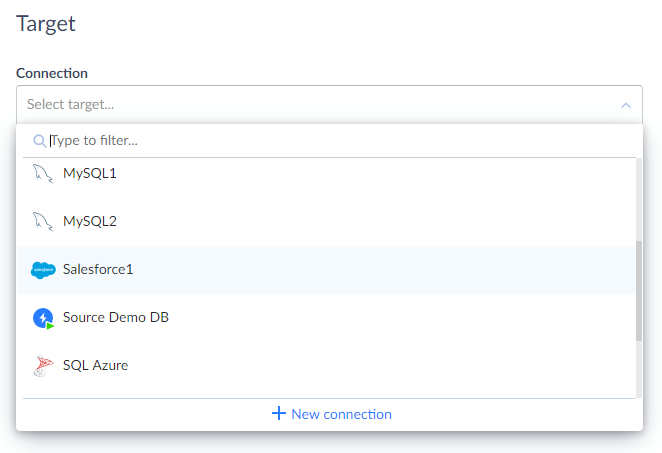
Under Target, in the Connection list, click Select target and select Salesforce1 in the drop-down list.
-
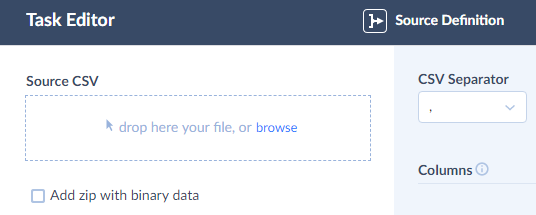
Click the Add new link to open the Task Editor.
-
Click browse and select the CSV file with Accounts data to import.
-
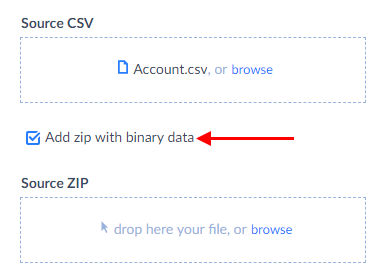
Select the Add zip with binary data checkbox.
-
Click browse and select the zip file with attachments to import.
-
If necessary, set the CSV Options.

-
Click the Next step button in the bottom of the dialog box to switch to the next editor page. You can also switch between the editor pages by clicking the corresponding icons: Source Definition, Target Definition, and Mapping Definition.
-
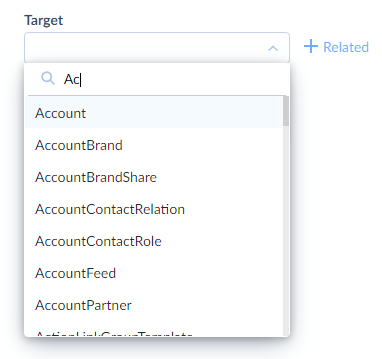
Select Account in the Target list.
-
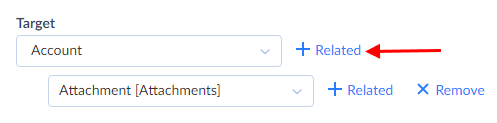
Click +Related near Account and in the new drop-down list select Attachment. If you import several attachments per account, perform this action the number of times equal to the number of attachments per account. Note that you should click the same +Related near Account, not the buttons near added Attachments.
-
Click the Next step button in the bottom of the dialog box to switch to the next editor page or click the Previous step button to return to the previous page.
-
Map the Account fields to the corresponding source columns.
-
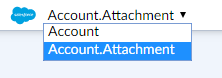
To map Attachment object fields, click the target table name (Account) and select Account.Attachment in the drop-down list.
-
Map the Name field to the FileName column.
-
Click the Body field and then, in the Column drop-down list, select Zip File.
-
Enter "FileName" to the box (without quotes).

-
If you have all the attachments of the same type and haven’t added the ContentType column to the CSV file, let’s specify the attachment type as an expression.
-
Click the ContentType field and then, in the Column drop-down list, select Constant.
-
In our example all the attachments are PNG images, so enter "image/png" to the box (without quotes).

-
If you have specified content type in a CSV file column, map the ContentType field to this column instead of using the expression.
-
If you are importing several attachments per account, repeat the steps 15 - 22, each time selecting the next Account.Attachment entry in the tables mapping drop-down list and specifying the corresponding column for the Body field until all the imported attachments are mapped.
-
Click the Save button to save the task.
-
Click the Create button to create the integration.
Importing Accounts and Attachments stored in Separate CSV Files
In this case we will create two import tasks for importing Accounts and Attachments respectively. Note that in this scenario you can import an arbitrary number of attachments per account.
Creating an Integration
-
Click +NEW in the top menu.
-
In the Integration column, click Import. The import details page will open.
-
Rename your integration by clicking and editing the integration name. The default integration name is Untitled. Please note, if you omit this step, the integration name will remain Untitled in the list of created integrations.
-
Under Target, in the Connection list, click Select target and select Salesforce connection from the drop-down list. You can use the Type to filter box to quickly find the necessary connection.
Importing Accounts
-
Click the Add new link to open the Task Editor.
-
Click browse and select the CSV file with Accounts data to import.
-
If necessary, set the CSV Options.
-
Click the Next step button in the bottom of the dialog box to switch to the next editor page. You can also switch between the editor pages by clicking the corresponding icons: Source Definition, Target Definition, and Mapping Definition.
-
Select Account in the Target list and then click Next step to switch to the next editor page or click the Previous step button to return to the previous page.
-
Map the Account fields to the corresponding source columns.
-
Click the Save button to save the task.
Importing Attachments
-
Click the Add new link to open the Task Editor.
-
Click browse and select the CSV file with Attachments data to import.
-
Select the Add zip with binary data checkbox.
-
Click browse and select the zip file with attachments to import.
-
If necessary, set the CSV Options.
-
Click the Next step button in the bottom of the dialog box to switch to the next editor page. You can also switch between the editor pages by clicking the corresponding icons: Source Definition, Target Definition, and Mapping Definition.
-
In the Target list, select Attachment and then click Next step to switch to the next editor page or click the Previous step button to return to the previous page.
-
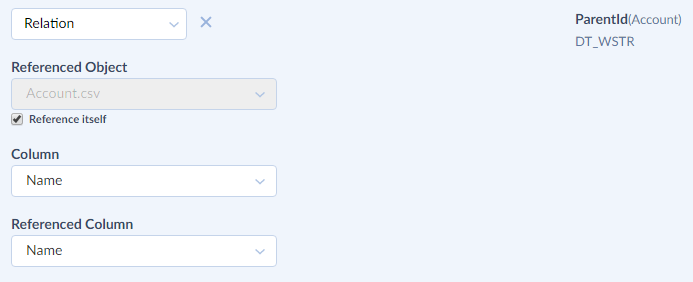
Click the ParentID field and then, in the Column drop-down list, select Relation.
-
Under the Referenced Object drop-down list, select the Reference itself checkbox. It automatically selects Accounts.csv.
-
In the Column drop-down list, select Name.
-
In the Referenced Column drop-down list, select Name.
-
Repeat the steps 8-11 for the OwnerId field.
-
Map the Name field to the FileName column.
-
Click the Body field and then, in the Column drop-down list, select Zip File.
-
Enter “FileName” to the box (without quotes).
-
If you have all the attachments of the same type and haven’t added the ContentType column to the CSV file, let’s specify the attachment type as a constant.
-
Click the ContentType field and then, in the Column drop-down list, select Constant.
-
In our example all the attachments are PNG images, so enter “image/png” to the box (without quotes).
-
If you have specified content type in a CSV file column, map the ContentType field to this column instead of using the expression.
-
Click the Save button to save the task.
-
Click the Create button to create the integration.