Timely
Timely is a fully automatic time-tracking tool for individuals and companies. It records your activity and time spent in different work apps and helps track everything your team works on with minimal effort.
Data integration: Skyvia supports importing data to and from Timely, exporting Timely data to CSV files, replicating Timely data to relational databases, and synchronizing Timely data with other cloud apps and relational databases.
Backup: Skyvia Backup does not support Timely backup.
Query: Skyvia Query supports Timely.
Establishing Connection
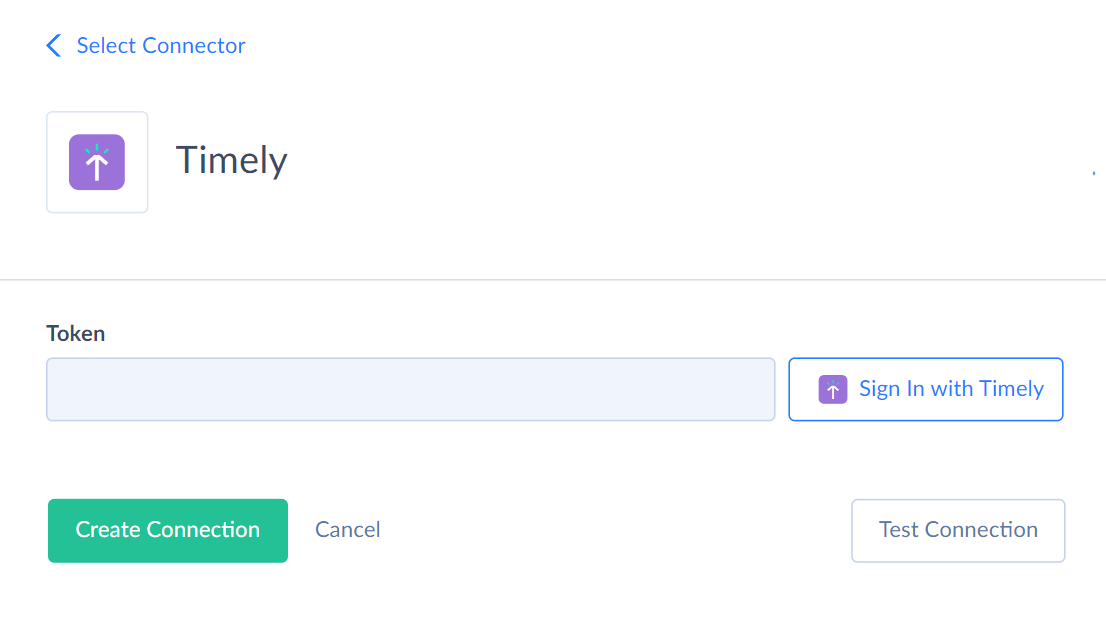
When creating a connection to Timely, you have to log in to Timely via OAuth 2.0.
Creating Connection
To connect to Timely, perform the following steps:
-
Click Sign In with Timely in the Connection Editor.
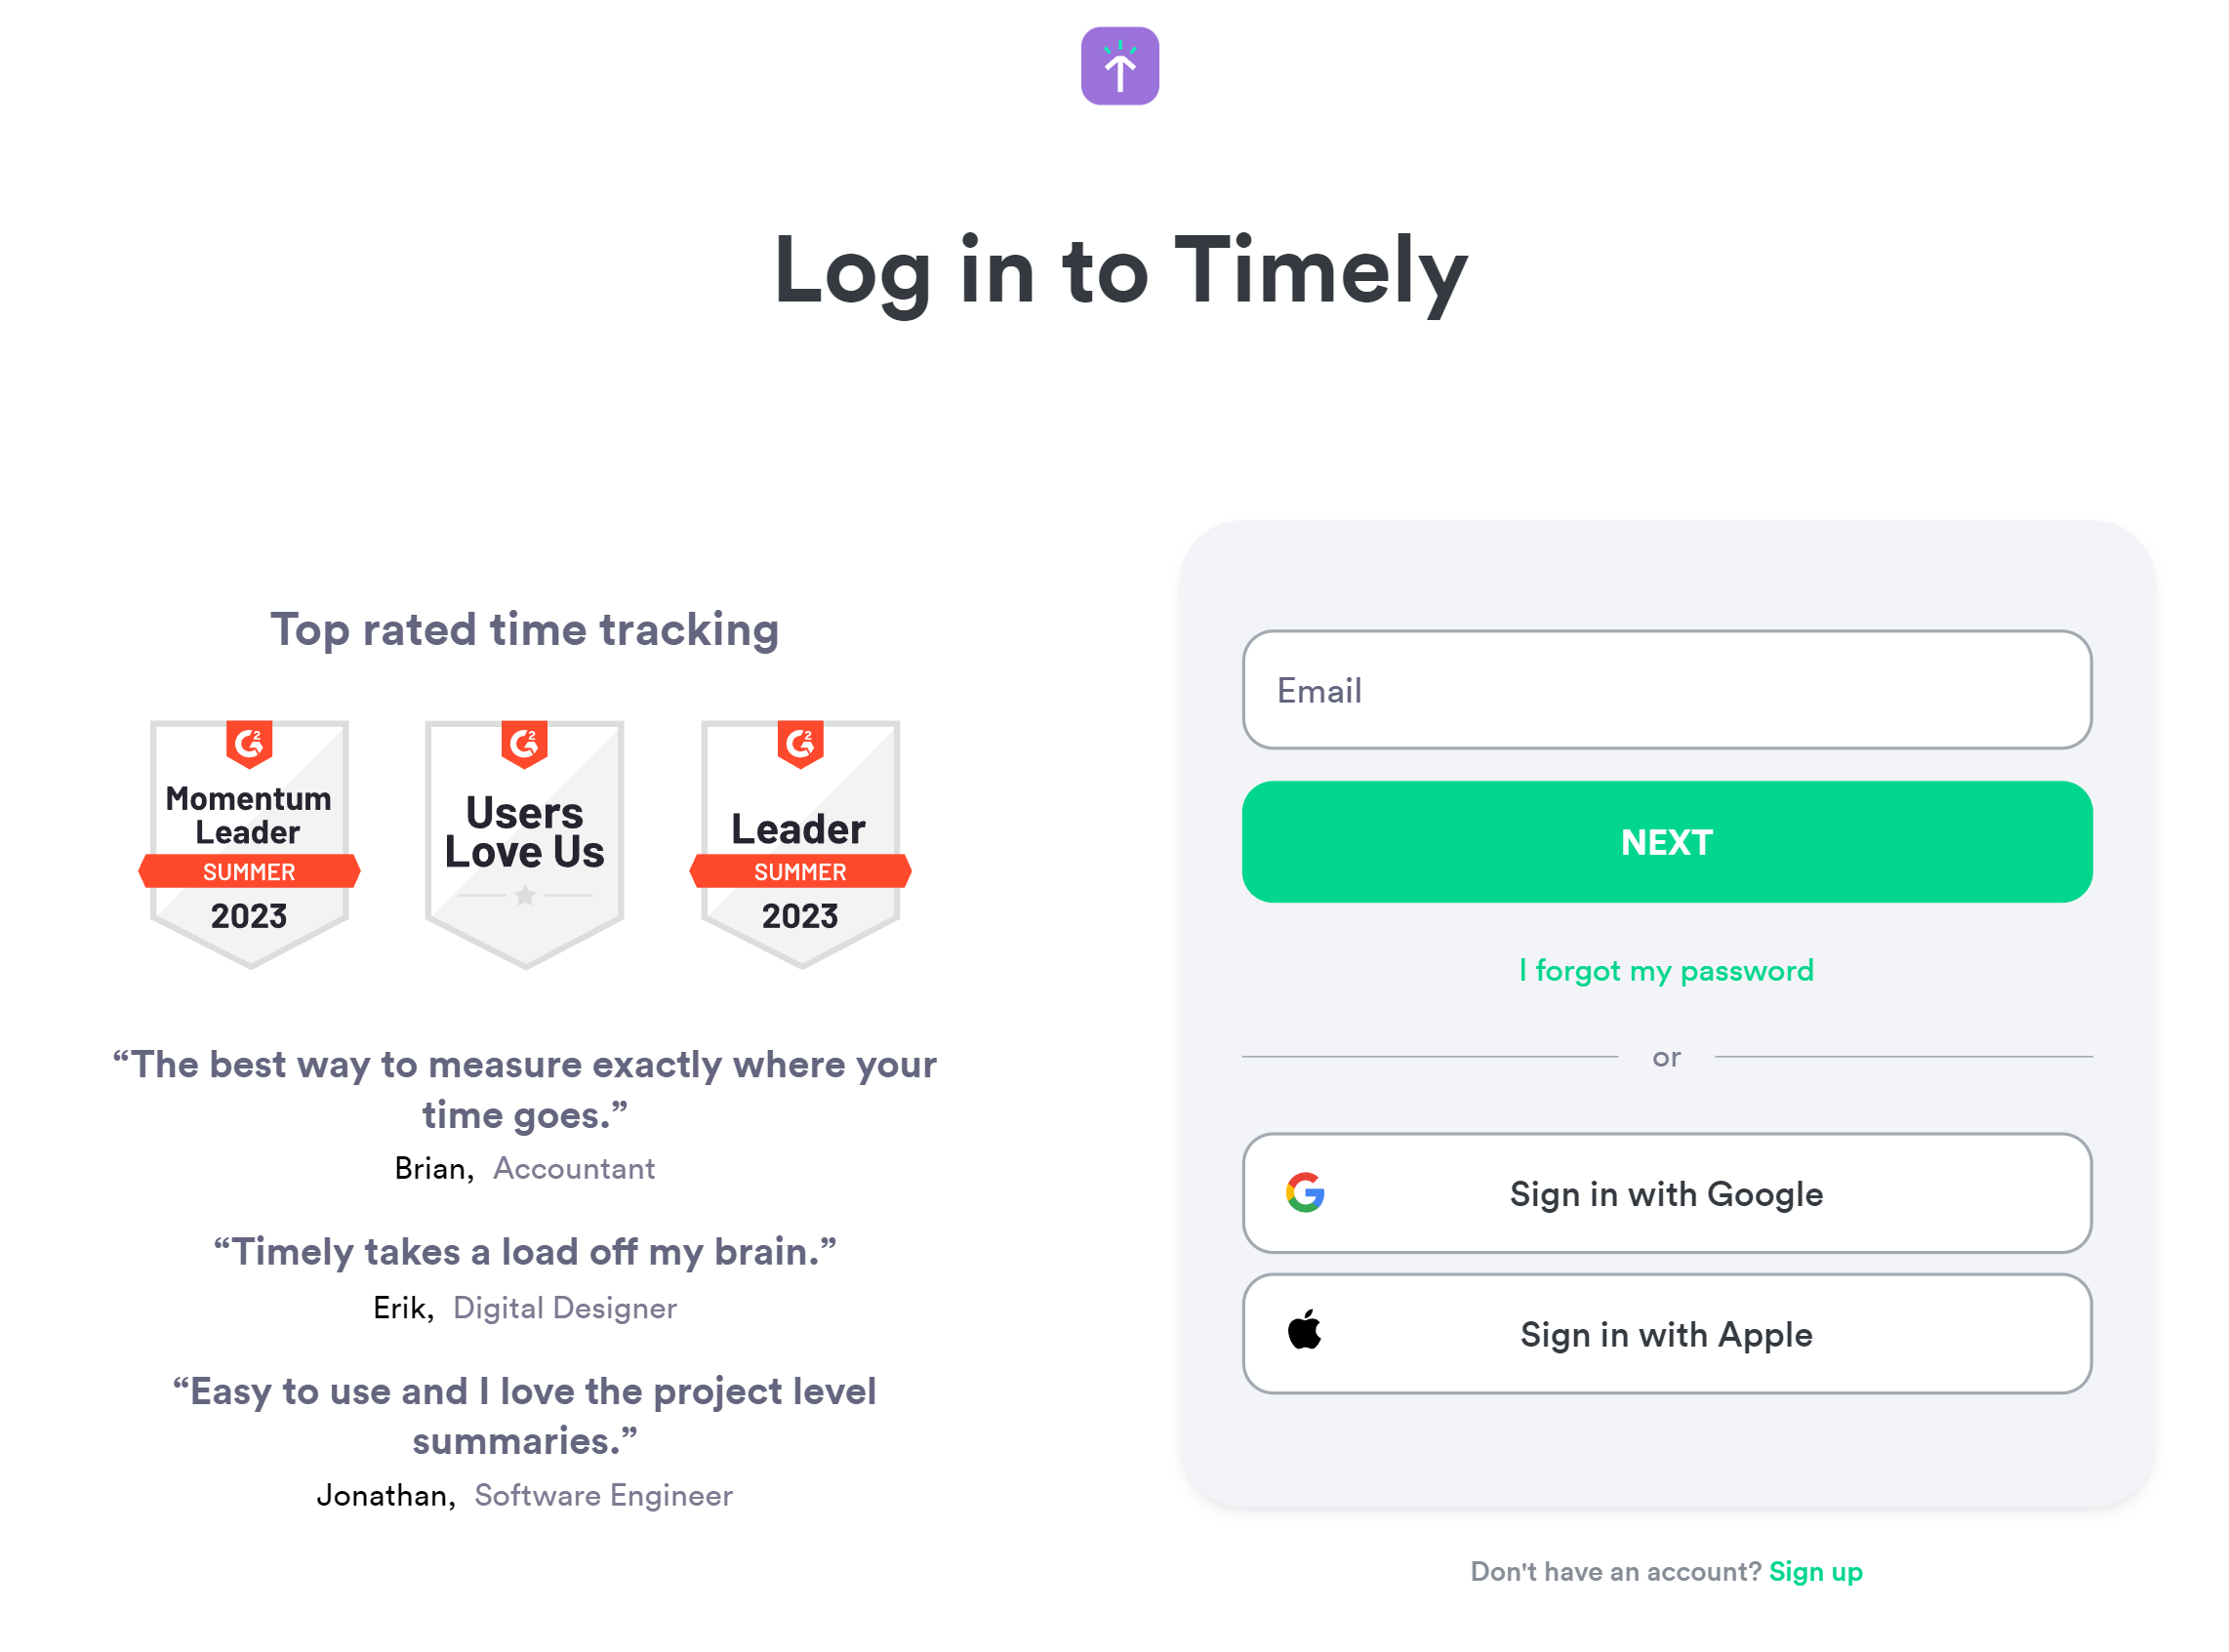
-
In the opened window, enter your credentials.
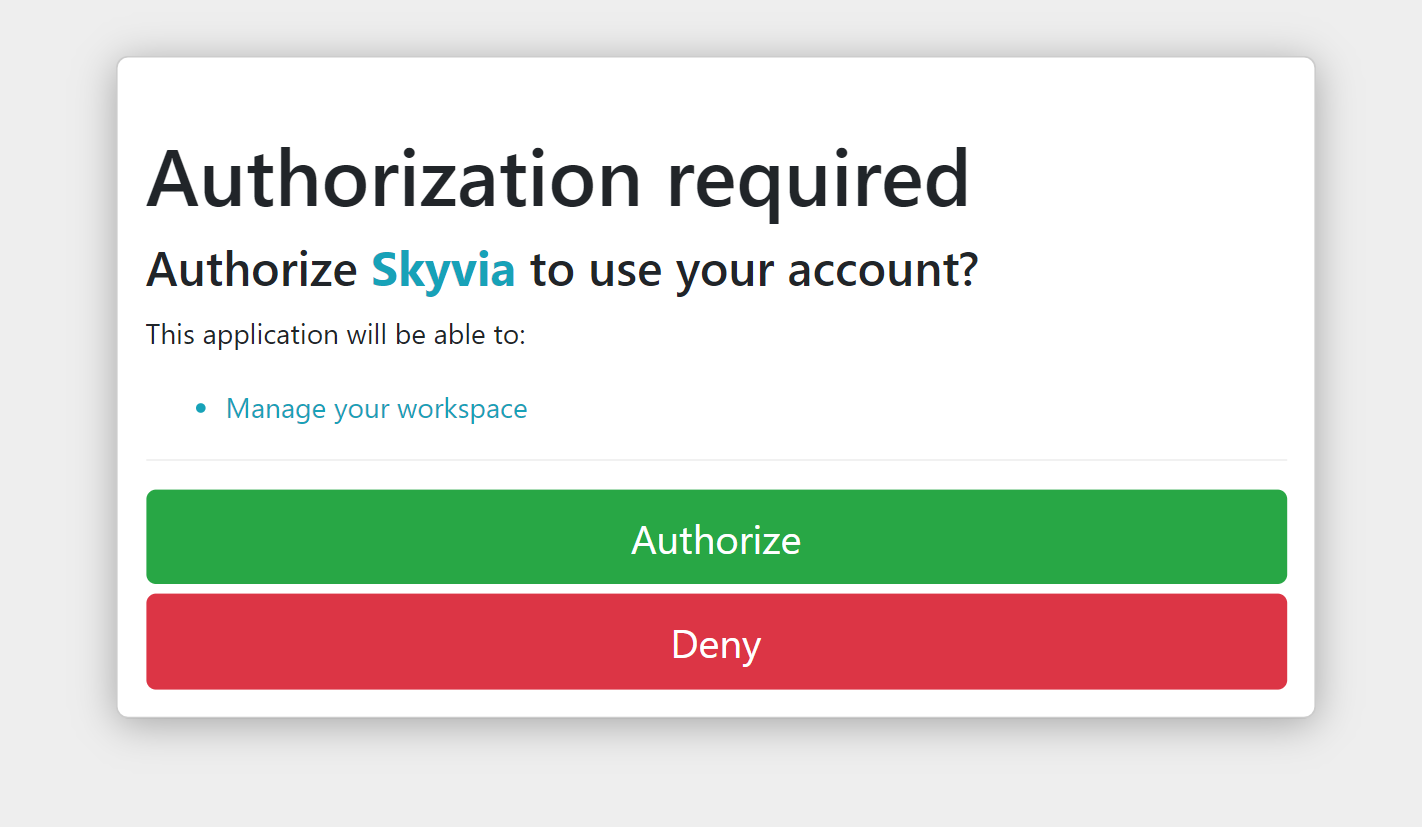
-
Click Authorize.
Connector Specifics
Object Peculiarities
Events
The Events object returns data for the period from 2000-01-01 to 2099-01-01 by default, when querying. You can change this period using filters by the Since and Upto fields. You can also select All or Logged events using a filter by the Filter field. The mentioned fields do not return data when querying by default. Use them for filtering only.
DML Operations Support
| Operation | Object |
|---|---|
| INSERT, UPDATE, DELETE | Events, Forecasts, Labels, Projects, Teams |
| INSERT, UPDATE | Clients, Users |
Incremental Replication
Skyvia supports Synchronization for the Clients, Events, Projects, Users, Forecasts objects.
Skyvia supports Incremental Replication for the AccountActivities, Accounts, Clients, Events, Projects, Users, Forecasts objects.
Supported Actions
Skyvia supports all the common actions for Timely.