Jira Service Management
Jira Service Management is Atlassian's service management solution for IT and service teams. It is built on Jira, it encompasses deeper service management practices across service request, incident, problem, change, knowledge, asset, and configuration management.
Data integration: Skyvia supports importing data to and from Jira Service Management, exporting data from Jira Service Management to CSV files and replicating data from Jira Service Management to relational databases.
Backup: Skyvia Backup does not support Jira Service Management.
Query: Skyvia Query supports Jira Service Management.
Establishing Connection
To create a connection to Jira Service Management, you need to enter site and log in to Jira Service Management via OAuth 2.0.
Creating Connection
To create a Jira Service Management connection, perform the following steps:
-
Paste your Jira domain to the Site field, which you can find in your Jira account profile.
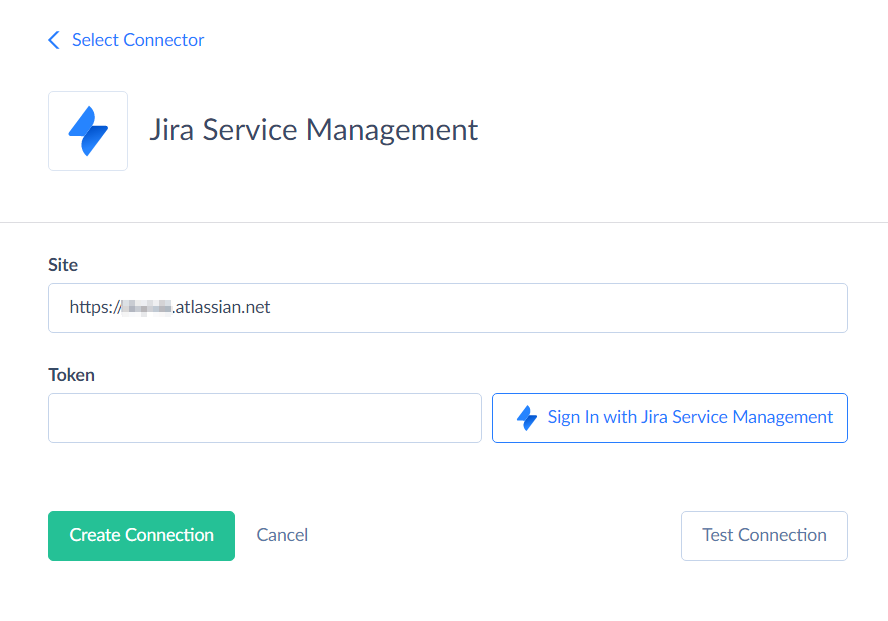
-
Click Sign In with Jira Service Management.
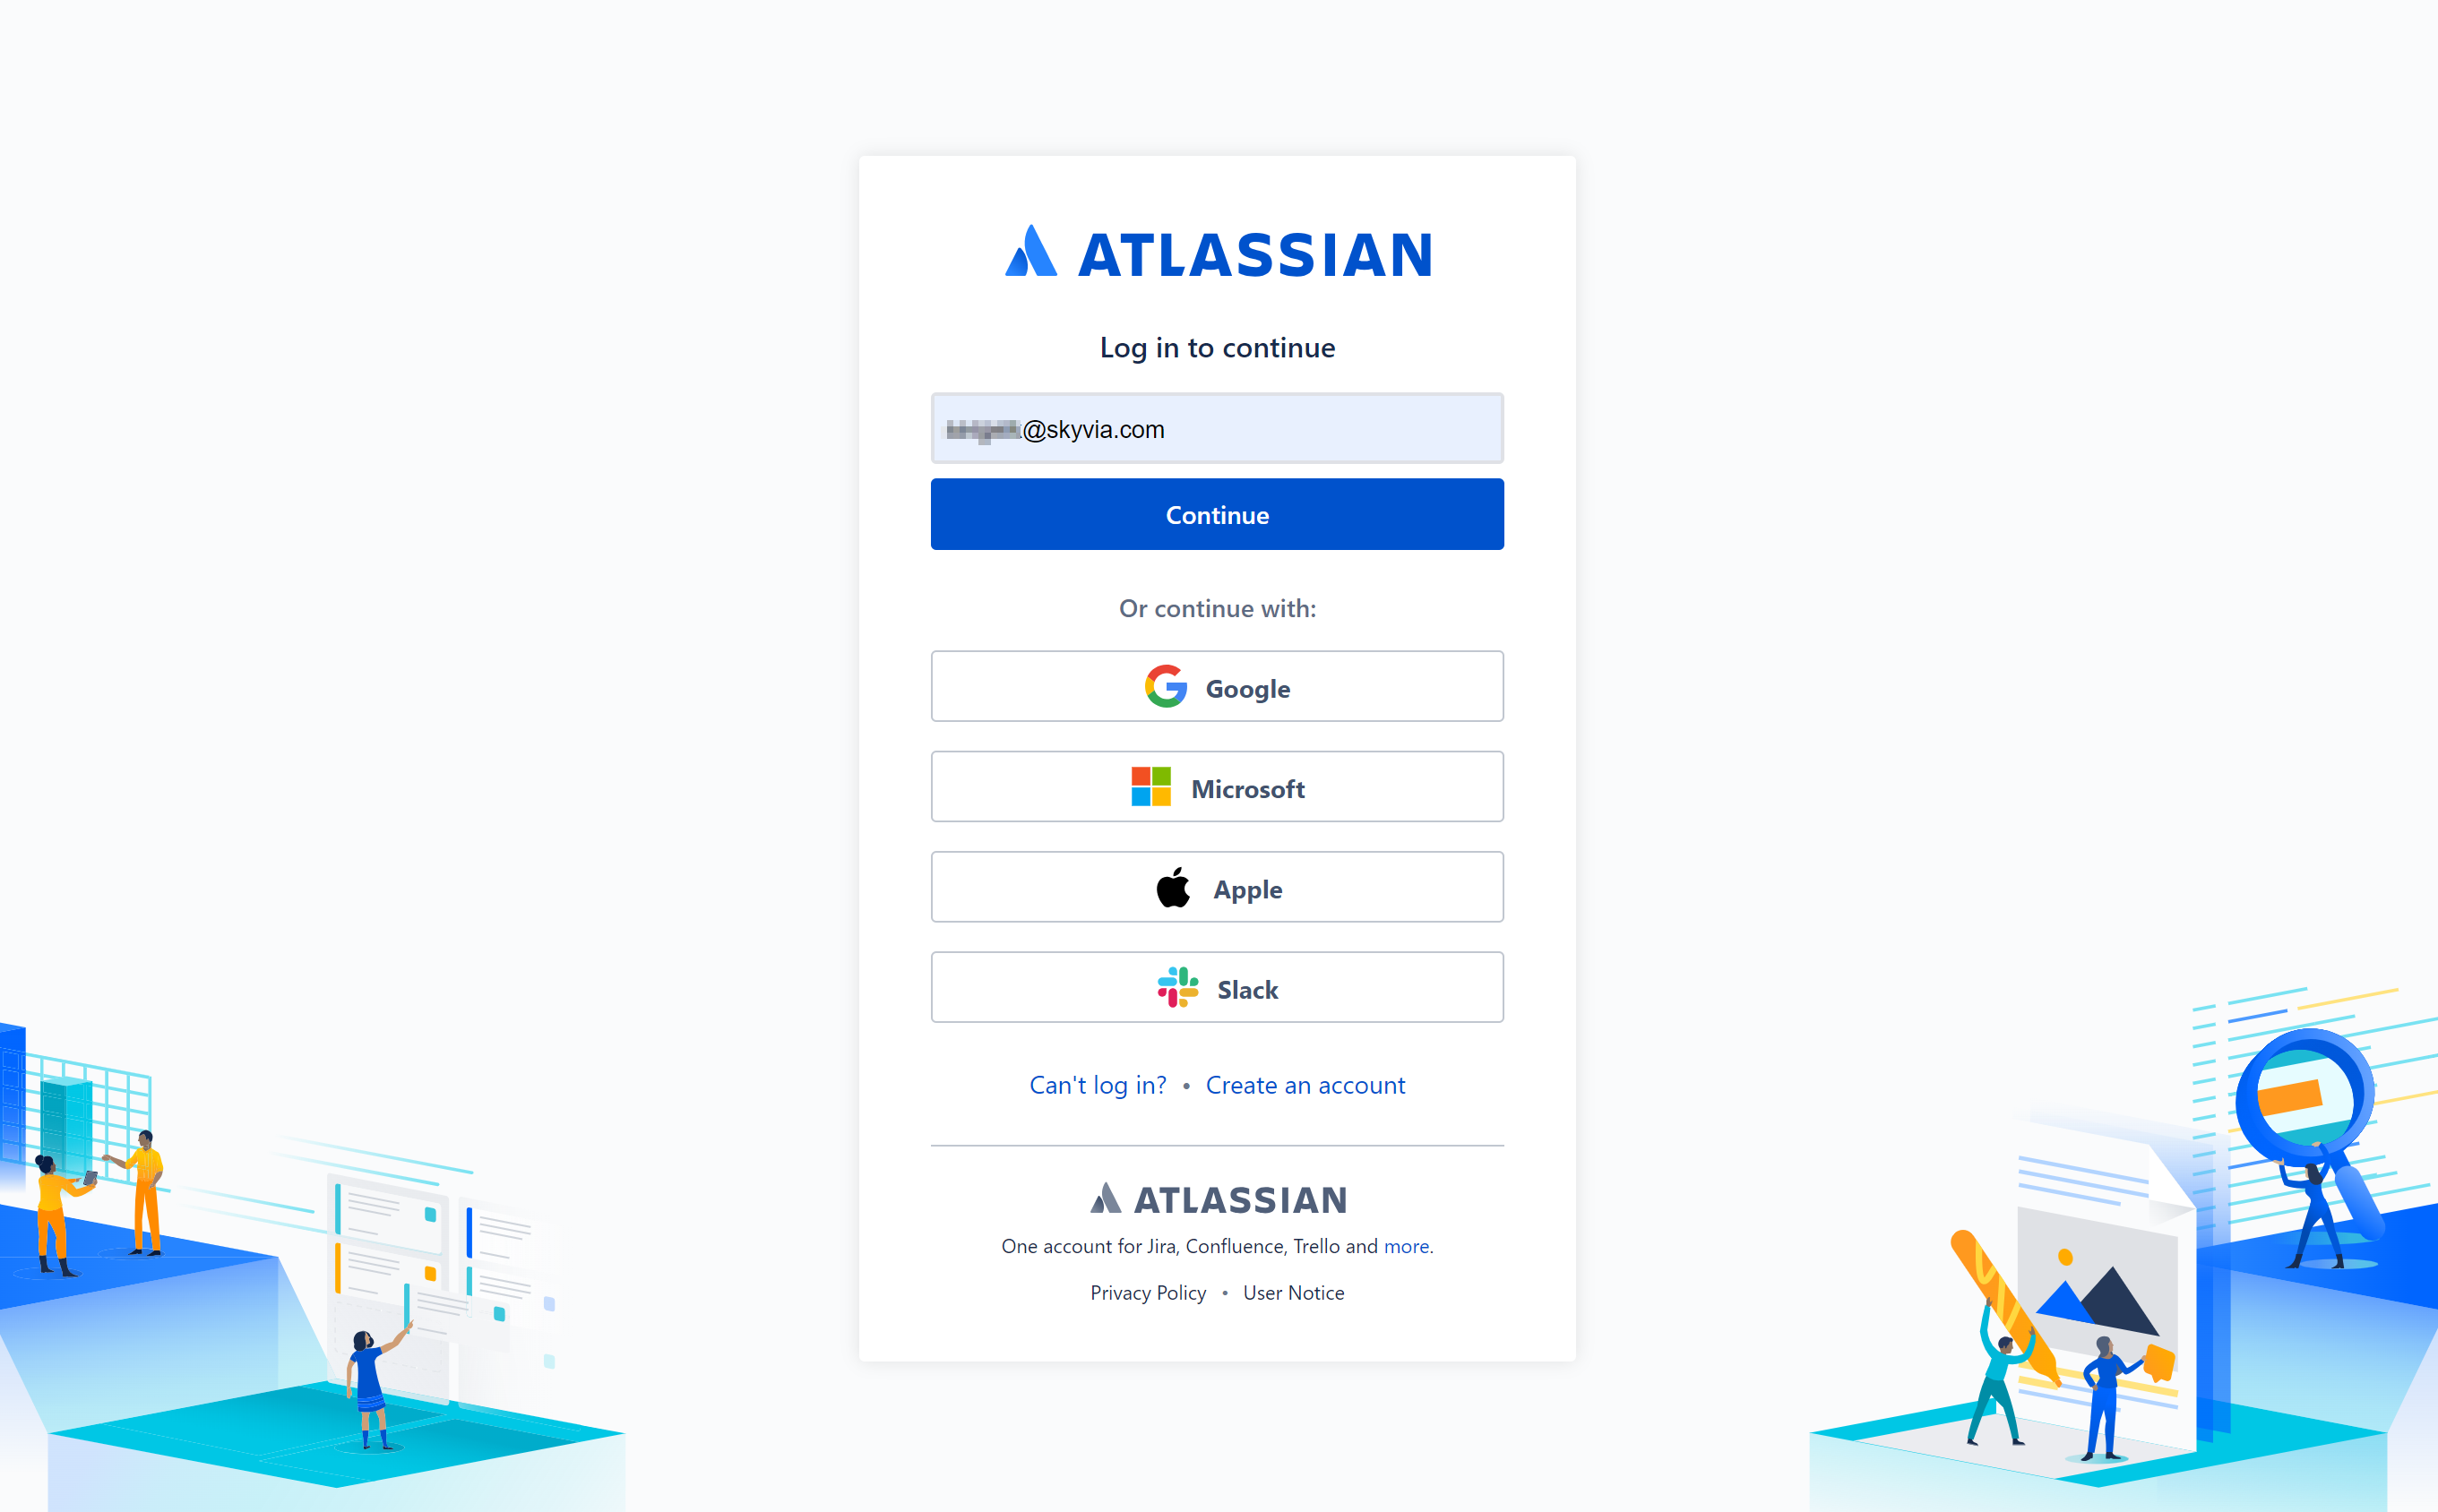
-
In the opened window, enter your Atlassian credentials used when registering in Jira and click Log in.
-
Select the Site that you need to access from Skyvia.
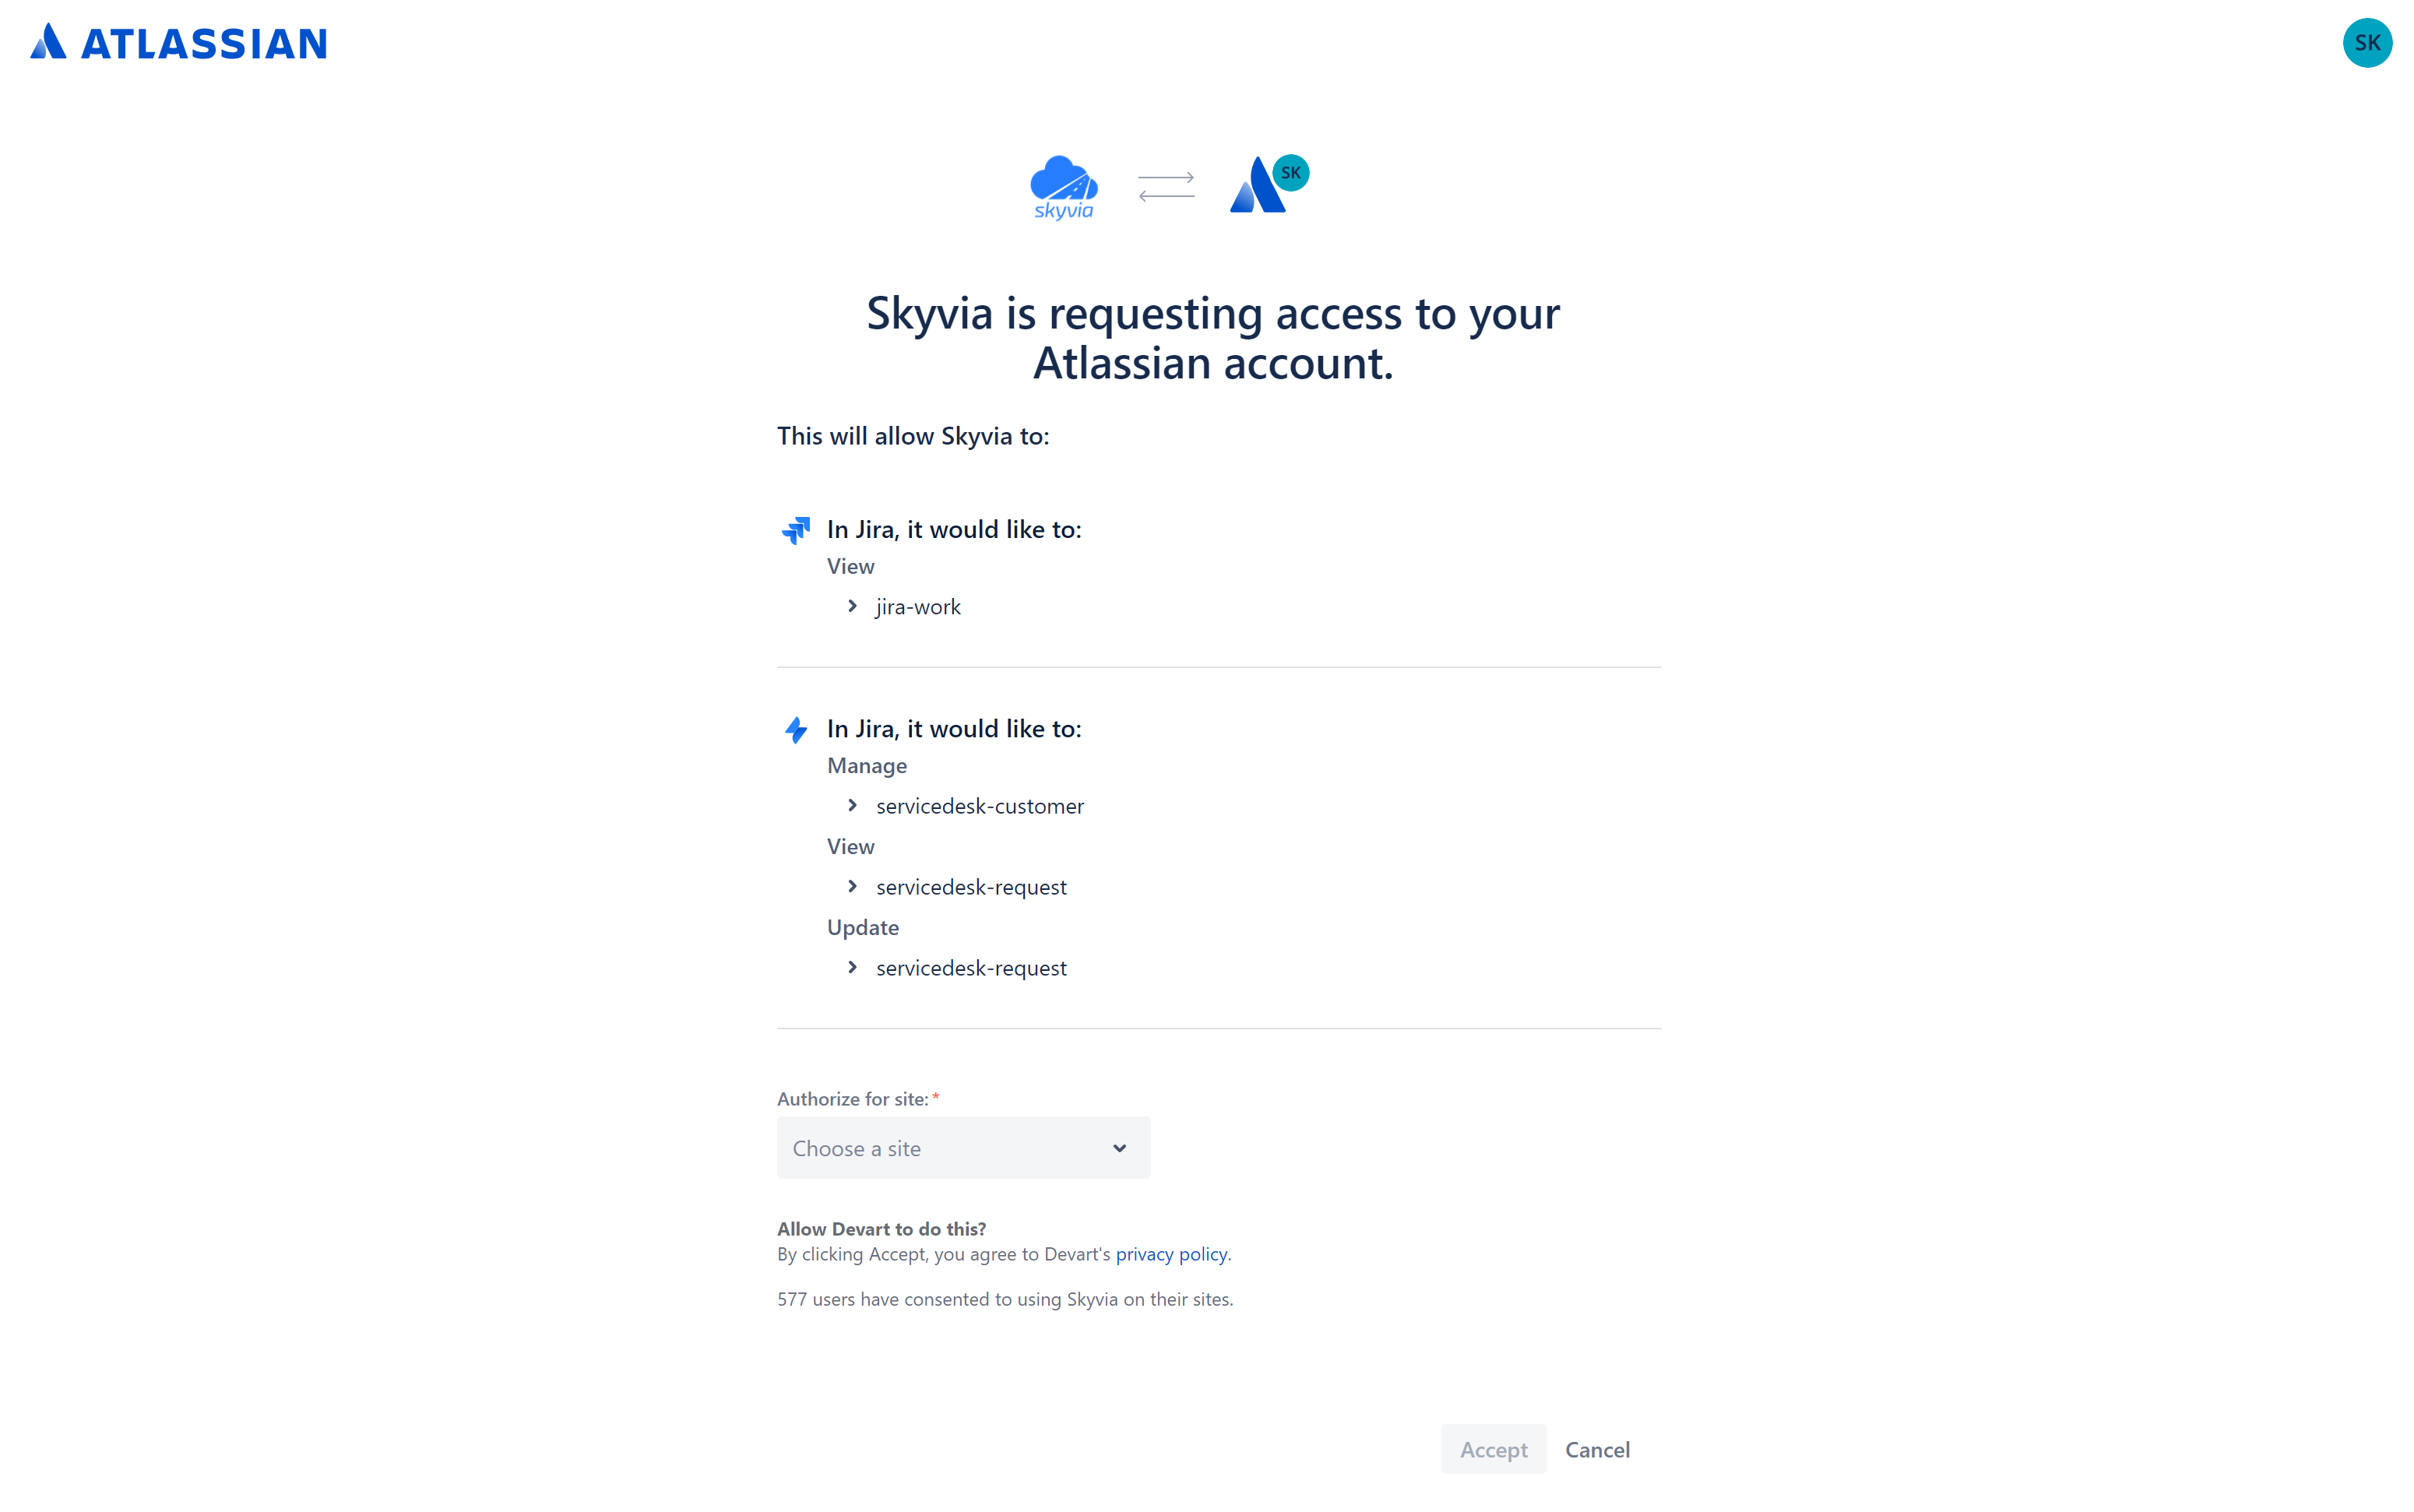
-
Click Accept.
Connector Specifics
Object Peculiarities
RequestParticipants
The RequestParticipants object has the AccountIds field with the JsonArray type. This field is used for import only, and it does not return any data. It is a required field. When importing data to the AccountIds field, provide a value in the following format:
1
2
3
4
5
6
7
8
9
[
"qm:a713c8ea-1075-4e30-9d96-891a7d181739:5ad6d3581db05e2a66fa80b",
"qm:a713c8ea-1075-4e30-9d96-891a7d181739:5ad6d3a01db05e2a66fa80bd",
"qm:a713c8ea-1075-4e30-9d96-891a7d181739:5ad6d69abfa3980ce712caae"
]
AssetSchemaObjecttypeAttributes
If you update a record where the DefaultType_Id field is null, you must map the DefaultType_Id field to 0. If this field is not null, no additional mapping is needed.
Incremental Replication and Synchronization
The following objects support replication with incremental updates: AssetObjects, AssetSchemaObjecttypes, AssetSchemaObjecttypesFlat, AssetSchemas, RequestApprovals, RequestAttachments, RequestCommentAttachments, Requests, RequestComments, RequestInQueues.
Skyvia detects only the new records for the following objects: RequestApprovals, RequestAttachments, RequestCommentAttachments, Requests, RequestComments, RequestInQueues.
Synchronization is not supported for Jira Service Management.
DML Operations Support
| Operation | Object |
|---|---|
| INSERT, UPDATE, DELETE | AssetSchemas, AssetSchemaObjecttypes, AssetSchemaObjecttypeAttributes, AssetObjects |
| INSERT, DELETE | Customers, Organizations, RequestFeedbacks |
| UPDATE, DELETE | OrganizationProperties, RequestTypeProperties |
| INSERT | RequestAttachments, RequestComments, RequestParticipants, Requests, RequestTransitions |
| UPDATE | RequestApprovals |
Stored Procedures
Skyvia represents part of the supported Jira Service Management features as stored procedures. You can call a stored procedure, for example, as a text of the command in the ExecuteCommand action in a Target component of a Data Flow or in Query.
AddCustomersToServiceDesk
This command adds one or more customers to a service desk. If any of the specified customers are already associated with the service desk, no changes will be made to them.
call AddCustomersToServiceDesk(:serviceDeskId,:accountIds)
| PARAMETER NAME | DESCRIPTION |
|---|---|
| ServiceDeskId | The service desk identifier |
| AccountIds | The one or more identifiers of the customers to be added to the specified service desk in JSON format. For example ["qm:9d14b428-3b7a-463d-8807-d8a413df01c5:33a26c5b-f924-4c40-ac5d-68c2b4163432"] |
RemoveCustomers
Use the following command to remove customers from the service desk. The service desk must have closed access. Specified customers not having access to the specified service desk are ignored by this procedure.
call RemoveCustomers(:serviceDeskId,:accountIds)
| PARAMETER NAME | DESCRIPTION |
|---|---|
| ServiceDeskId | Id of the service desk to remove customers from. |
| Id | A JSON array of customer IDs that are removed from the specified service desk. |
AddOrganizationToServiceDesk
This command adds an organization to a service desk. If the specified organization is already associated with the service desk, no change is made to this organization.
call AddOrganizationToServiceDesk(:serviceDeskId, :organizationId)
RemoveOrganizationFromServiceDesk
To remove an organization from a service desk, use the following command
call RemoveOrganizationFromServiceDesk(:serviceDeskId, :organizationId)
AddUsersToOrganization
Use the following command to add records to the OrganizationUsers objects.
call AddUsersToOrganization(:organizationId, :accountIds)
| PARAMETER NAME | DESCRIPTION |
|---|---|
| OrganizationId | Id of the organization to add users to. |
| AccountIds | A JSON array of account IDs to add to the organization. |
An example of calling the stored procedure:
call AddUsersToOrganization(1, '["qm:a713c8ea-1075-4e30-9d96-891a7d181739:5ad6d3581db05e2a66fa80b","qm:a713c8ea-1075-4e30-9d96-891a7d181739:5ad6d3a01db05e2a66fa80bd","qm:a713c8ea-1075-4e30-9d96-891a7d181739:5ad6d69abfa3980ce712caae"]')
RemoveUsersFromOrganization
call RemoveUsersFromOrganization(:organizationId, :accountIds)
| PARAMETER NAME | DESCRIPTION |
|---|---|
| OrganizationId | Id of the organization to remove users from. |
| AccountIds | A JSON array of account IDs to remove from the organization. |
An example of calling the stored procedure:
call RemoveUsersFromOrganization(1, '["qm:a713c8ea-1075-4e30-9d96-891a7d181739:5ad6d3581db05e2a66fa80b","qm:a713c8ea-1075-4e30-9d96-891a7d181739:5ad6d3a01db05e2a66fa80bd","qm:a713c8ea-1075-4e30-9d96-891a7d181739:5ad6d69abfa3980ce712caae"]')
SubscribeToRequestNotifications
Use the following command to subscribe to request notifications.
call SubscribeToRequestNotifications(:issueId)
UnsubscribeToRequestNotifications
Use the following command to unsubscribe to request notifications.
call UnsubscribeToRequestNotifications(:issueId)
RemoveRequestParticipants
Use the following command to remove records from the RequestParticipants object.
call RemoveRequestParticipants(:issueId, :accountIds)
| PARAMETER NAME | DESCRIPTION |
|---|---|
| IssueId | Id of the issue to remove participants for. |
| AccountIds | A JSON array of account IDs that are removed from the participant list. You can see an example value for this parameter above, in the description of the AddUsersToOrganization procedure. |
PerformCustomerRequestTransition
Use the following command to perform the specified customer transition for the specified request (add a record to the RequestTransitions object).
call PerformCustomerRequestTransition(:issueId, :id)
| PARAMETER NAME | DESCRIPTION |
|---|---|
| IssueId | Id of the issue to perform a transition of. |
| Id | Id of the transition to perform. |
Supported Actions
Skyvia supports all the common actions for Jira Service Management.