Google BigQuery
Google BigQuery is a fully-managed, serverless data warehouse that enables scalable analysis over petabytes of data.
Establishing Connection
For Google BigQuery, Skyvia supports authentication via a user account or a service account. To create a Google BigQuery connection, you need either to sign in with the corresponding Google Account for User Account authentication or specify the Private Key JSON for the Service Account authentication. You also need to specify the Project Id and Dataset Id to connect to.
We recommended to specify a Google Cloud Storage Bucket for bulk import and replication operations. You can create such a bucket in the Google Cloud Console.
Getting Credentials
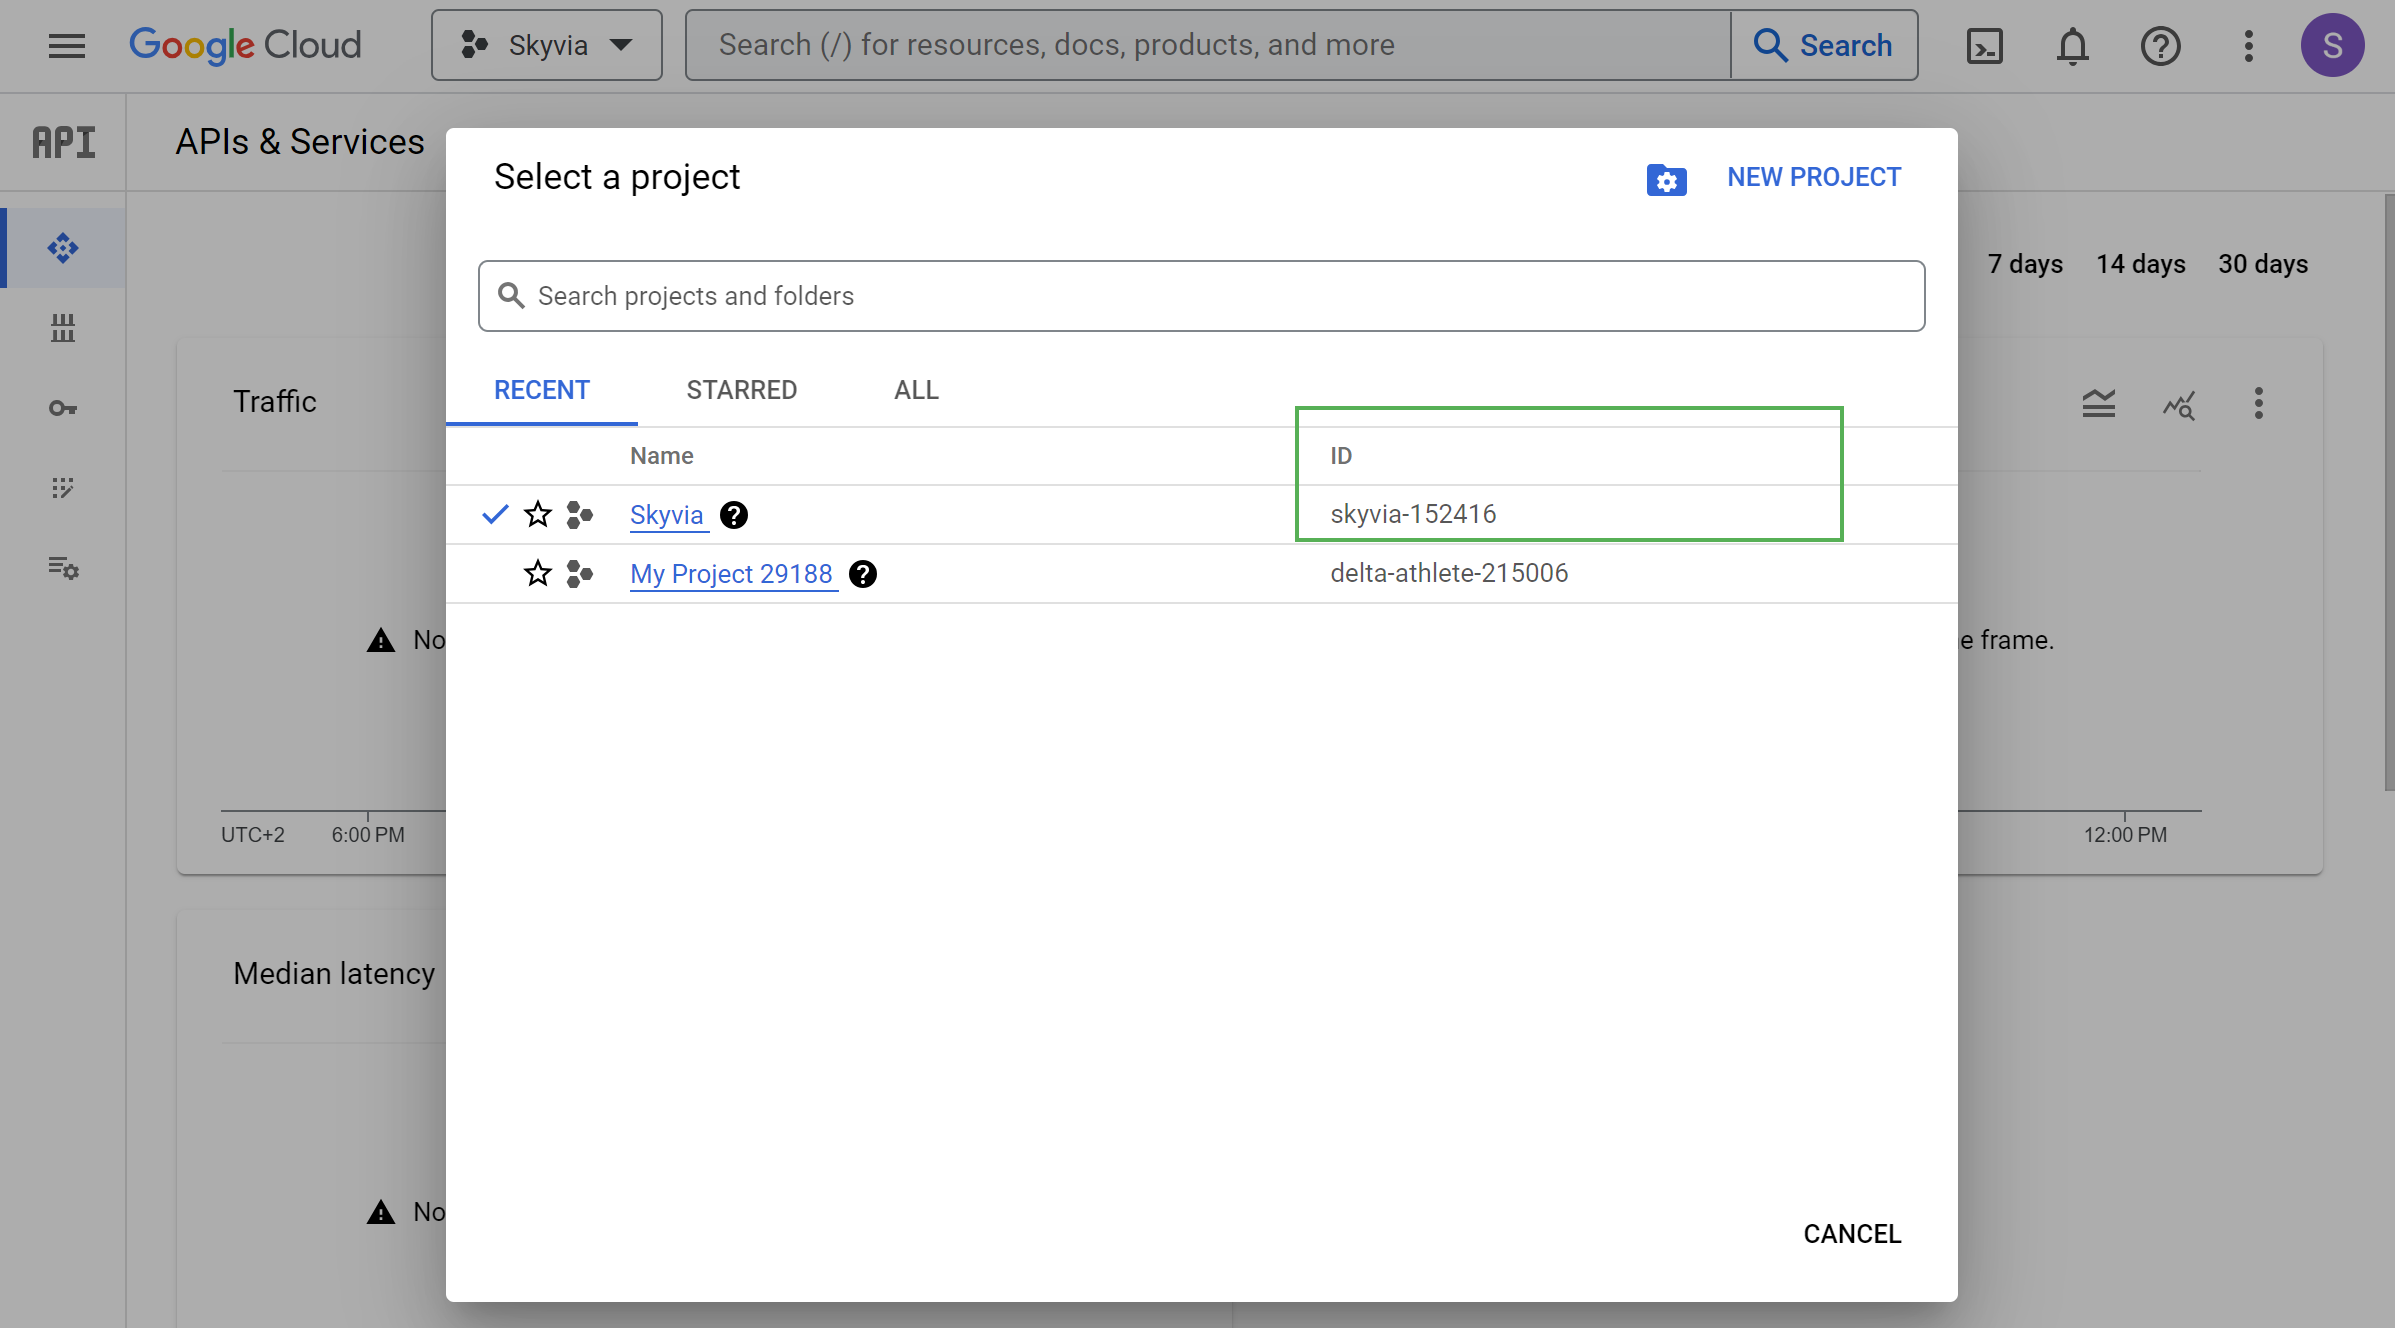
Project ID
You can find Project ID in the Google API Console.
DataSet ID
To obtain a DataSet ID perform the following steps:
-
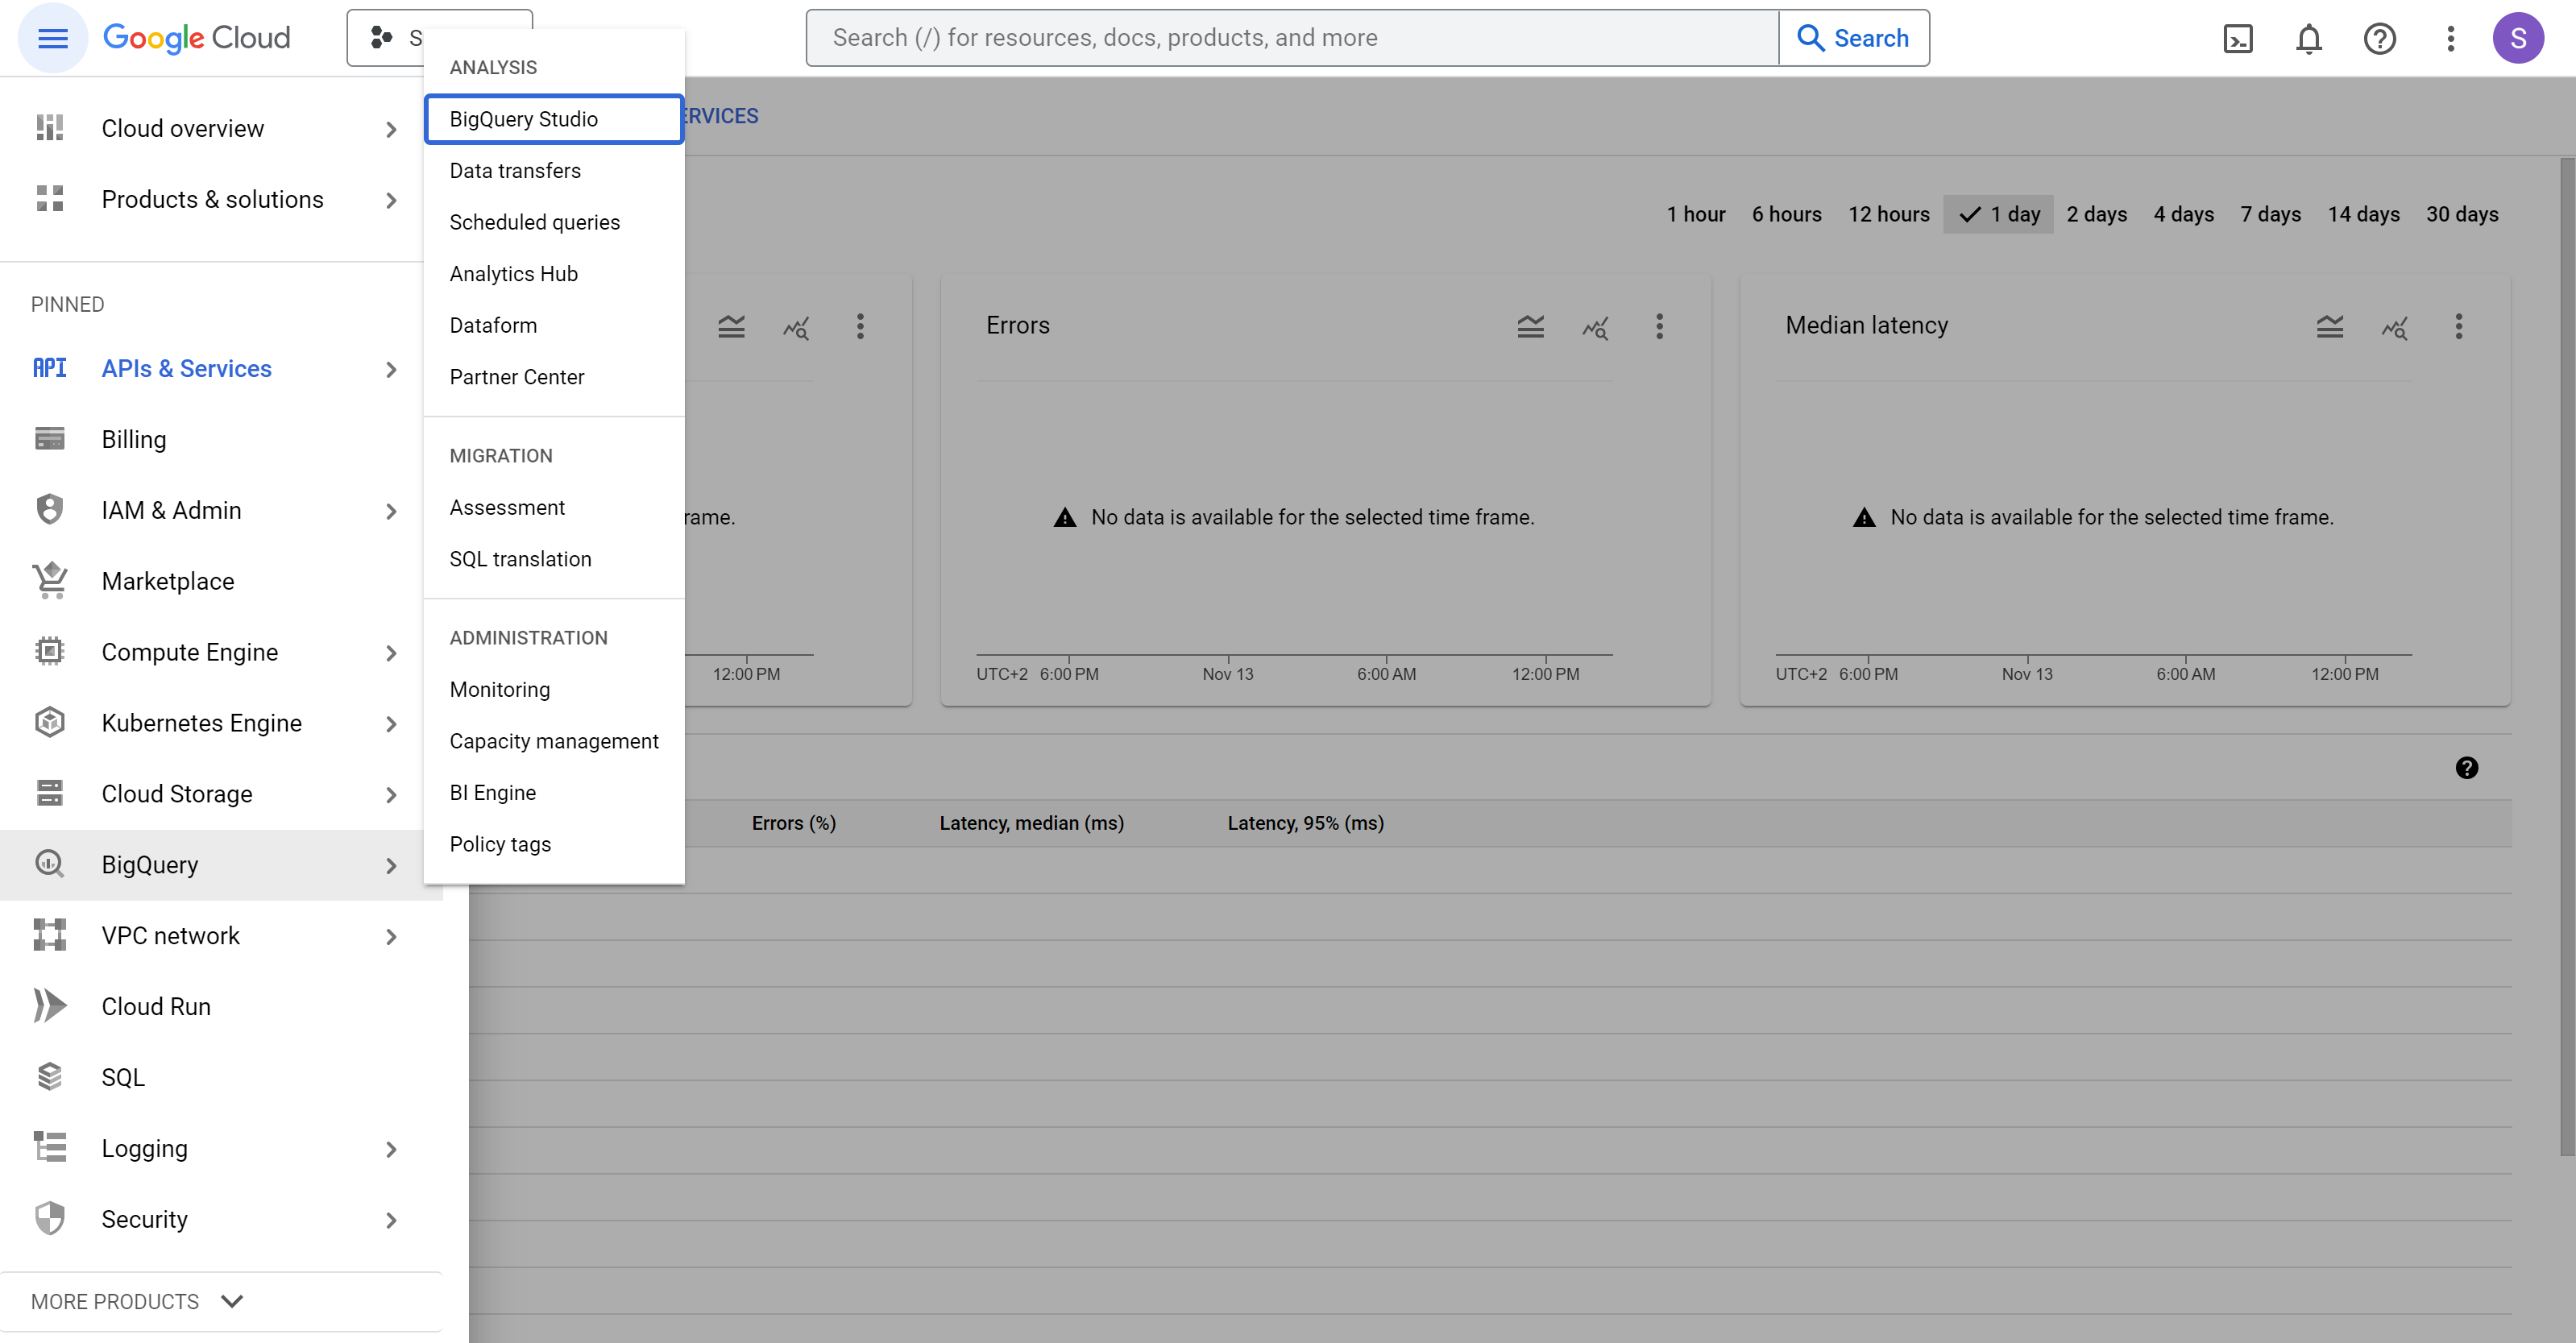
In the Google API Console, in the navigation menu, point to BigQuery and click BigQuery Studio.
-
Expand the required project node in the Explorer to see the datasets in that project and click the required dataset. This opens Dataset info, where you can find and copy the dataset ID.

In the example skyvia-152416.ba, the dataset ID is prefixed with the project ID. You need to specify the dataset ID without this prefix. In this example, you need to specify only the ba part in Skyvia connection editor.
Creating Service Account
If you want to use a service account for authentication, and don't have one, you can create and configure it in the following way:
-
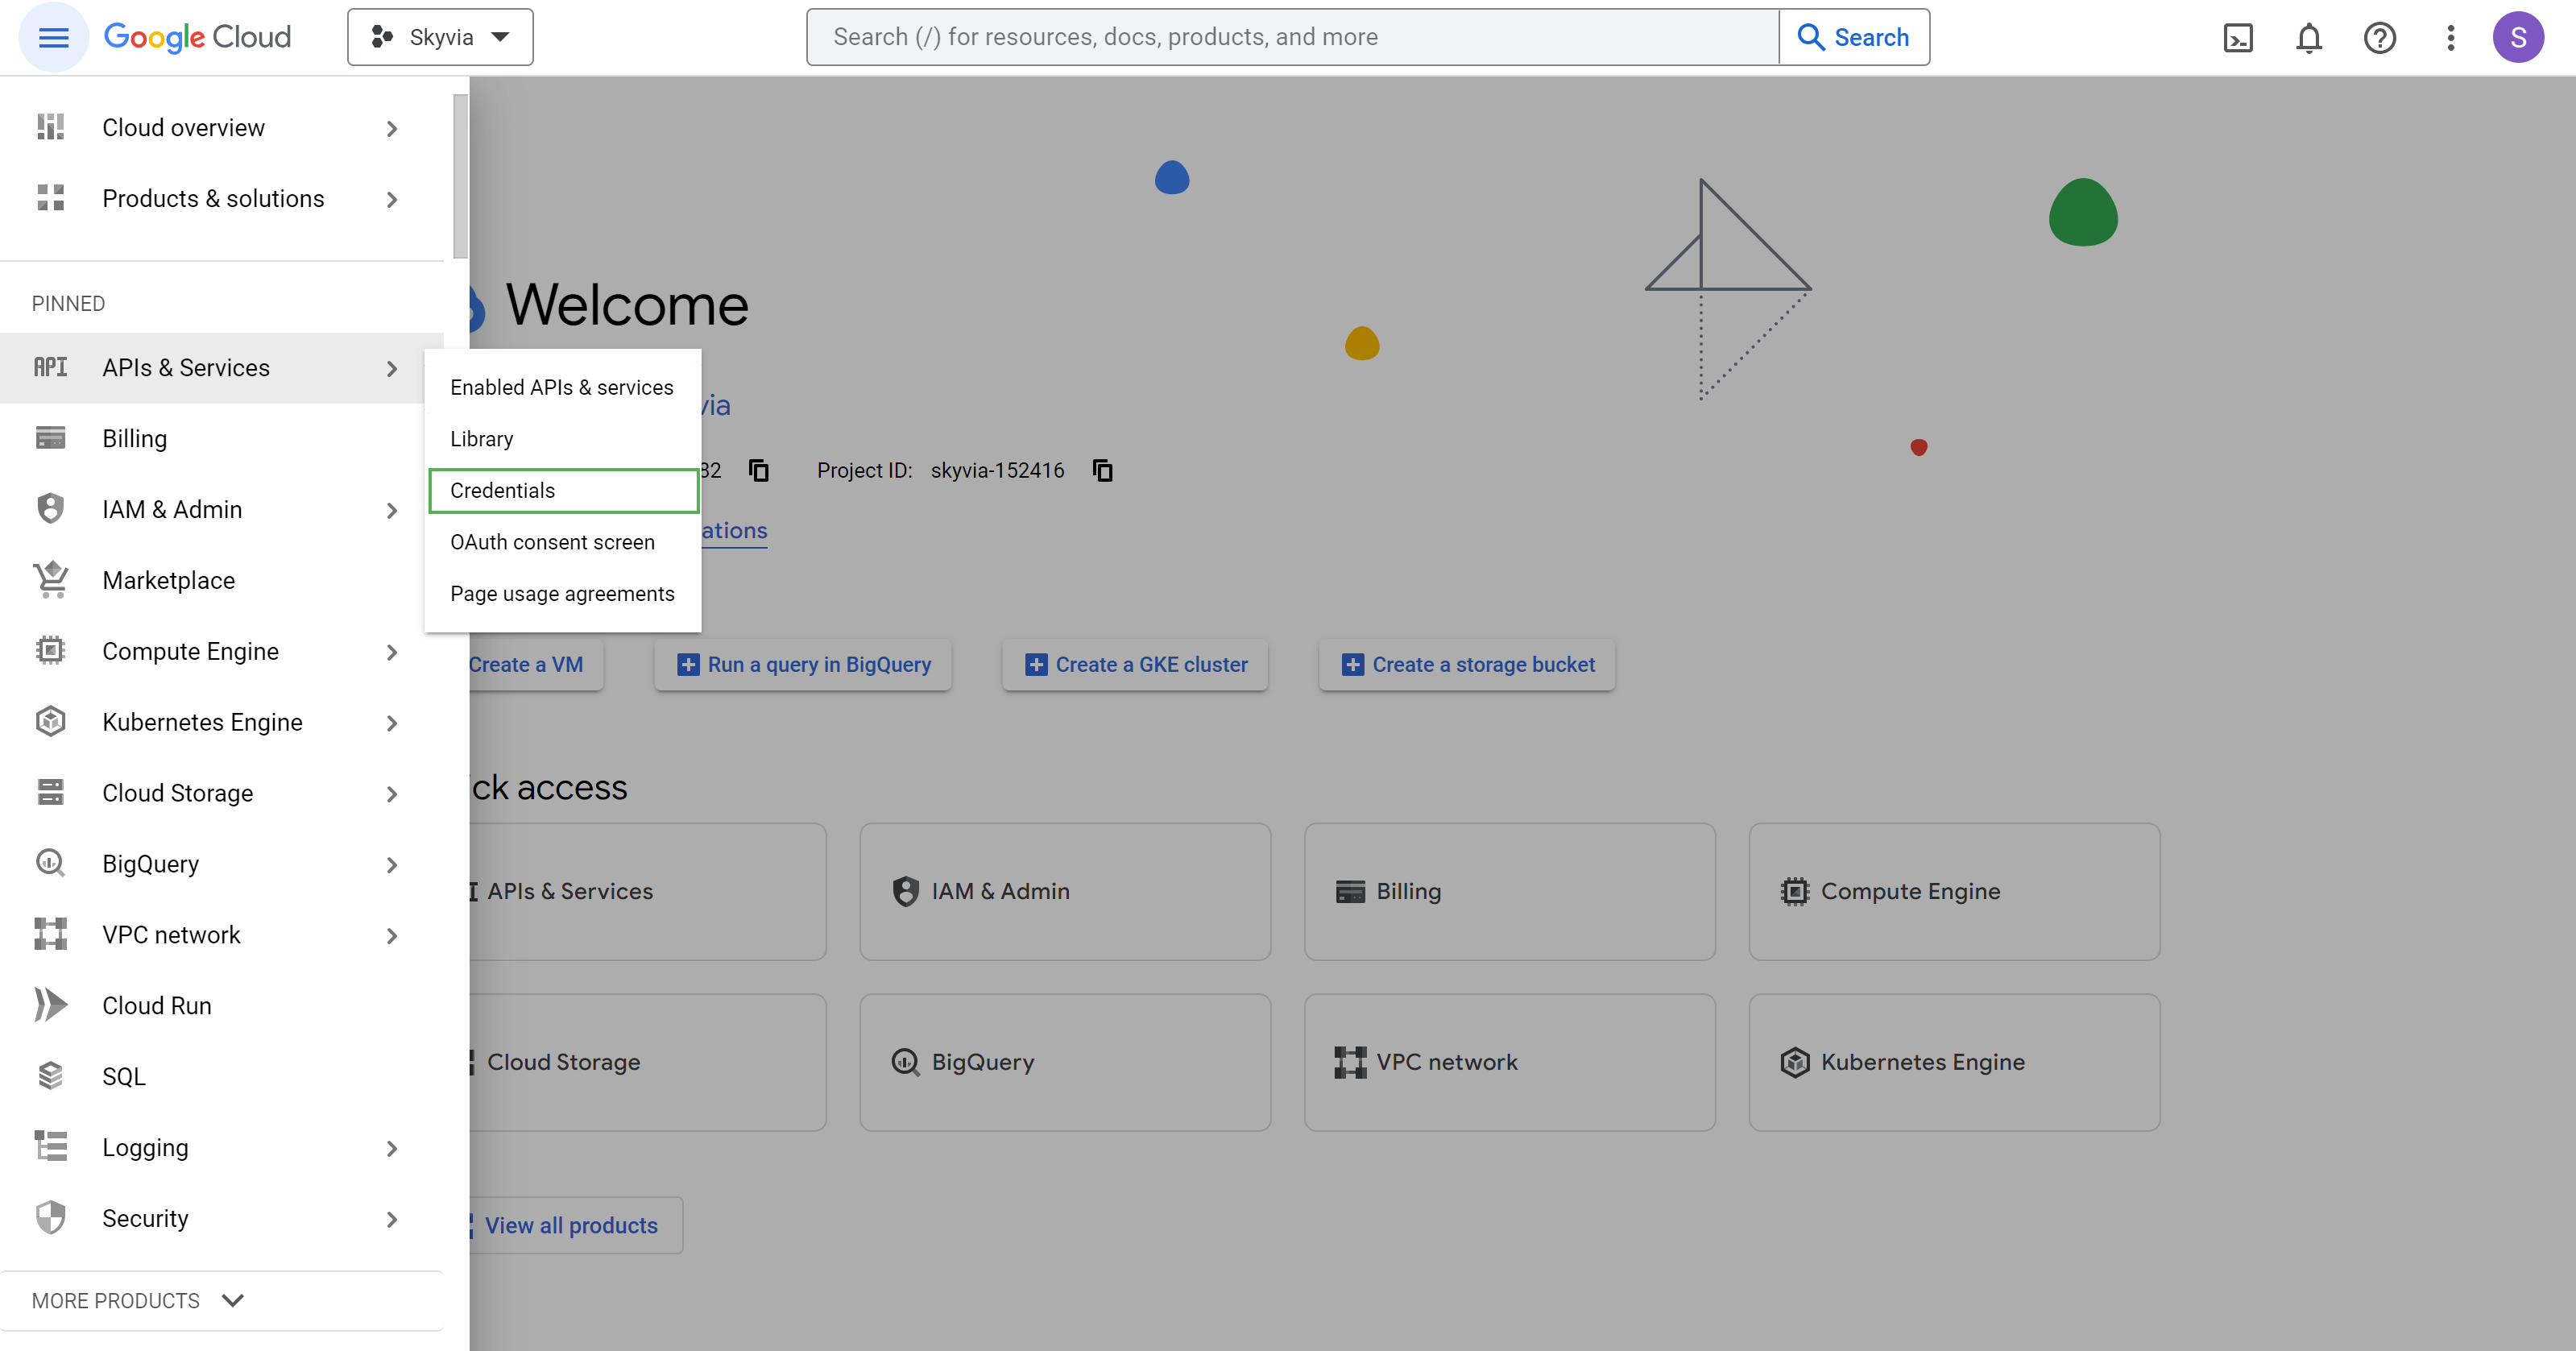
In the Google API Console, in the navigation menu, select APIs & Services and click Credentials.
-
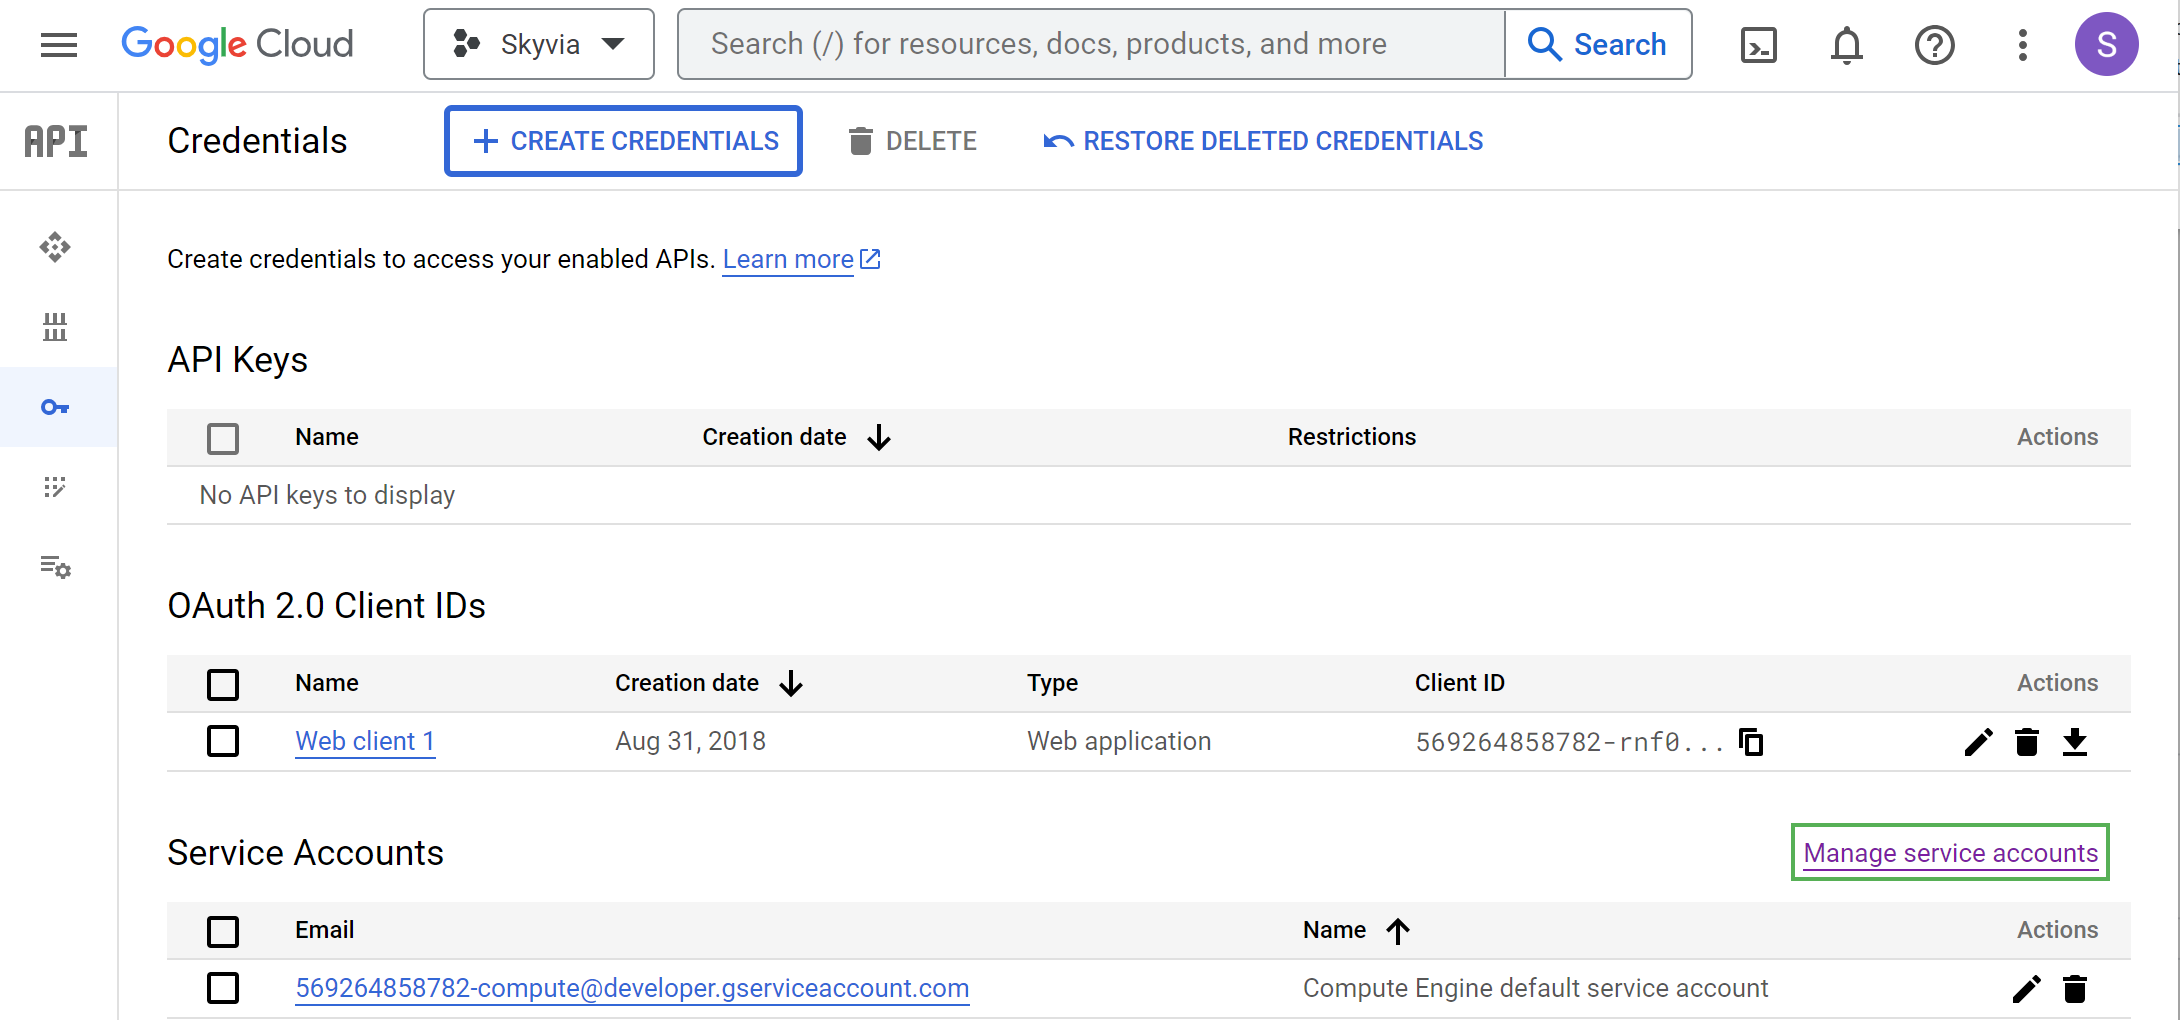
Click Manage Service Accounts.
-
Click + Create Service Account.
-
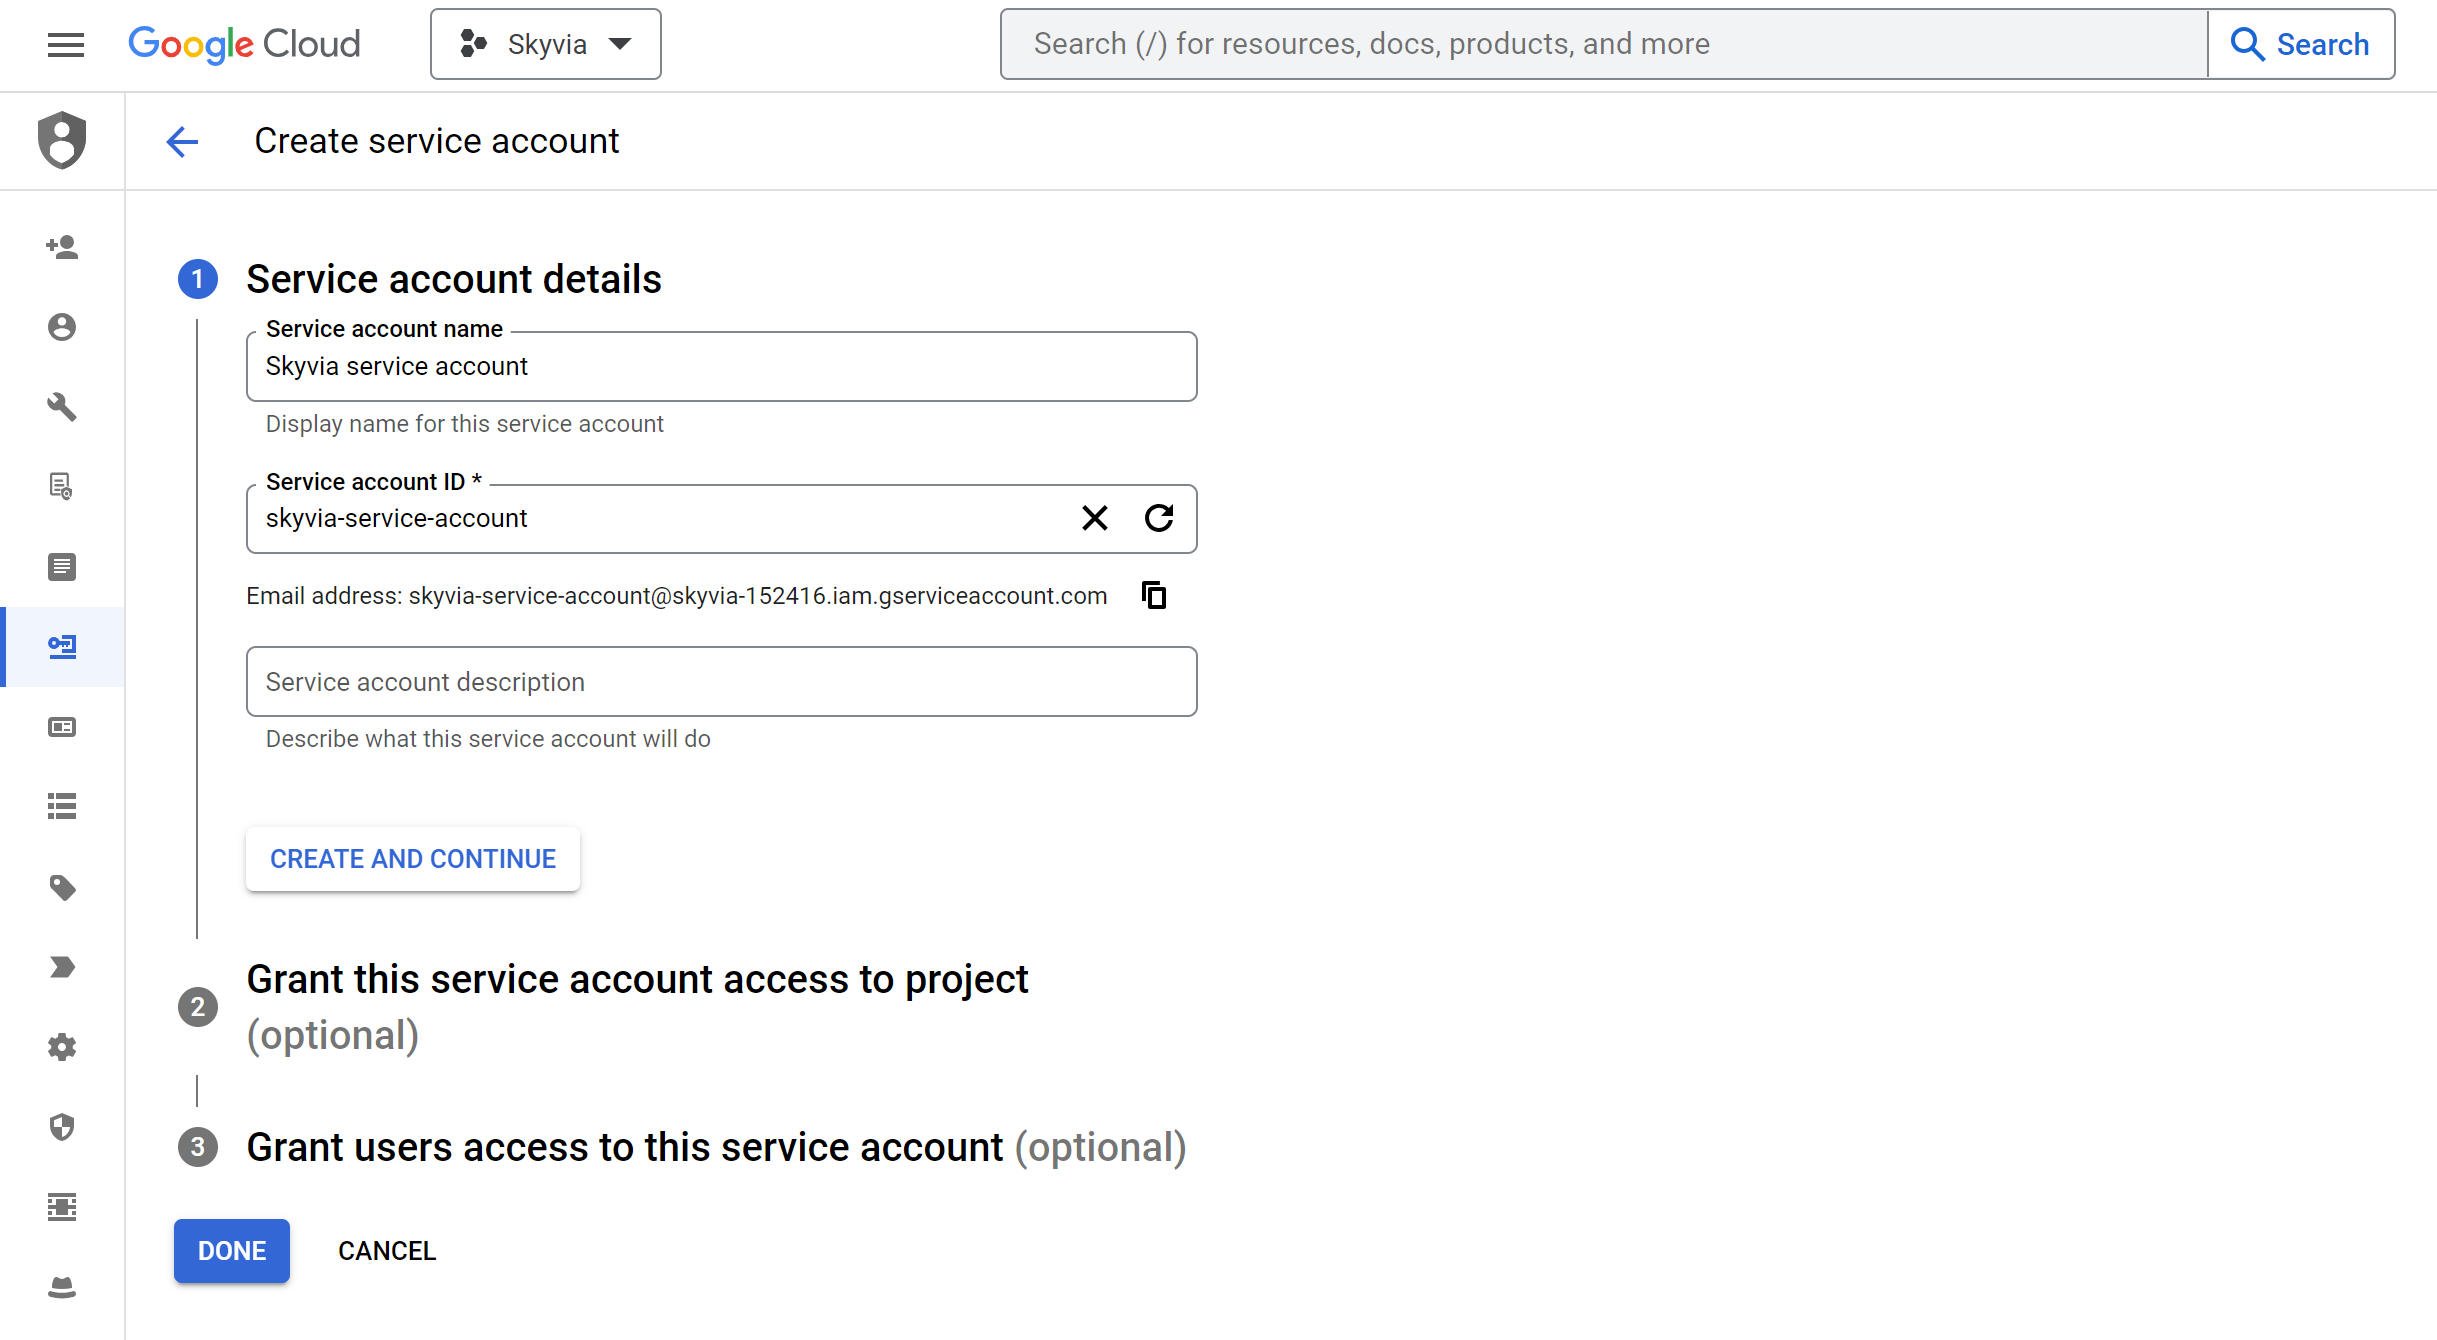
Enter Service account name, for example, Skyvia service account, and click Create and Continue.
-
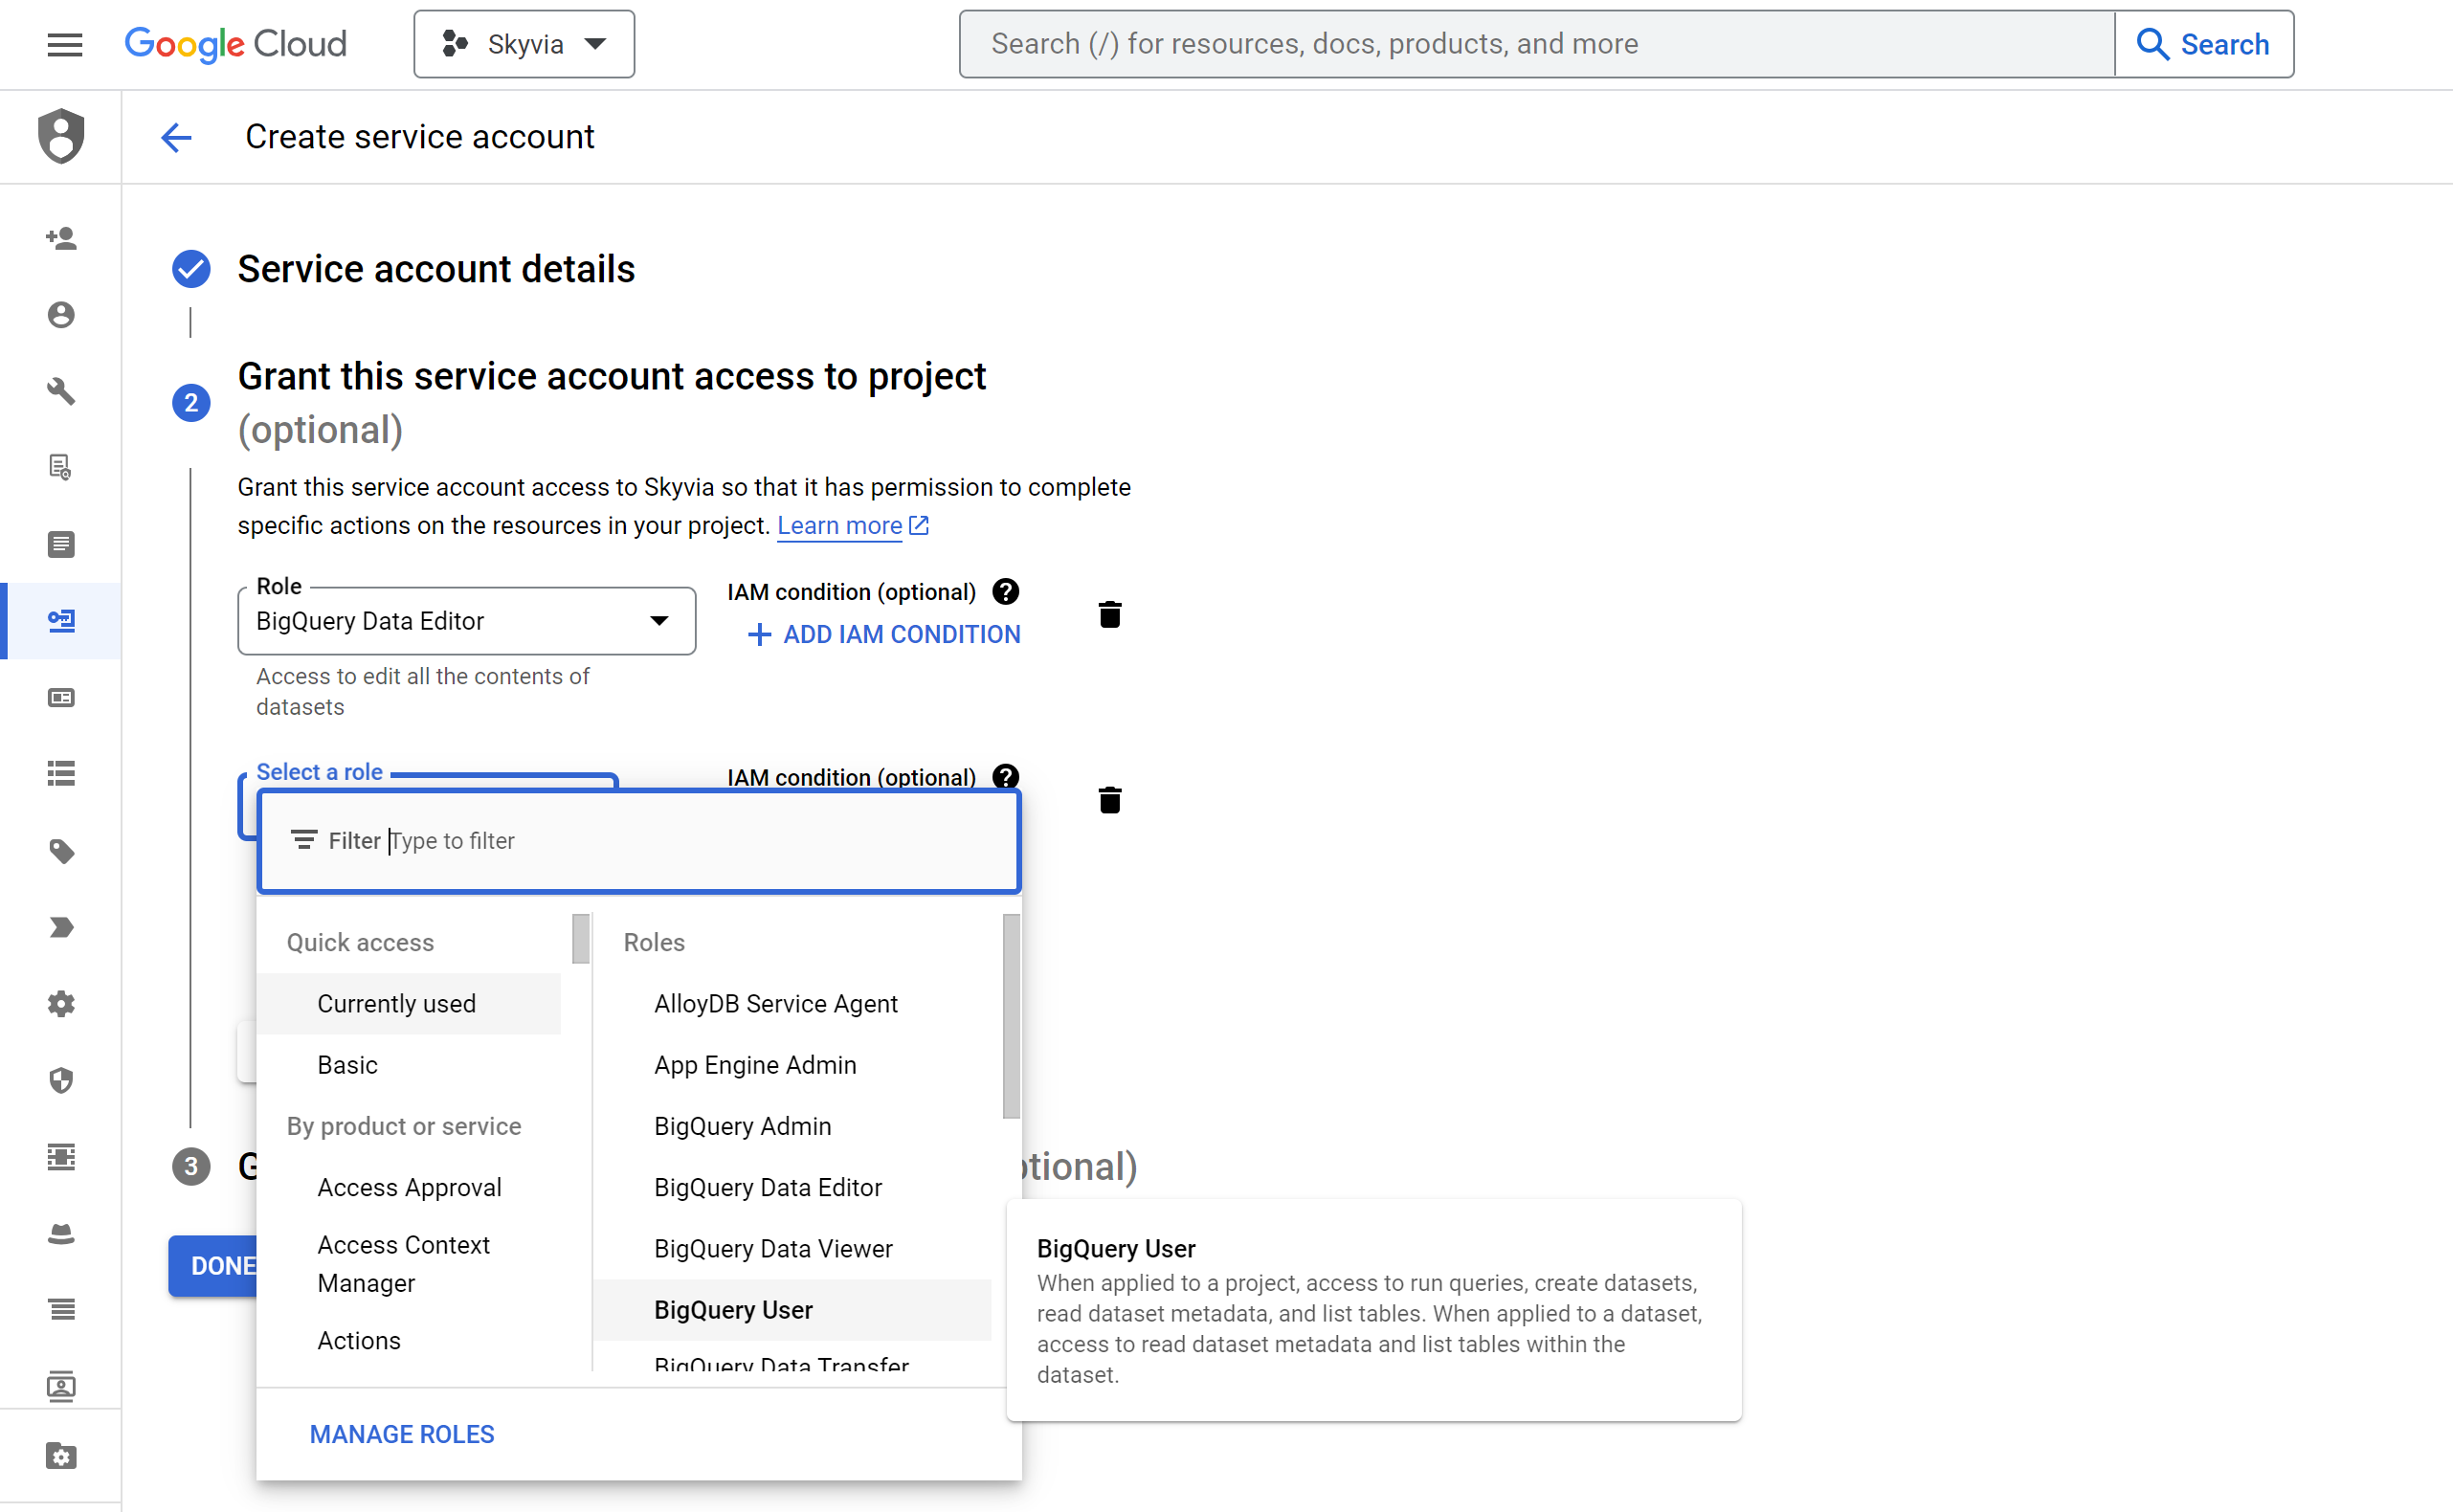
Configure the service account privileges. You need to grant the BigQuery Data Editor and BigQuery User roles to the service account.
-
Click Done.
Obtaining Private Key JSON
Here is how you can obtain the Private Key JSON file for an existing service account:
-
Open the service account that you want to use.
-
Switch to the Keys tab.
-
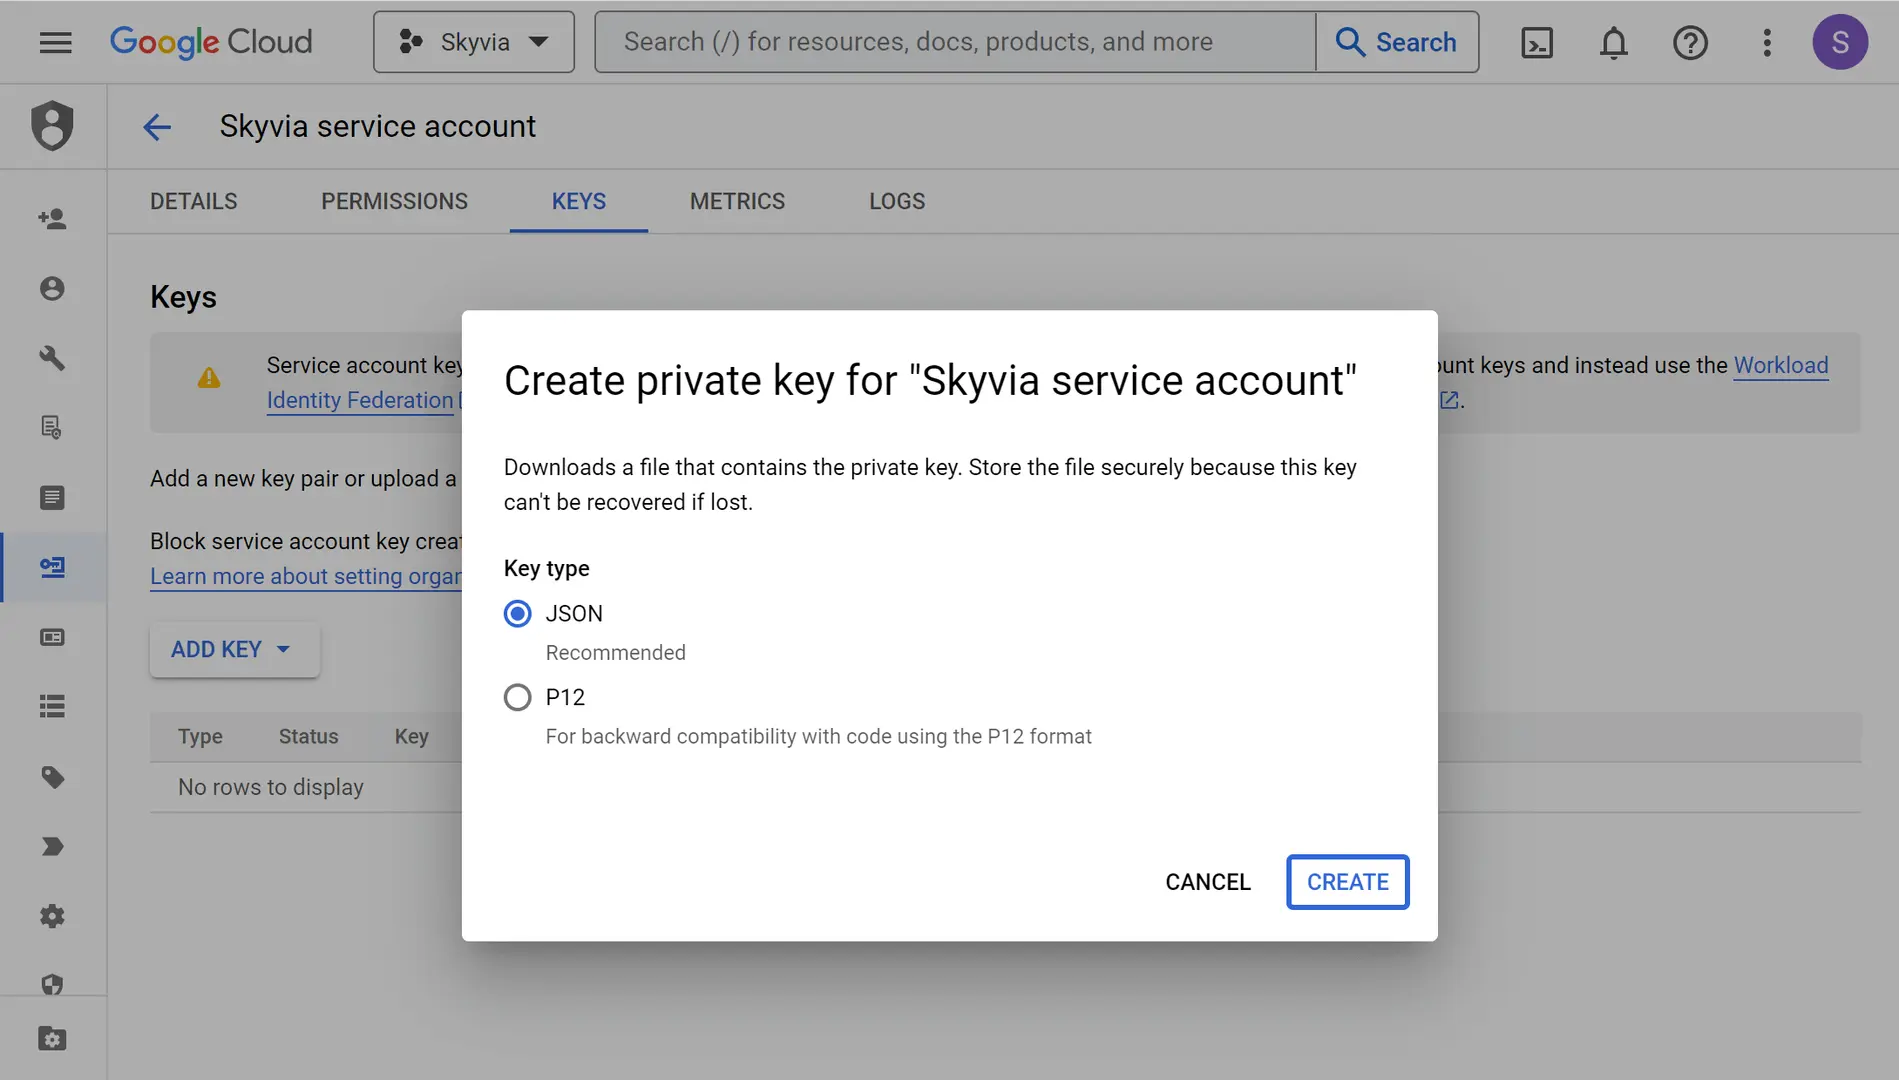
Click Add Key and then Create new key.

-
Make sure that Key type is set to JSON and click Create.
-
After this, the JSON key is downloaded to your computer. Store it in the safe place. You won't be able to re-obtain it, and will need to create a new key if you lose this one.
Creating Connection
User Account Authentication
To create a BigQuery connection with authentication via a user account, perform the following steps:
-
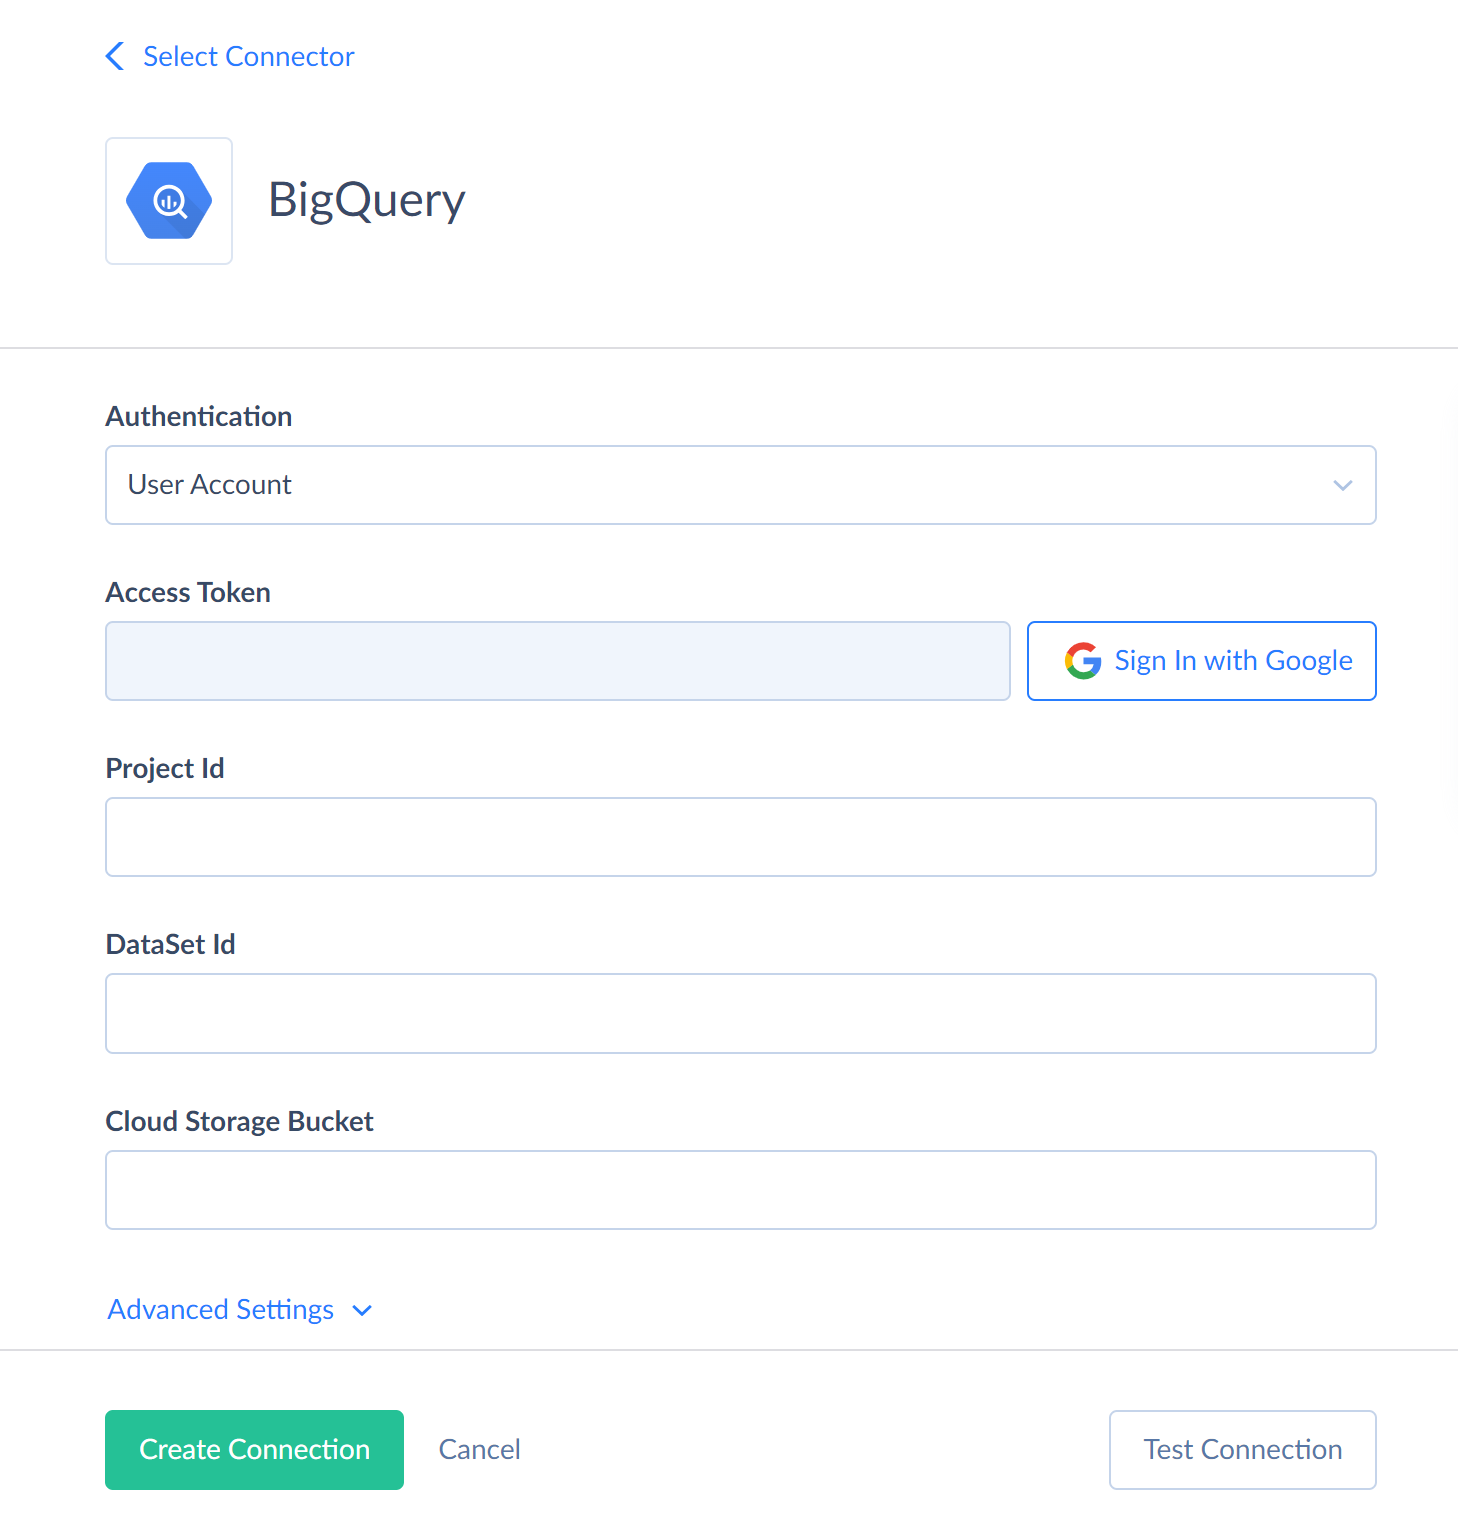
In the Authentication list, select User Account.
-
Click Sign In with Google.
-
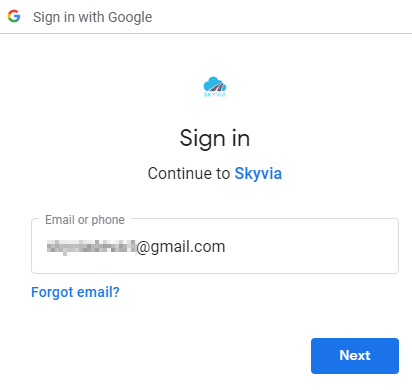
In the opened window, enter your email or phone and click Next.
-
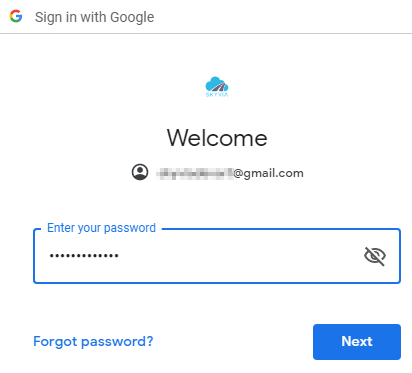
Enter your password and click Next once again.
-
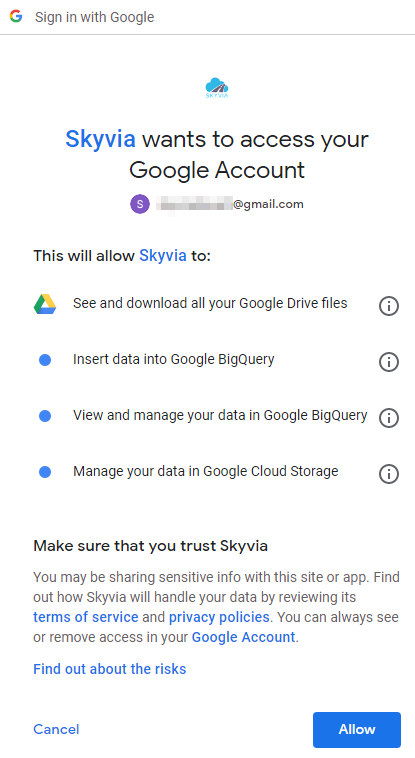
Click the Allow button.
-
Specify the Project Id and DataSet Id to connect to.
-
Also specify the name of the bucket (Cloud Storage Bucket) that will be used for temporary upload of CSV files when performing Import or Replication to Google BigQuery. The uploaded files will be deleted after the corresponding operations are finished.
Service Account Authentication
To create a BigQuery connection with authentication via a service account, perform the following steps:
-
In the Authentication list, select Service Account.

-
Click the three-dotted button in the Private Key JSON box.
-
Paste all the content of the downloaded private key JSON file for the respective service account into the box and click Save.
-
Specify the Project Id and DataSet Id to connect to.
-
Also specify the name of the bucket (Cloud Storage Bucket) that will be used for temporary upload of CSV files when performing Import or Replication to Google BigQuery. The uploaded files will be deleted after the corresponding operations are finished.
Additional Connection Parameters
Command Timeout
Specifies the wait time before terminating an attempt to execute a command and generating an error. Command Timeout doesn't affect the wait time for data fetching. Change this value if command execution takes too long, and this causes timeout errors.
Use Bulk Import
Enables bulk import. Selected by default. This setting affects only import integrations with the INSERT, UPDATE, and DELETE operation and with BigQuery as a target.
By default, such integrations import data in the following way: Skyvia writes data into multiple temporary CSV files, upload them to Google Cloud Storage and then tells Google BigQuery to import data from these CSV files. These actions are performed simultaneously, providing the best performance. After the CSV files are imported, they are deleted. However, when data are imported this way, it's not possible to obtain a per-record error log.
If you disable bulk import, Skyvia will use the corresponding DML statements for importing data. This allows you to obtain a per-record error log, but provides far less performance. Thus, disabling bulk import for BigQuery is not recommended and should only be considered if you need to import a small amount of data and need to have a per-record error log or you don't want to use Google Cloud Storage for temporary files.
Flexible Column Names
Enables accepting source object names containing any characters when replicating to Google BigQuery.
Use Legacy SQL
Enables the use of legacy SQL syntax. Note, that the Incremental Replication does not support the legacy SQL syntax and may return the syntax error when this checkbox is selected.
Connector Specifics
Since Google BigQuery does not have primary or unique keys, Skyvia has the following limitations for Google BigQuery:
- Synchronization is not supported for Google BigQuery.
- UPSERT operation in Import is not supported for Google BigQuery.
- When performing import with the UPDATE or DELETE operation, you need to manually specify columns, which will be considered a primary key.
Supported Actions
Google BigQuery connector supports the following actions:
- Execute Command in Source, Lookup, and Target Data Flow components and in Import and Export tasks in the Advanced mode.
- Execute Query in Source Data Flow components and in Import and Export tasks in the Advanced mode.
- Lookup in Lookup Data Flow components.
- Insert in Target Data Flow components.
- Update in Target Data Flow components.
- Delete in Target Data Flow components.