User Interface Basics
This article describes the core elements of the interface and explains how to operate with Skyvia objects across your workspace.
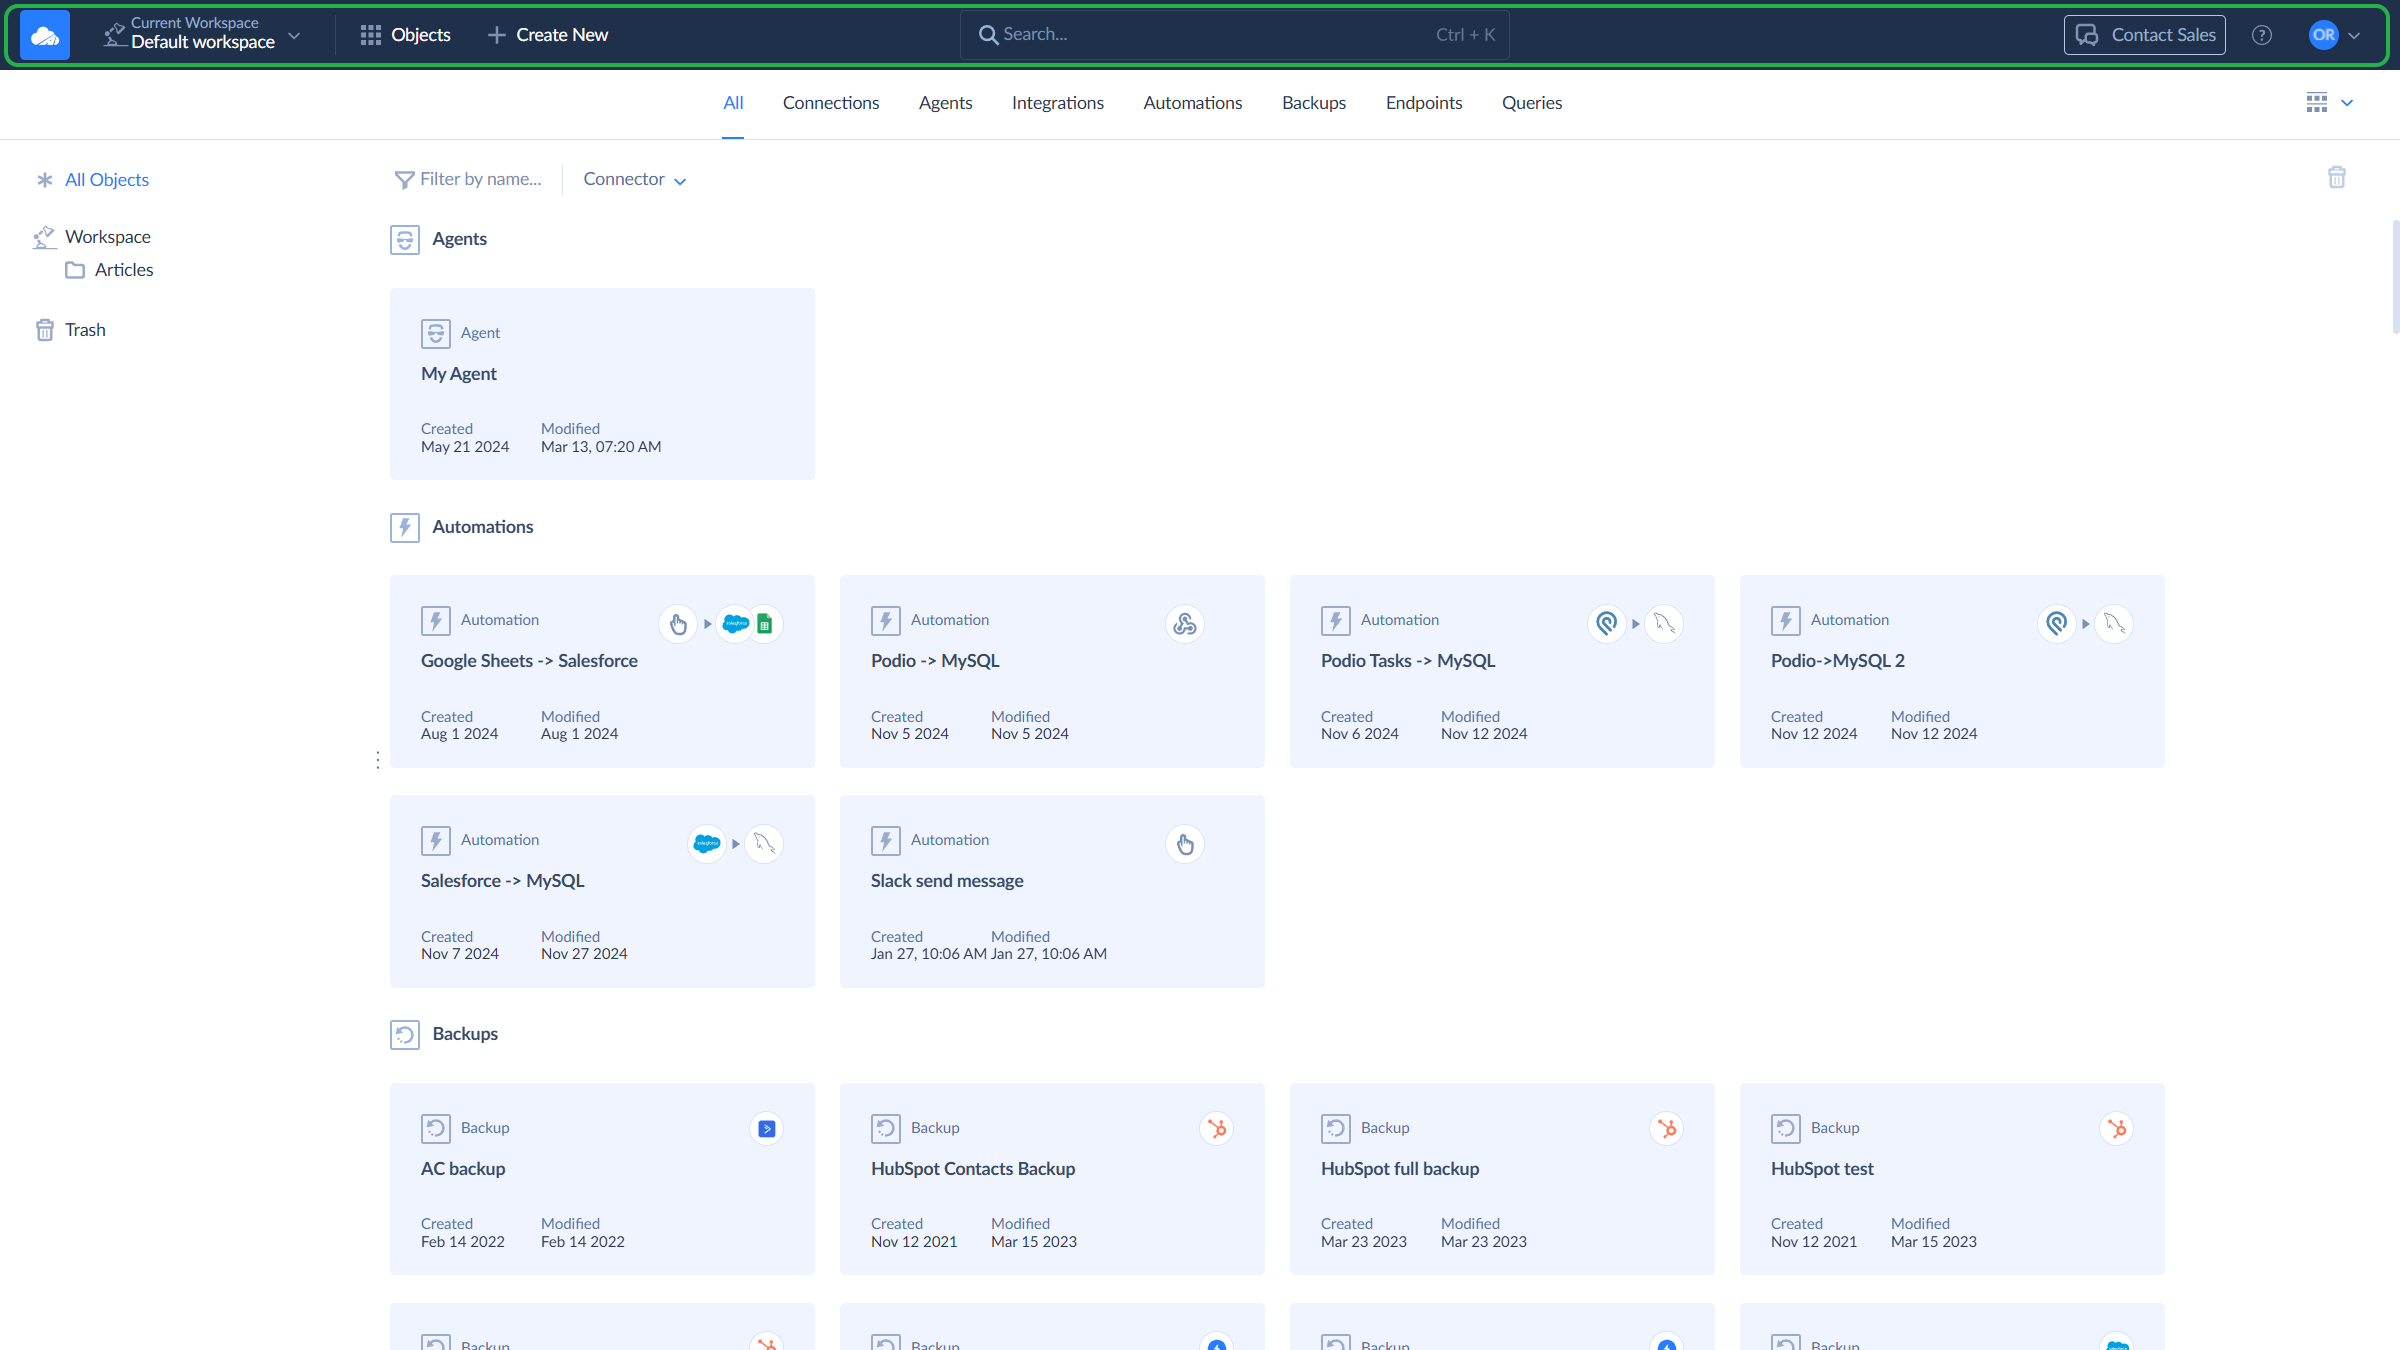
Skyvia page consists of the top menu and the workspace area.
Top Menu
With the main menu, you can:
- Switch between workspaces
- Create new Skyvia objects
- Search
- Contact Sales and Support teams, and access the support portal and documentation
- Manage personal information with profile settings, configure subscriptions and billing with account settings, and configure security and access for a workspace
Workspace
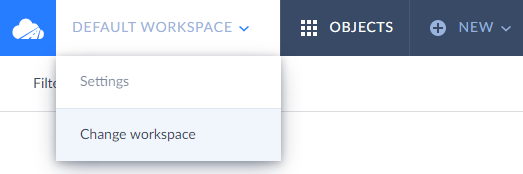
Workspace is Skyvia working area for a user or a team. When you sign in, Skyvia opens your private workspace or the workspace of the account you were invited to. You can set any workspace as the default, and Skyvia will automatically open it the next time you log in.
If you are a member of multiple workspaces (for example, your own and those you were invited to), you can switch between them at any time using the drop-down list in the top menu and select the workspace you want to work with.
Skyvia Objects
Skyvia object — any item you can create in the Skyvia workspace, such as a connection, agent, integration, automation, backup, endpoint, and query.
Creating New Objects
You can create a new Skyvia object from scratch or using predefined templates in the Gallery. Skyvia offers predefined templates of the most popular integrations, automations, and queries.
To create a new Skyvia object, click + Create New and select the required object. Skyvia opens a wizard that guides you through the creation and configuration steps.
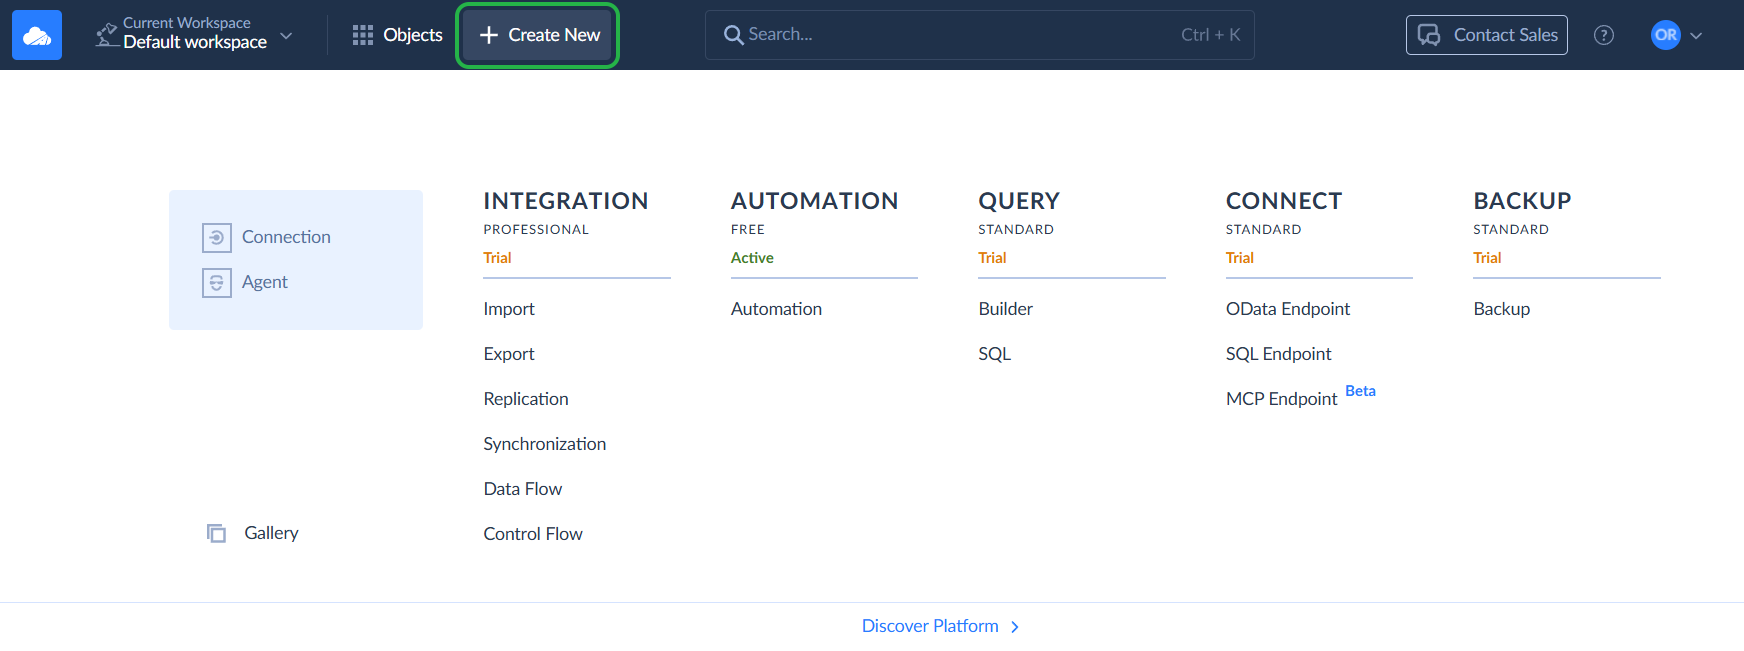
To create a new Skyvia object from a predefined template, click Gallery and select the template you want to use.
Object Details
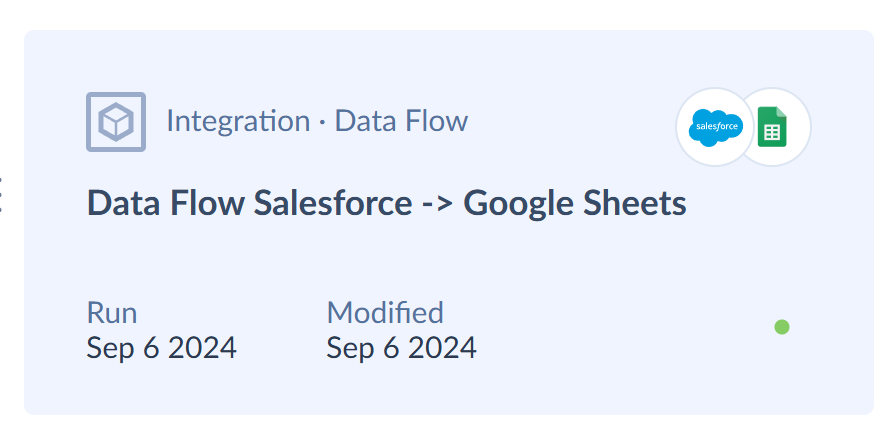
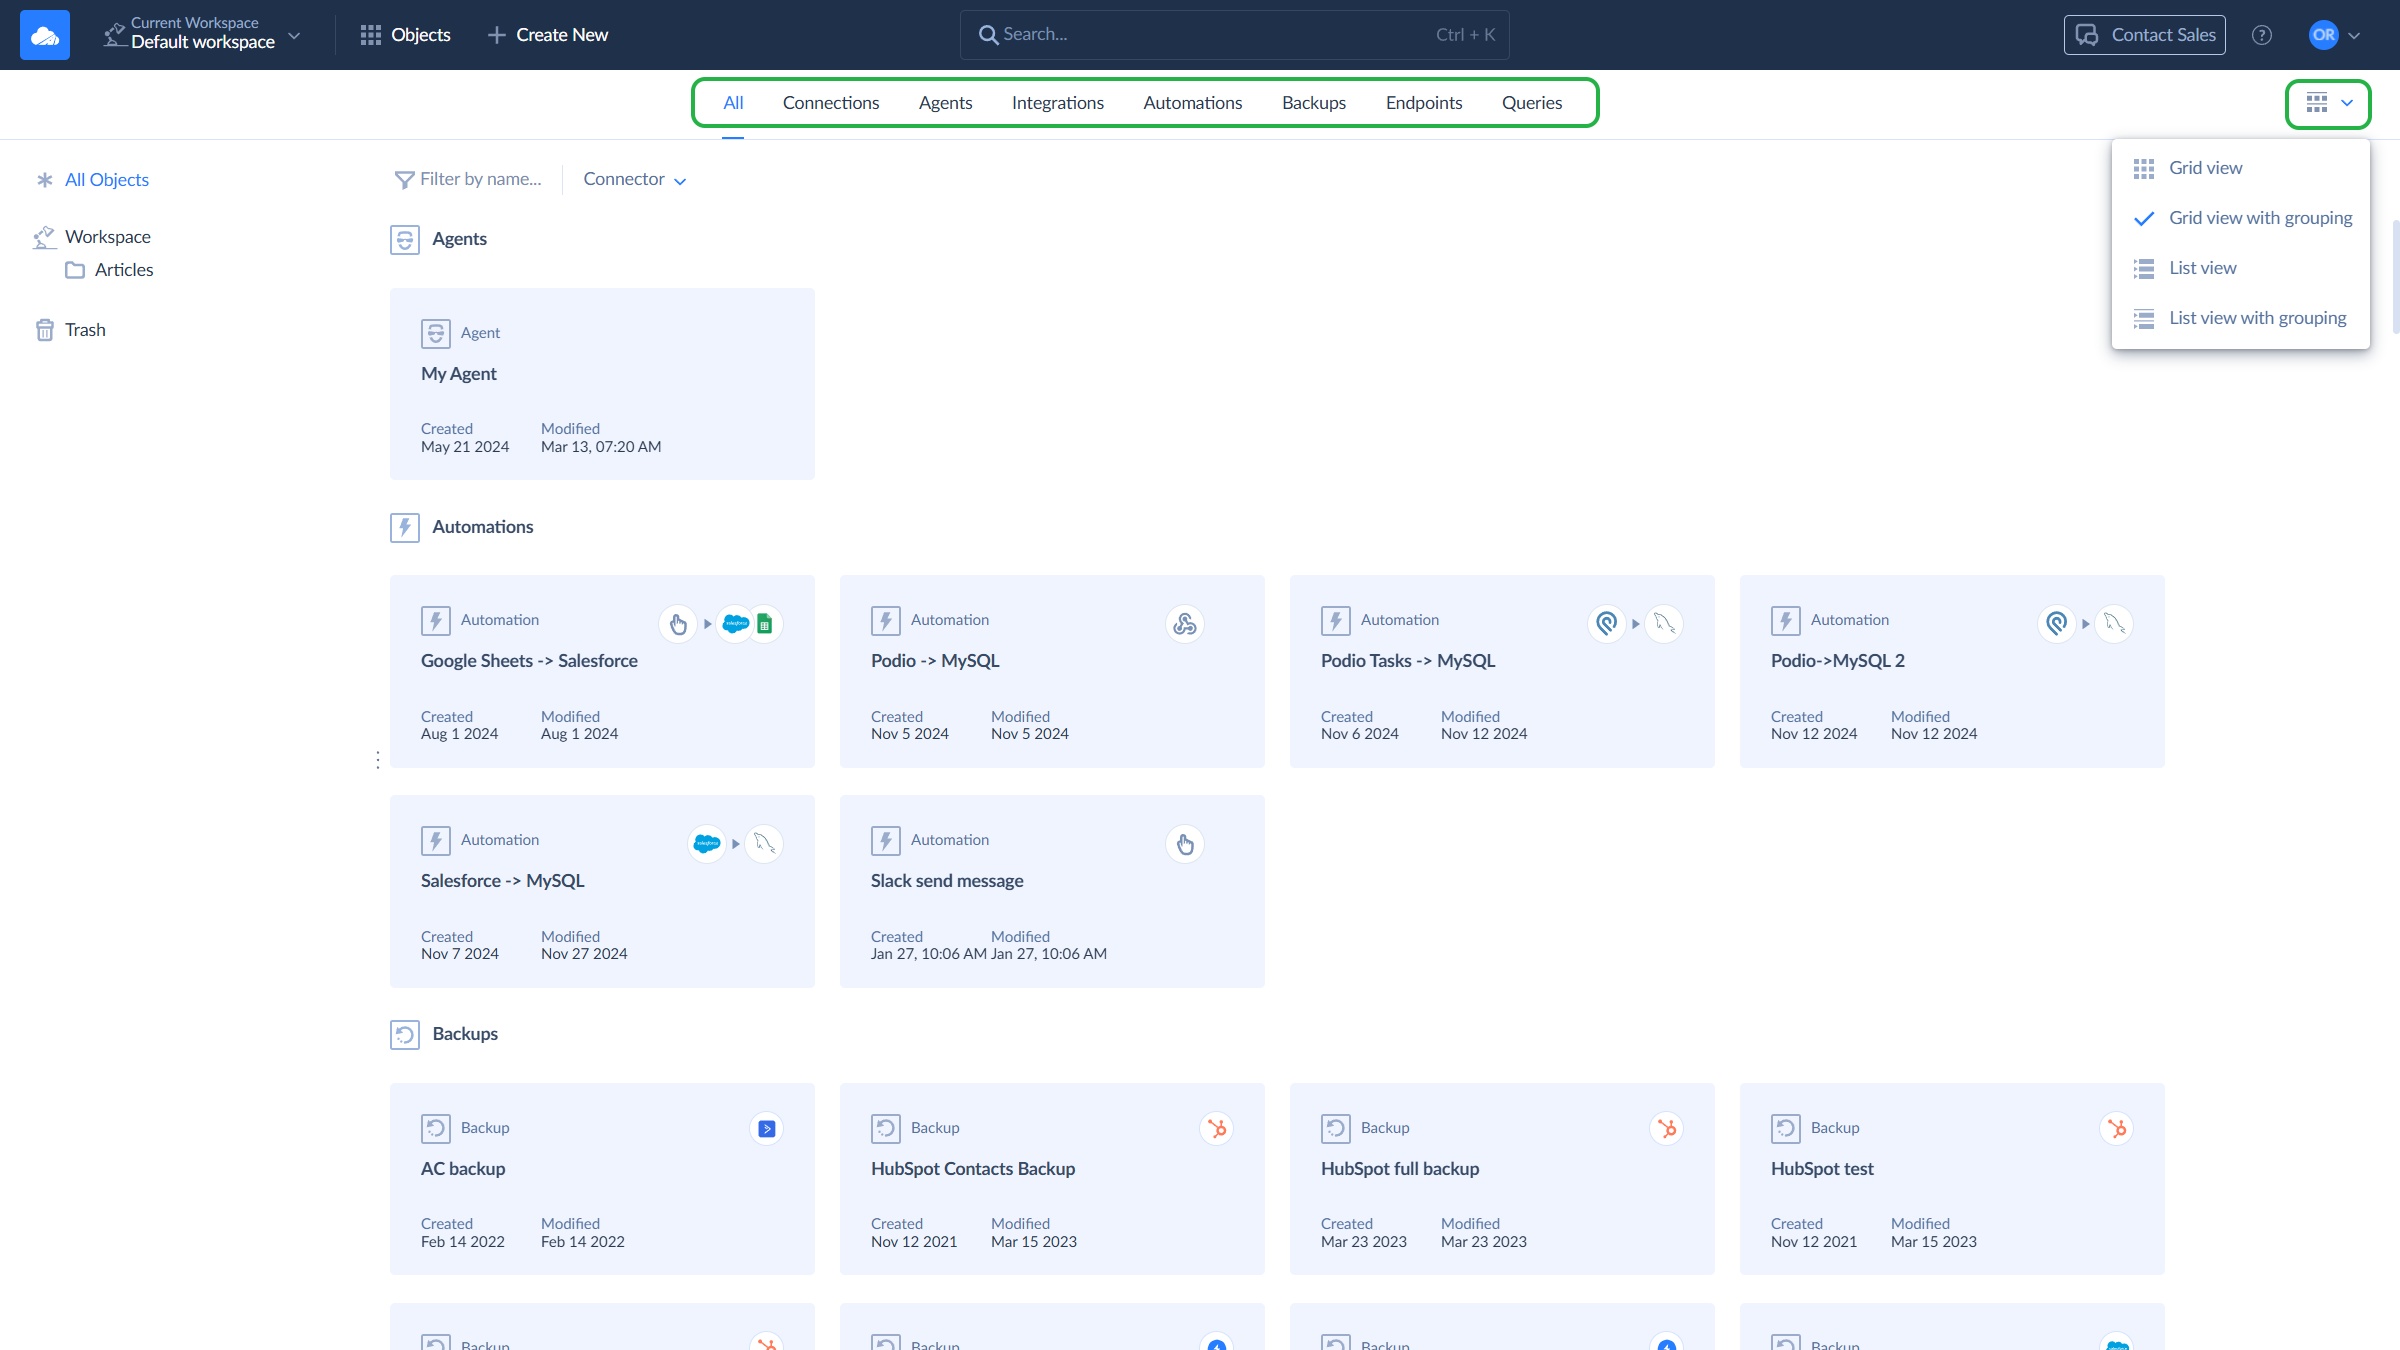
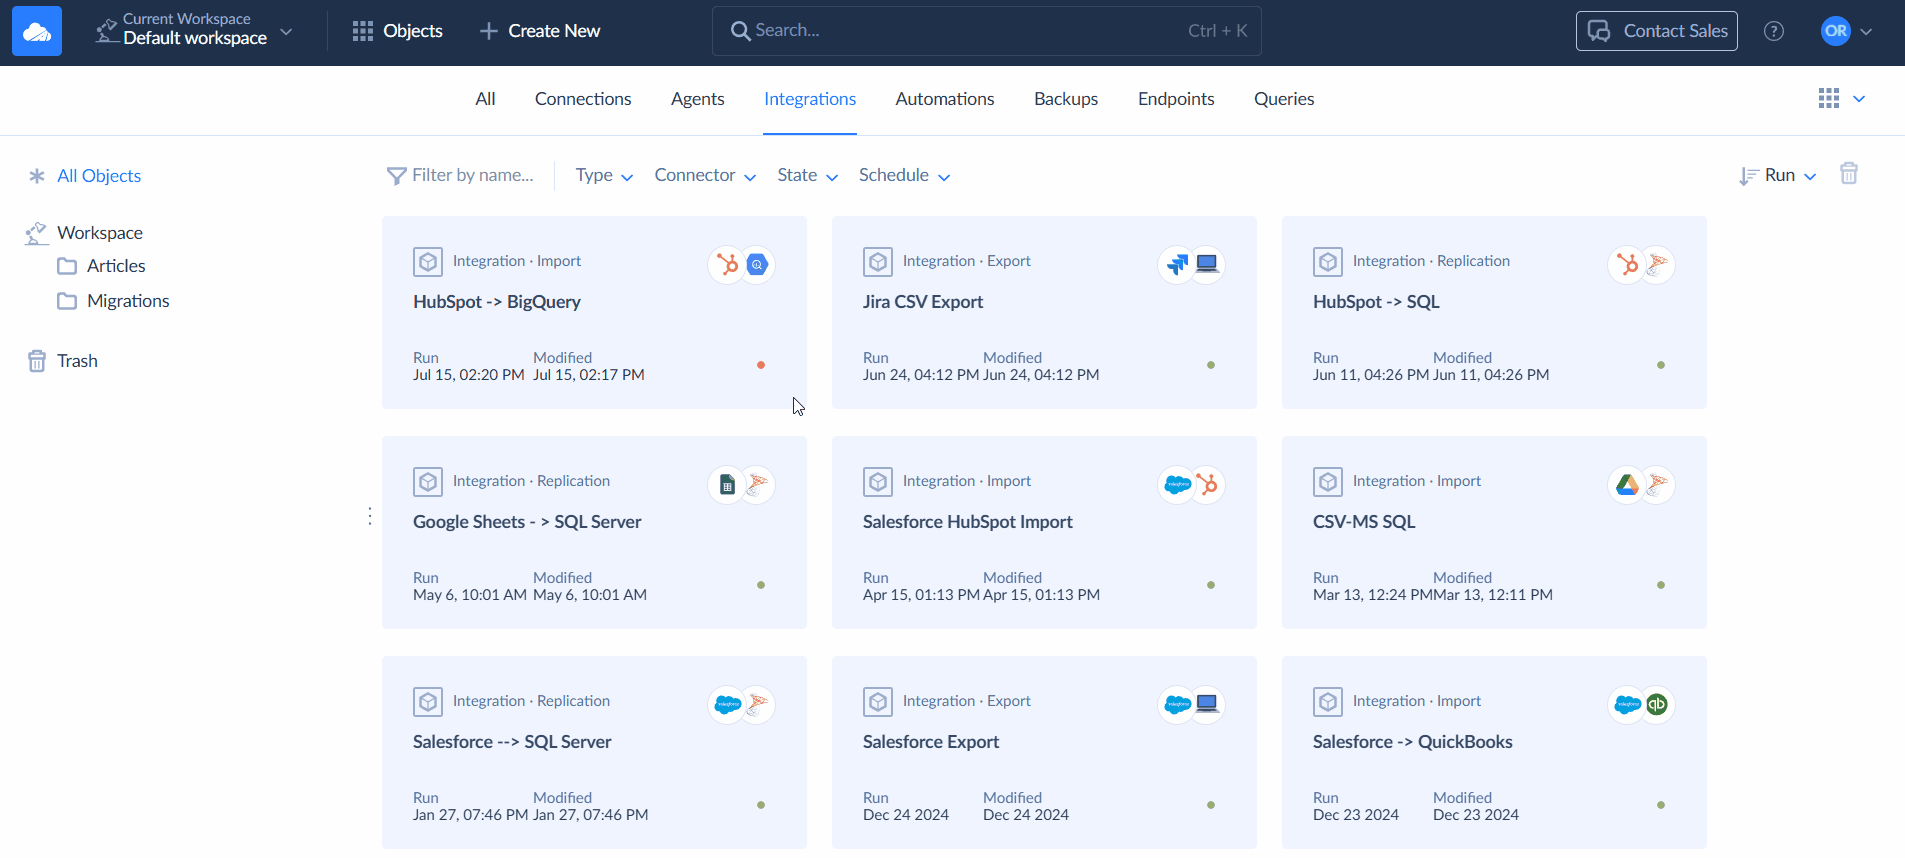
Each Skyvia object is represented by a separate tile. Each tile displays details such as the object name, type, and creation and modification dates.
You can click an object name in the list to open the object editor, where you can view details, modify the object, and perform actions such as running or scheduling the integration.
When you hover over an object in the list, Skyvia displays quick action buttons.
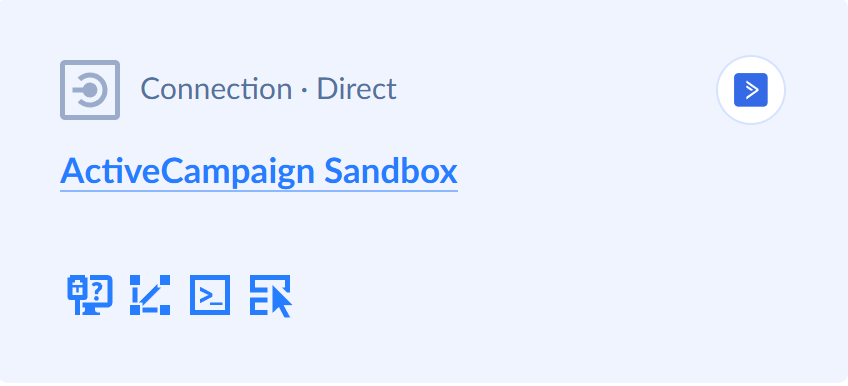
These buttons let you perform actions without opening the object, for example, testing a connection or checking an integration log.
![]() — checks whether the connection is valid or the agent is connected.
— checks whether the connection is valid or the agent is connected.
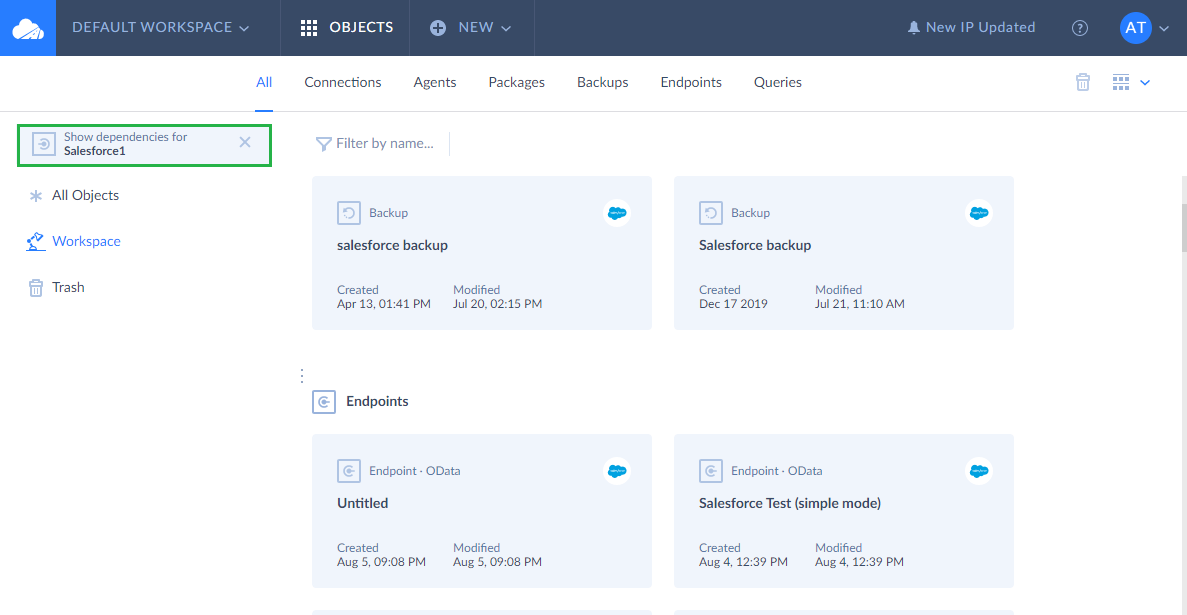
![]() — displays objects that depend on a connection or an agent.
— displays objects that depend on a connection or an agent.
![]() — opens the SQL editor to query data from the selected connection.
— opens the SQL editor to query data from the selected connection.
![]() — opens the Query Builder to query data from the selected connection.
— opens the Query Builder to query data from the selected connection.
![]() — opens the log of an integration, automation, backup, or endpoint.
— opens the log of an integration, automation, backup, or endpoint.
![]() — takes you to backup settings.
— takes you to backup settings.
![]() — opens the backup Activities tab.
— opens the backup Activities tab.
![]() — takes you to the endpoint model.
— takes you to the endpoint model.
Managing Objects
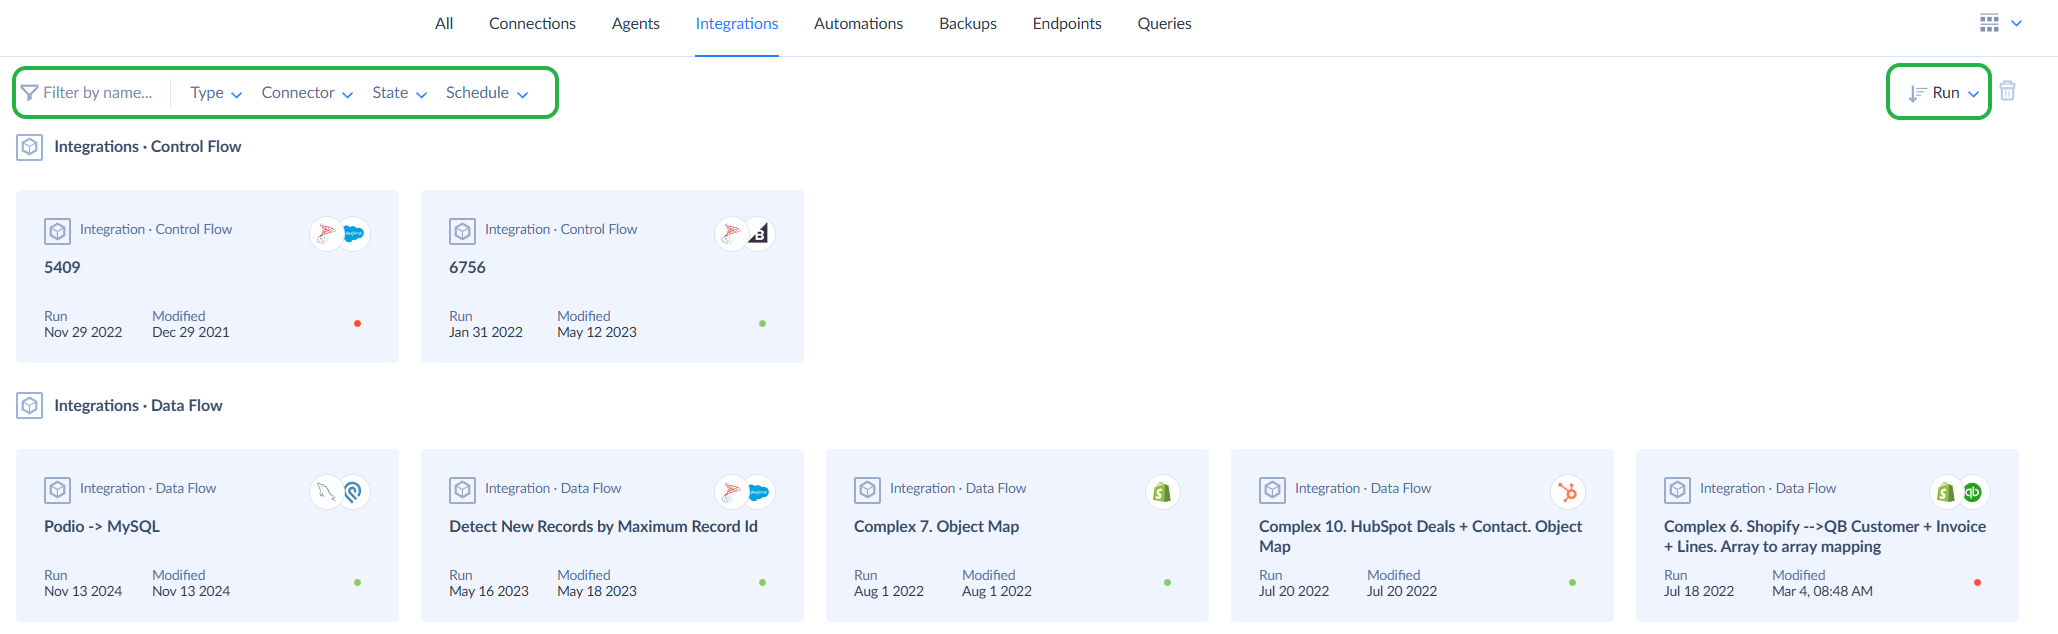
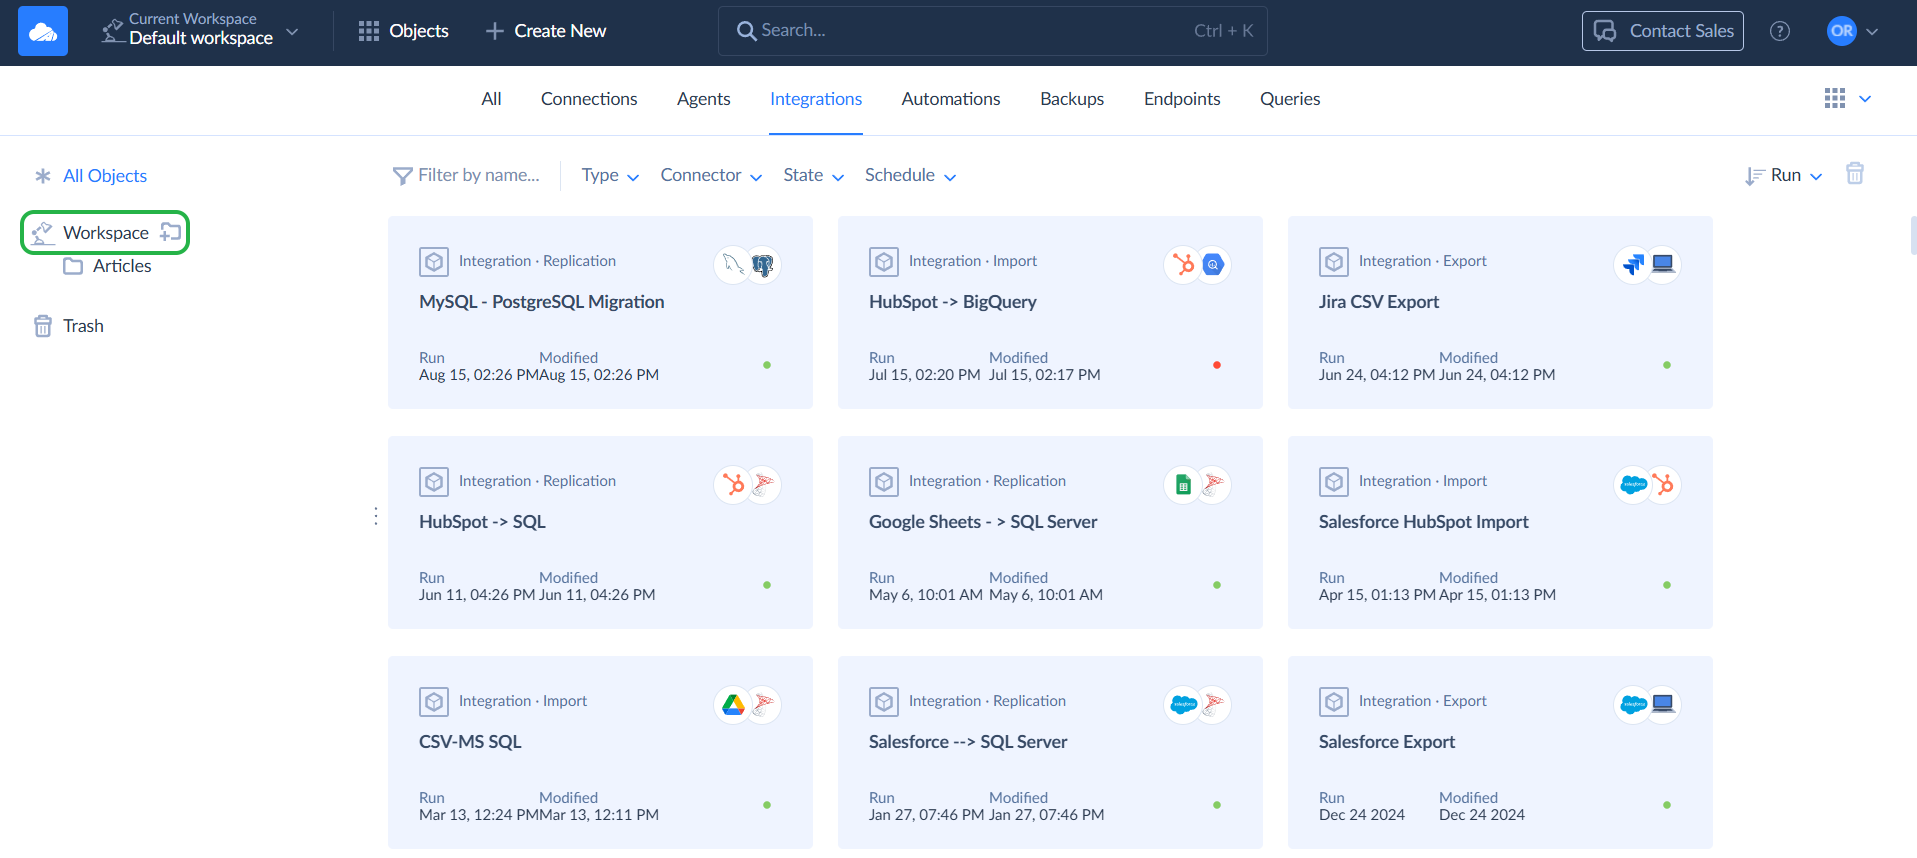
All Skyvia objects are displayed on the Objects page. Use the tabs at the top to filter objects by type. To change the layout, click the view icon on the right and select Grid or List view, with or without grouping.
Filtering and Sorting
Filtering and sorting vary for different object types. See the supported filters and sorting for the specific object types below.
| Object Type | Filter by | Sorting |
|---|---|---|
| Connections | Name, Connector | No |
| Agents | Name | No |
| Integrations | Name, Type, Connector, State, Schedule | Yes |
| Automations | Name, Connector | No |
| Backups | Name, Connector | Yes |
| Endpoints | Name, Type, Connector, State | Yes |
| Queries | Name, Connector | No |
Use the Filter by name box and the available drop-down lists to sort and filter objects.
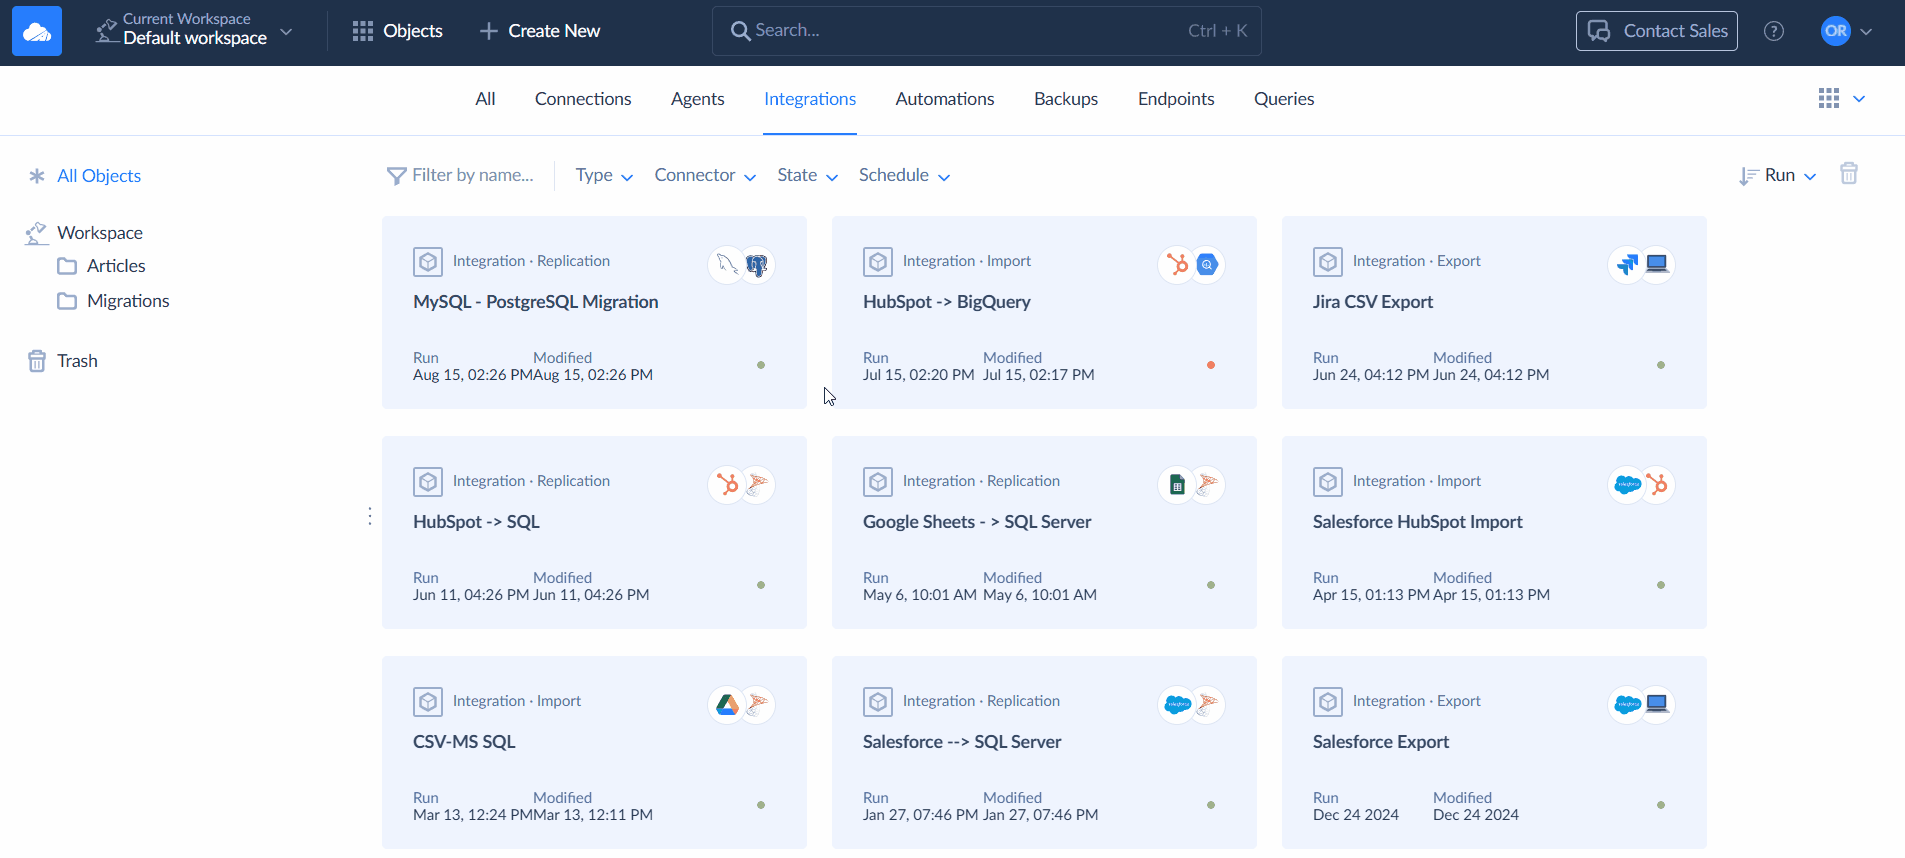
Organizing Objects in Folders
You can organize your objects into folders. Create folders and drag Skyvia objects to them to get quick access to your custom object.
Creating Folders and Subfolders
By default, all objects are created in a workspace root folder.
To create a new folder, hover your cursor over Workspace on the left and click the ![]() icon.
icon.
To add a subfolder, click the ![]() icon next to parent folder.
icon next to parent folder.
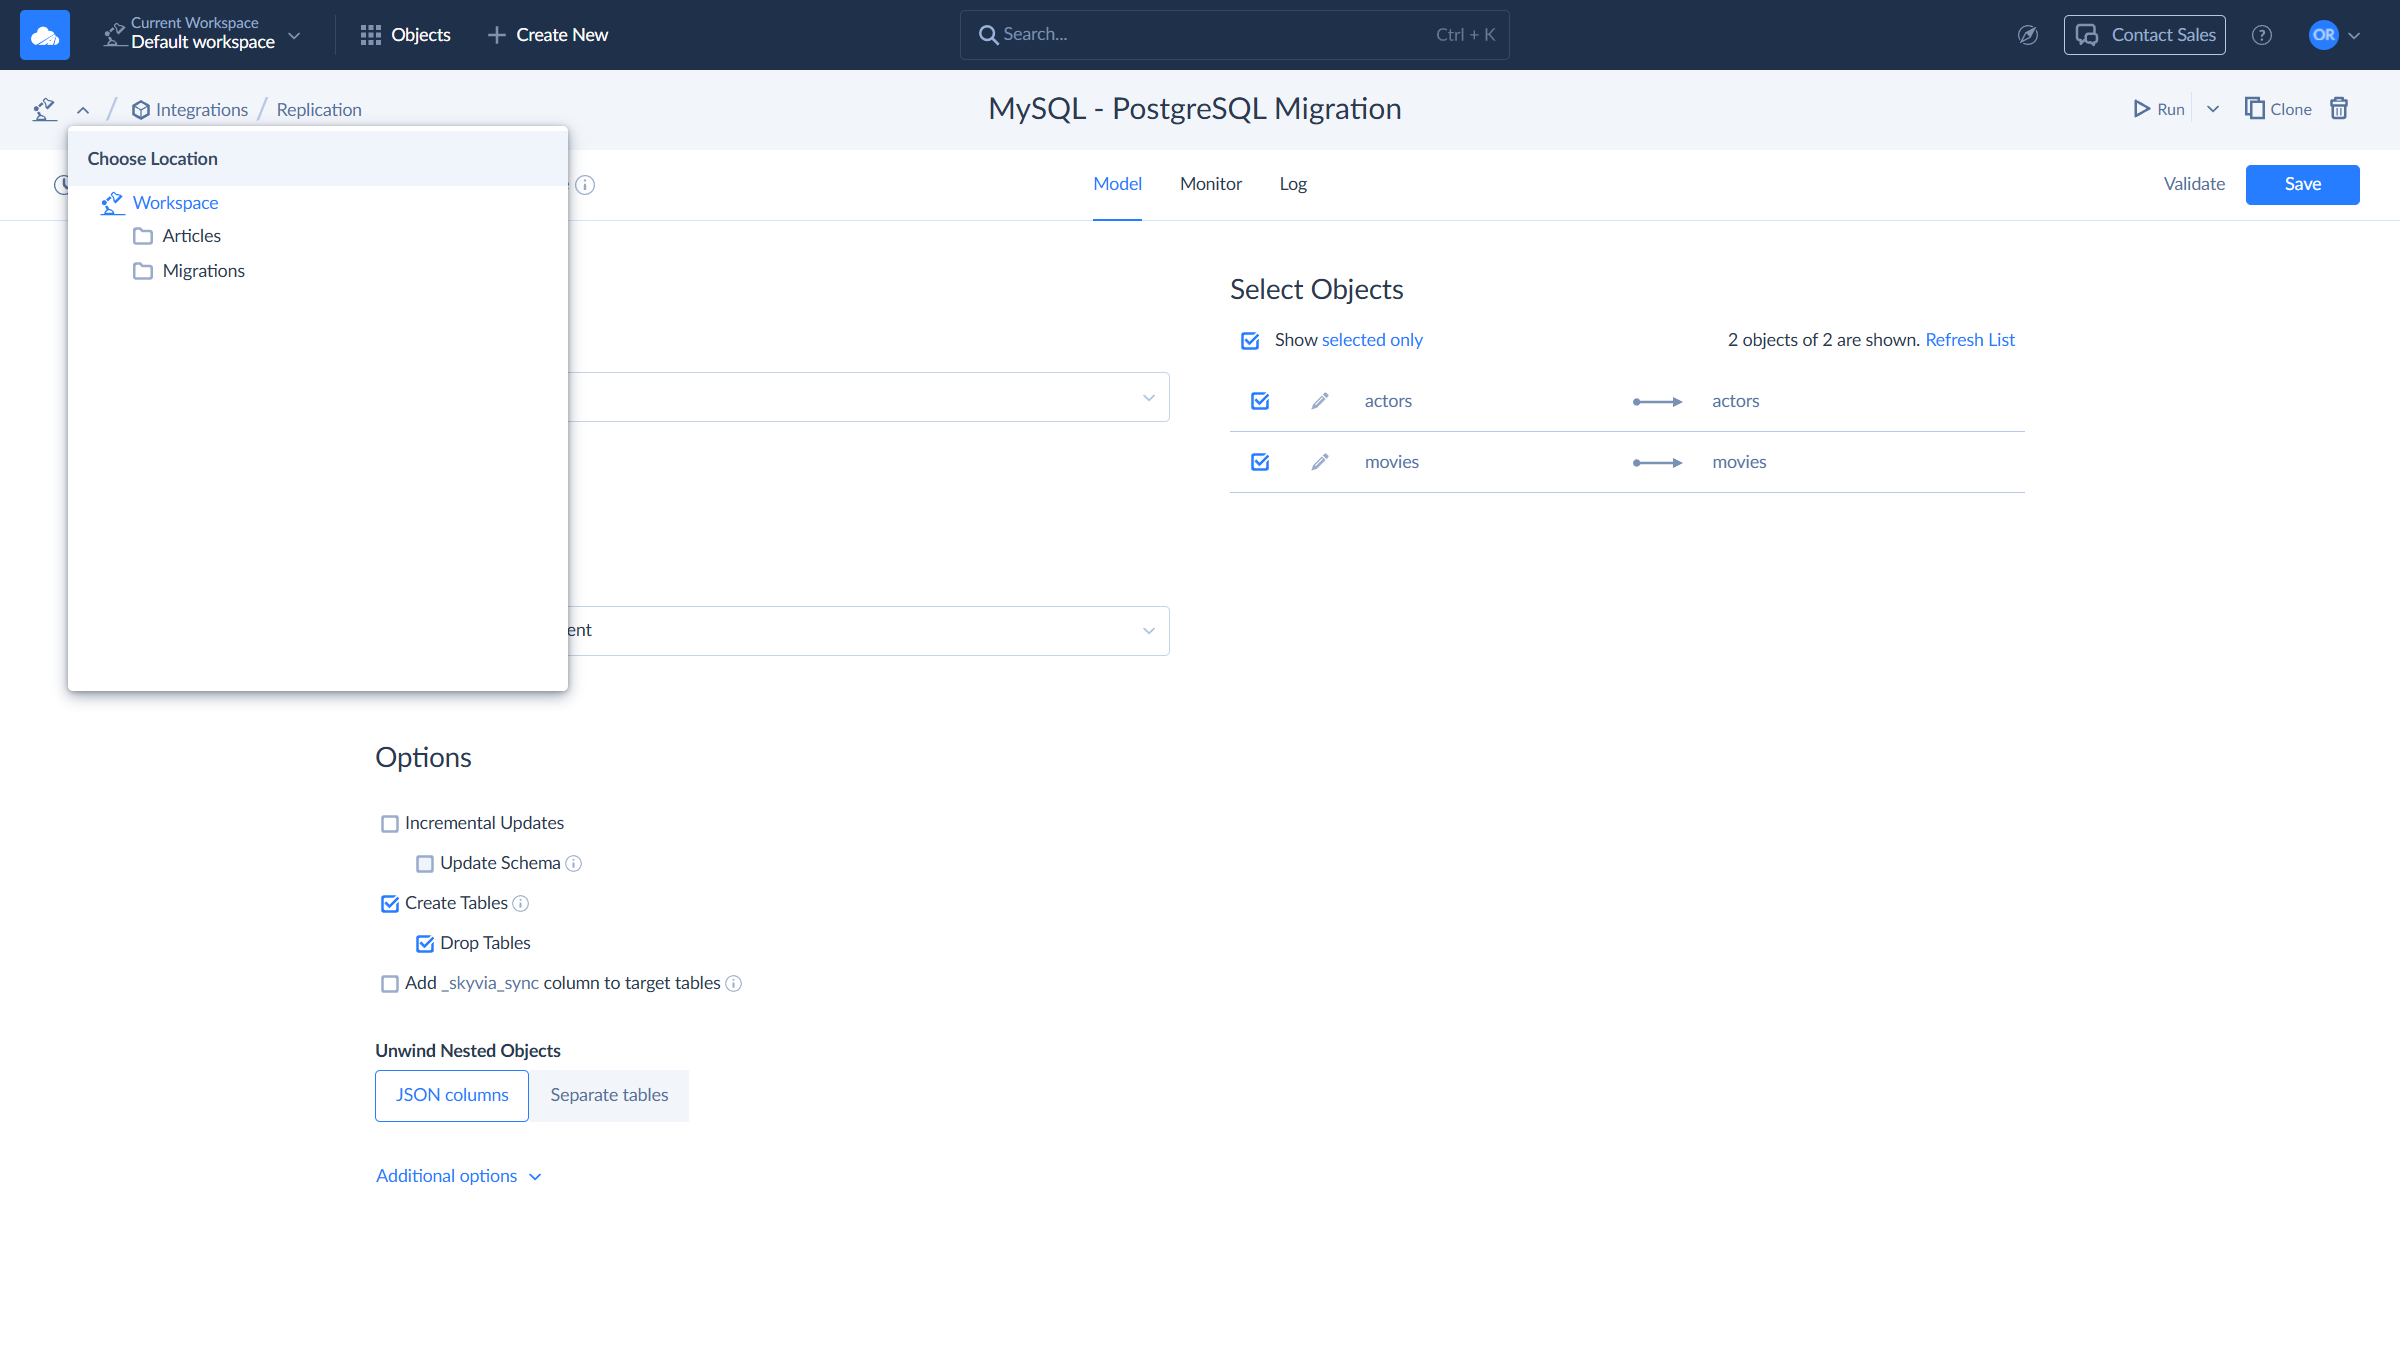
Changing Object Location
To select an object, click on its tile.
If you click on the name of the object, Skyvia will open it instead of selecting it. To select multiple objects, hold the SHIFT or CTRL key while selecting.
There are two ways to change the object's location.
-
Drag an object to a folder to change the object's location.
-
Change the object's location using the object editor:
-
Click on the object.
-
Click the arrow icon on the upper left.
-
Choose the folder to move the object to.
-
To view all the workspace objects, regardless of the folders, click the All Objects link above the folder tree.
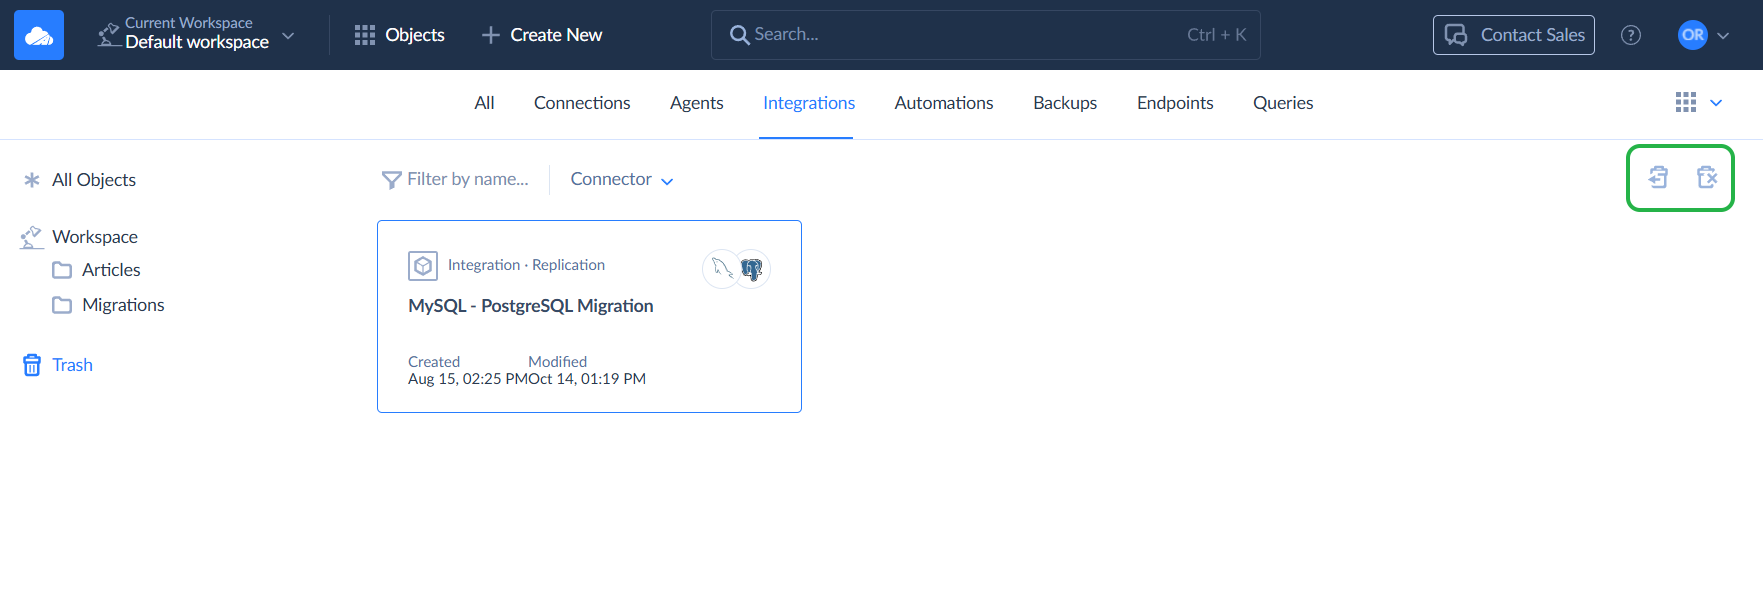
Deleting and Restoring Objects
There are several ways to delete an object in Skyvia.
-
Drag the selected object directly to the Trash on the left.
-
Select one or more objects in the list and click
 .
. -
Open the object you want to delete and click
. in the top right of the object editor.
When you delete an object, it stays in the trash bin for 2 weeks and can be restored during this period.
To restore the deleted object, go to the Trash folder, select the desired object, and click ![]() . To delete an object permanently, select it and click
. To delete an object permanently, select it and click ![]() .
.
When you delete a connection or an agent, and other objects depend on this connection or agent, Skyvia offers to delete the dependent objects together with this connection or agent.
When you restore an object from Trash, and if this object depends on other objects in Trash, Skyvia offers restoring all of them together.
 .
.
Help Center
To learn more about Skyvia, click the ![]() icon in the top menu. Here you can find links to Skyvia documentation, Skyvia blog with the latest news, and the Support portal with FAQs.
icon in the top menu. Here you can find links to Skyvia documentation, Skyvia blog with the latest news, and the Support portal with FAQs.
If you have more questions and cannot find answers to them in Skyvia documentation, you can contact Skyvia support team by filling out the Contact form.