Adding and Deleting Workspaces
Workspaces have been introduced to facilitate collaboration among users. Workspace is a working area, which allows a single user or multiple users from one company or team to work simultaneously over same Skyvia objects (integrations, backups, queries, etc.). You can allow access of multiple users to a workspace by granting them different roles. Users can also have access to many workspaces in one or in several accounts. In different workspaces, user can have different permissions and can be assigned different workspace roles — standard or custom ones. User can be a workspace admin for one workspace and a developer or member for another workspace.
What is also convenient is that team members working remotely or being located geographically in different places can easily collaborate and work over same Skyvia objects in one workspace. Read more about the effective teamwork in the Collaboration topic.
Please note that workspaces can be created by account admins only. When you create a workspace, you become by default a workspace administrator. You can add other users and assign workspace roles to them. You can transfer your workspace admin rights to another user and delete yourself from the workspace or both of you can act as workspace admins in the same workspace.
Adding Workspaces
You can create a new workspace in two different ways. You can add a workspace on the Workspaces tab of the Account page or you can click the workspace drop-down list in the top menu and add a new workspace to a certain account on the Select Your Workspace page. Below we describe each of these ways in more details.
The first way is to switch to your default account by clicking the User icon and then — Account. Here click the Accounts link on the left to switch to the Select Account page. Please note if you did not rename your default account, it will be displayed as Untitled.

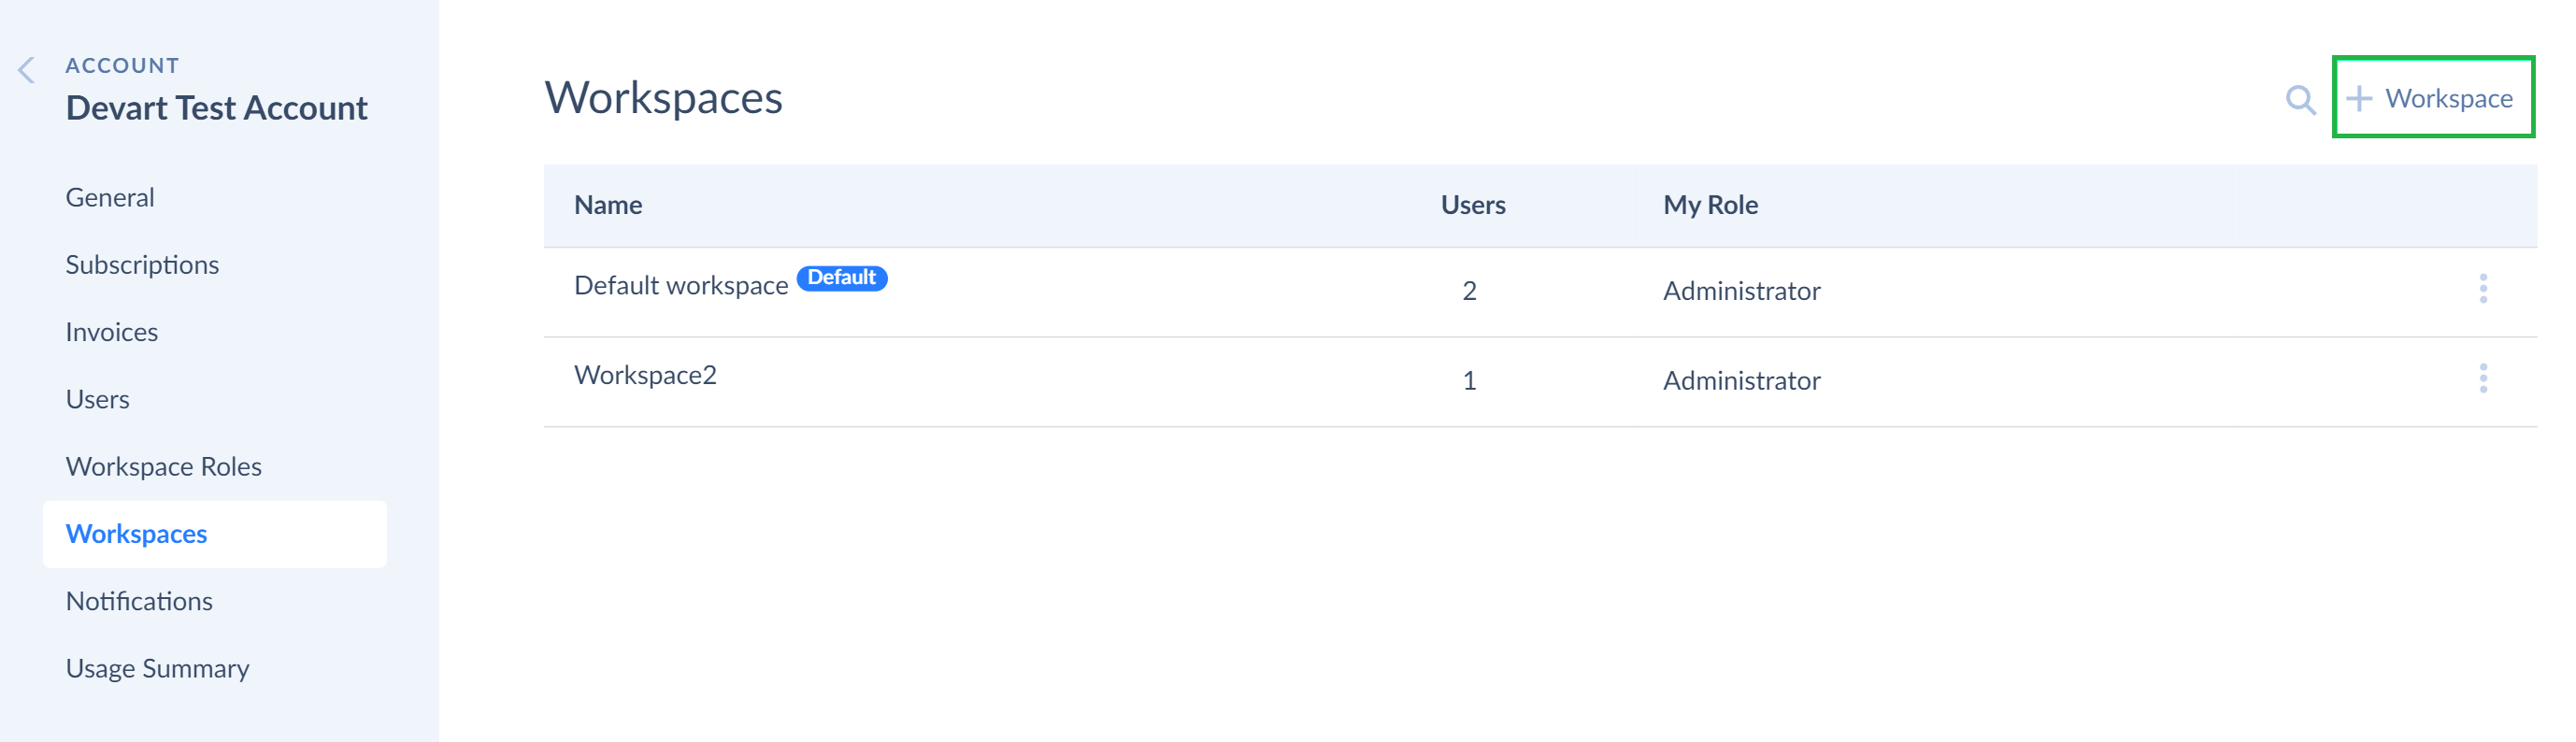
On the Select Account page, you can select an account you want to switch to. In our example, we switched to Devart Test Account. Then you have to select the Workspaces tab, and, on this tab, click the  button to add a new workspace.
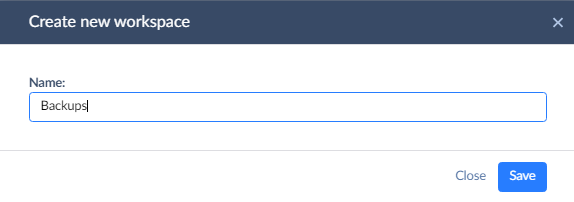
After you have clicked the button, the Create new workspace window will open. When creating a new workspace, enter the unique workspace name in the Name field and click Save. You cannot leave the Name field empty as your workspace should be easily identified among other workspaces if you have several of them. Later you can easily rename your workspace if required.
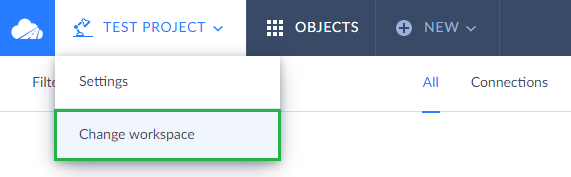
The second way is to use the workspace drop-down list. Click it in the top menu and select Change Workspace. On the screenshot, we can see TEST PROJECT workspace as the user is signed in to this workspace. If the user is signed in to his/her default workspace and is working with it now — the default workspace will be displayed.
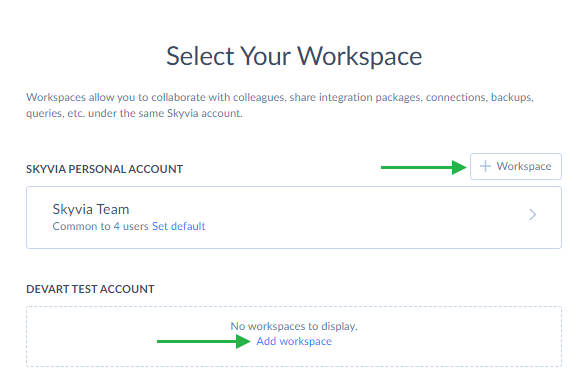
After you have clicked Change workspace, you are redirected to the Select Your Workspace page. You can easily switch between existing workspaces by clicking them or add new workspaces by clicking the button on the right or the Add workspace link under the account, which does not contain any workspaces yet.
You can also make any of your workspaces default simply by clicking the Set default link. When you sign in to Skyvia next time, you will be dropped directly into the workspace you have set as a default one.
Deleting Workspaces
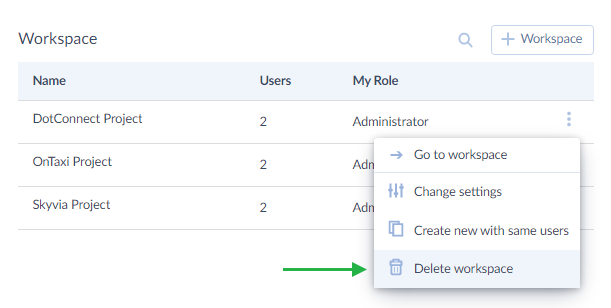
To delete a workspace, you need to click the User icon and then — Account. You will be transferred to the page of your default account. Here click the Accounts link on the left and switch to the Select Account page. Choose the account the workspace of which you want to delete. On the Account Page, select the Workspaces tab, click the ![]() More Options icon next to the workspace name and select Delete workspace.
More Options icon next to the workspace name and select Delete workspace.
You can delete a workspace only if you are a workspace admin.