How to Link External Data to Salesforce via Salesforce Connect (Salesforce Lightning)
Salesforce Connect allows you to link external data, available via the OData protocol as external objects and then work with these data as with usual Salesforce objects. Thus, you can publish data from any supported cloud application or database via Skyvia Connect and then link these data to Salesforce via Salesforce Connect. This topic describes how to link an already configured OData endpoint to Salesforce via Salesforce Connect in Salesforce Lightning. For Salesforce Classic see the following topic: How to Link External Data to Salesforce via Salesforce Connect (Salesforce Classic).
Creating External Data Source and External Objects
First, you need to create an external data source in Salesforce. For this, perform the following steps:
-
In the top right corner of the page click Setup, and then click the Setup menu item.
-
In the menu on the left, under Platform Tools, click Integrations, and then click External Data Sources.
-
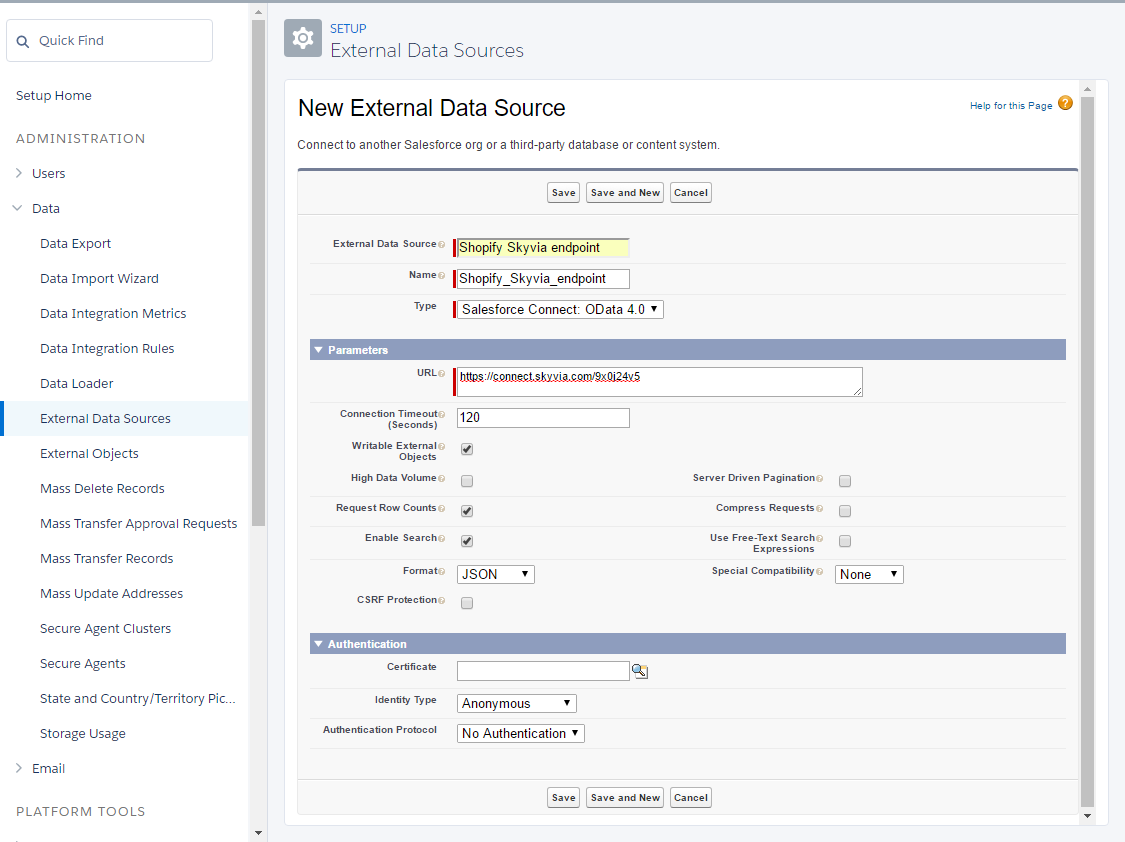
Click New External Data Source.
-
Enter values for External Data Source (a user-friendly name) and Name (unique external data source identifier) boxes.
-
In the Type list, select Salesforce Connect: OData 4.0
-
Paste the copied endpoint URL into the URL box.
-
Select the Writable External Objects checkbox if you use an endpoint to a writable data source.
-
You may specify other settings, such as High Data Volume depending on your data in the data source.
-
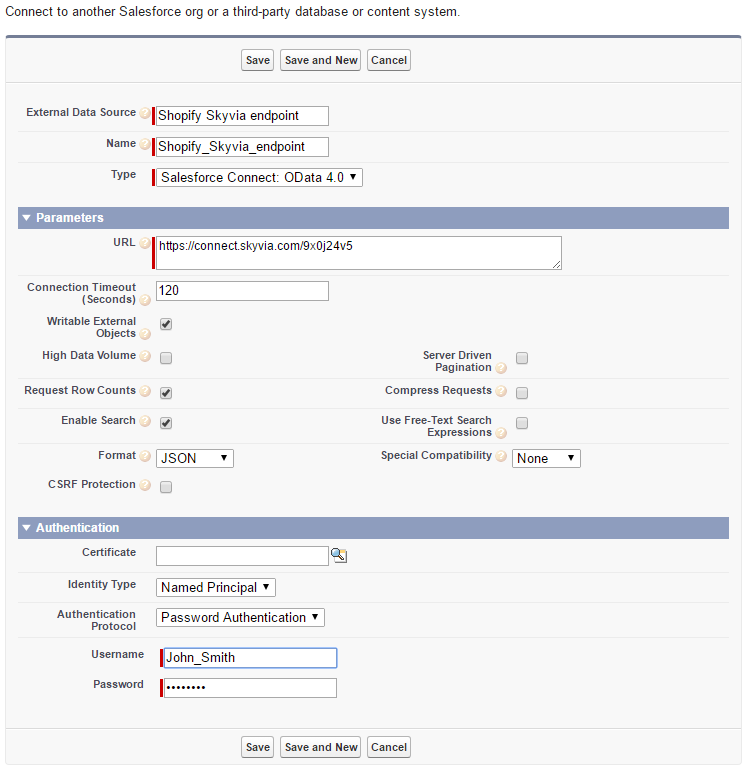
If you created user accounts with passwords for your endpoint in Skyvia, you also need to configure Authentication settings. Set Identity Type to Named Principal, Authentication Protocol to Password Authentication, and specify the endpoint Username and Password.
-
Click Save.
-
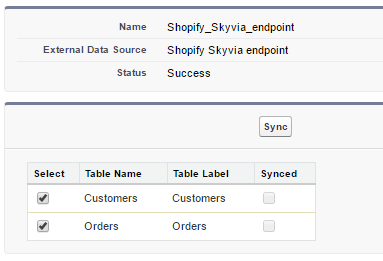
Click Validate and Sync.
-
Select the endpoint tables you want to sync and click Sync. This will create the necessary external objects automatically.
Adding Tabs for External Objects
After defining external data source and external objects, you may add tabs for external objects in order to work with them via Salesforce UI.
-
In the top right corner of the page click Setup, and then click the Setup menu item.
-
In the menu on the left, under Platform Tools, click User Interface, and then click Tabs.
-
In the Custom Object Tabs pane, click New.
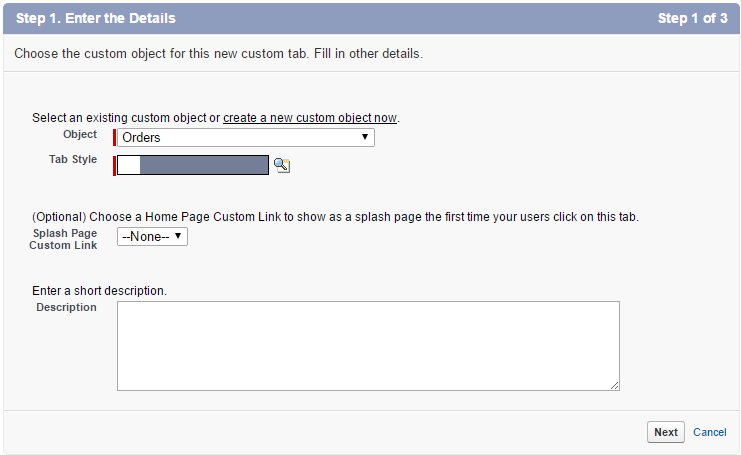
-
Select the required Object and set the Tab Style and Description.
-
Click Next.
-
Specify the tab visibility settings and click Next.
-
Configure the tab availability for custom apps and click Save.
That's all, your tab is ready, now you can work with your external objects. By default, however, the list view on this tab does not display any useful field. You can edit this view and select the fields from the external object it displays if necessary.