CSV Source
CSV Source is a component that extracts data from a CSV file. You can either manually upload the CSV file when creating or editing an integration or load it from a file storage service when the data flow runs.
CSV File
If you want to upload CSV manually, just select the CSV Source component and drag the CSV from an explorer window to your browser, to the drop here your file panel under Source CSV or click browse and open the necessary CSV file. Whenever necessary, you can edit the data flow and replace the uploaded CSV file with another one.
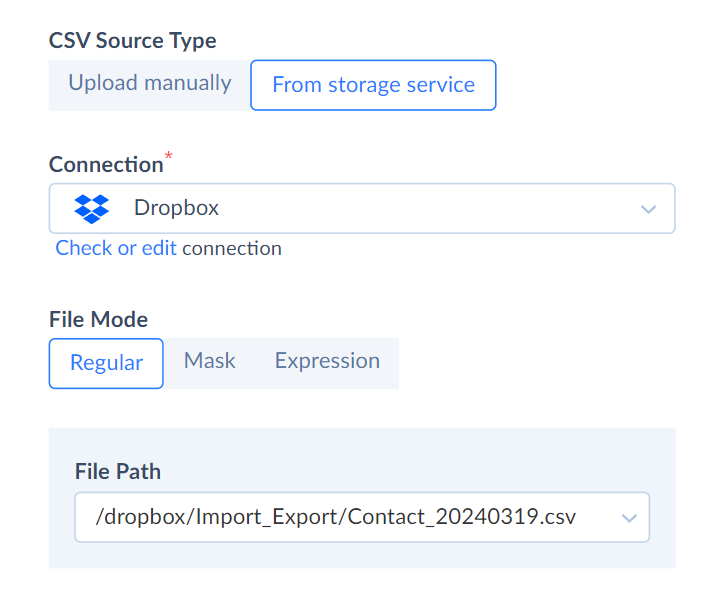
If you want to load your file from a file storage service, under CSV Source Type, select From storage service. Choose or create a file storage connection and set the File Mode.
File Mode
File Mode determines how Skyvia will get the file from storage service.
Regular
Use this mode to specify the path to the file manually. Select the file in the File Path drop-down list.
Mask
Use this mode to add a date/time string to a file name. It allows you to avoid manually selecting files and overwriting old files each time you run a data flow. When you use a mask, Skyvia replaces it with the current date in the selected time zone and searches for the file automatically.
The following storages support this mode: Dropbox, Amazon S3, FTP, SFTP, and Azure File Storage.
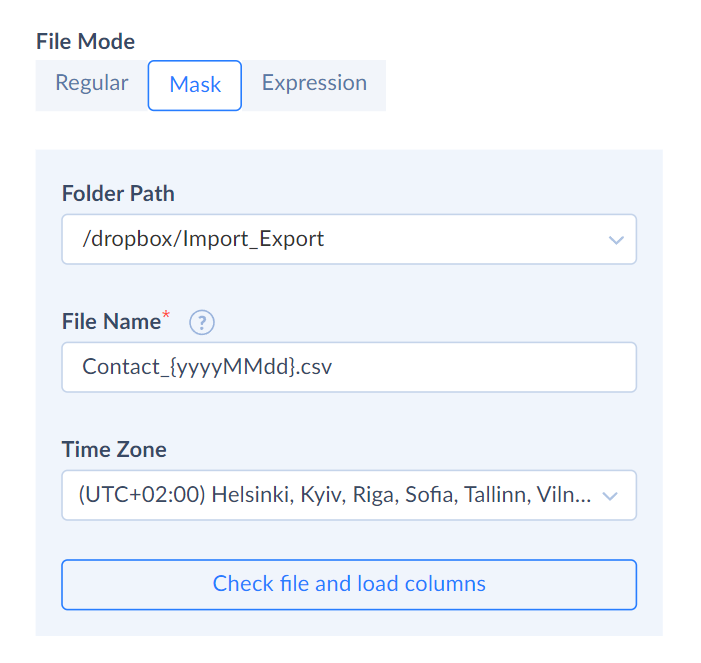
To use a mask, perform the following steps:
- Select the Folder Path, which leads to the needed file.
- Specify the File Name. Add a date/time format string to the file name, enclosing it in braces {}. Specify the date/time format string in the .NET Framework custom date and time format string.
- Set the Time Zone to transform your date/time string.
- Click Check file and load columns.
For example, if you use the mask Contact_{MM_dd_yyyy}.csv on March 19, 2024, Skyvia looks for the file named Contact_03_19_2024.csv.
Expression
Use this mode to generate file names via custom expressions. It allows you to use available operators, functions, integration variables and parameters to build your file name template with Expression Editor.
The following storages support this mode: Dropbox, Amazon S3, FTP, SFTP, and Azure File Storage.
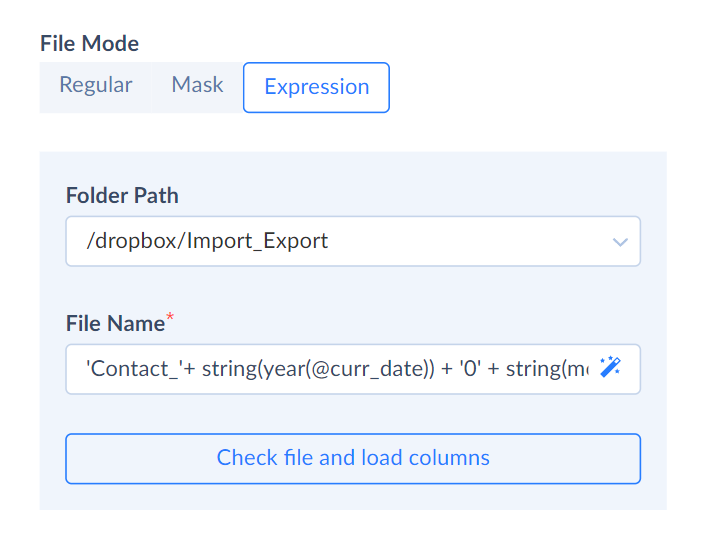
To generate your file name template, do the following.
- Select the Folder Path, which leads to the needed file.
- Build your expression using our Expression Syntax.
- Click Check file and load columns.
Other Options
Optionally, you can click more options and specify CSV file options. Note that Locale and Code page options are not available in the CSV Source component.
You can also use the Trim Whitespace setting to trim leading and trailing whitespaces from the data in CSV fields.
Columns
After you specified the source file, under Columns check the number of detected columns. If this number does not correspond to the number of columns in your file, make sure that the CSV options are specified correctly and that you selected the correct CSV file. For example, if only 1 column is detected, it usually means that incorrect CSV Separator is specified.
You can also review column names and rename columns by clicking Edit names and editing column names. The modified names will be used in data flow scope. Custom names are assigned to CSV file columns in the same order as in the CSV file, i.e. the first column name in the list is assigned to the first CSV file column, and so on. Customizing column name can be useful if the CSV file does not include header row with column names at all.