ServiceNow
ServiceNow is an intelligent platform for digital transformation that enables companies to digitize any process across their organization with pre-built and customizable workflow solutions.
Data integration: Skyvia supports importing data to and from ServiceNow, exporting ServiceNow data to CSV files, replicating ServiceNow data to relational databases, and synchronizing ServiceNow data with other cloud apps and relational databases.
Backup: Skyvia Backup does not support ServiceNow.
Query: Skyvia Query supports ServiceNow.
Establishing Connection
To create a connection to ServiceNow, specify your ServiceNow subdomain and select the authentication type. Authentication type determines what credentials you need to specify.
Getting Credentials
Subdomain
The subdomain is a part of your ServiceNow instance URL. For example, for the URL https://dev123456.service-now.com/, the instance name will be dev123456.
Client ID and Client Secret for OAuth Authentication
-
Go to ServiceNow.
-
Make sure the OAuth 2.0 plugin is active in ServiceNow. It is active by default on new and upgraded instances. If it is not active, activate it manually. See the details on how to do it here.
-
Ensure the com.snc.platform.security.oauth.is.active property is set to true. See the information on how to set up this property here
-
Navigate to All -> System OAuth -> Application Registry and then click New.
-
Select Create an OAuth API endpoint for external clients.
-
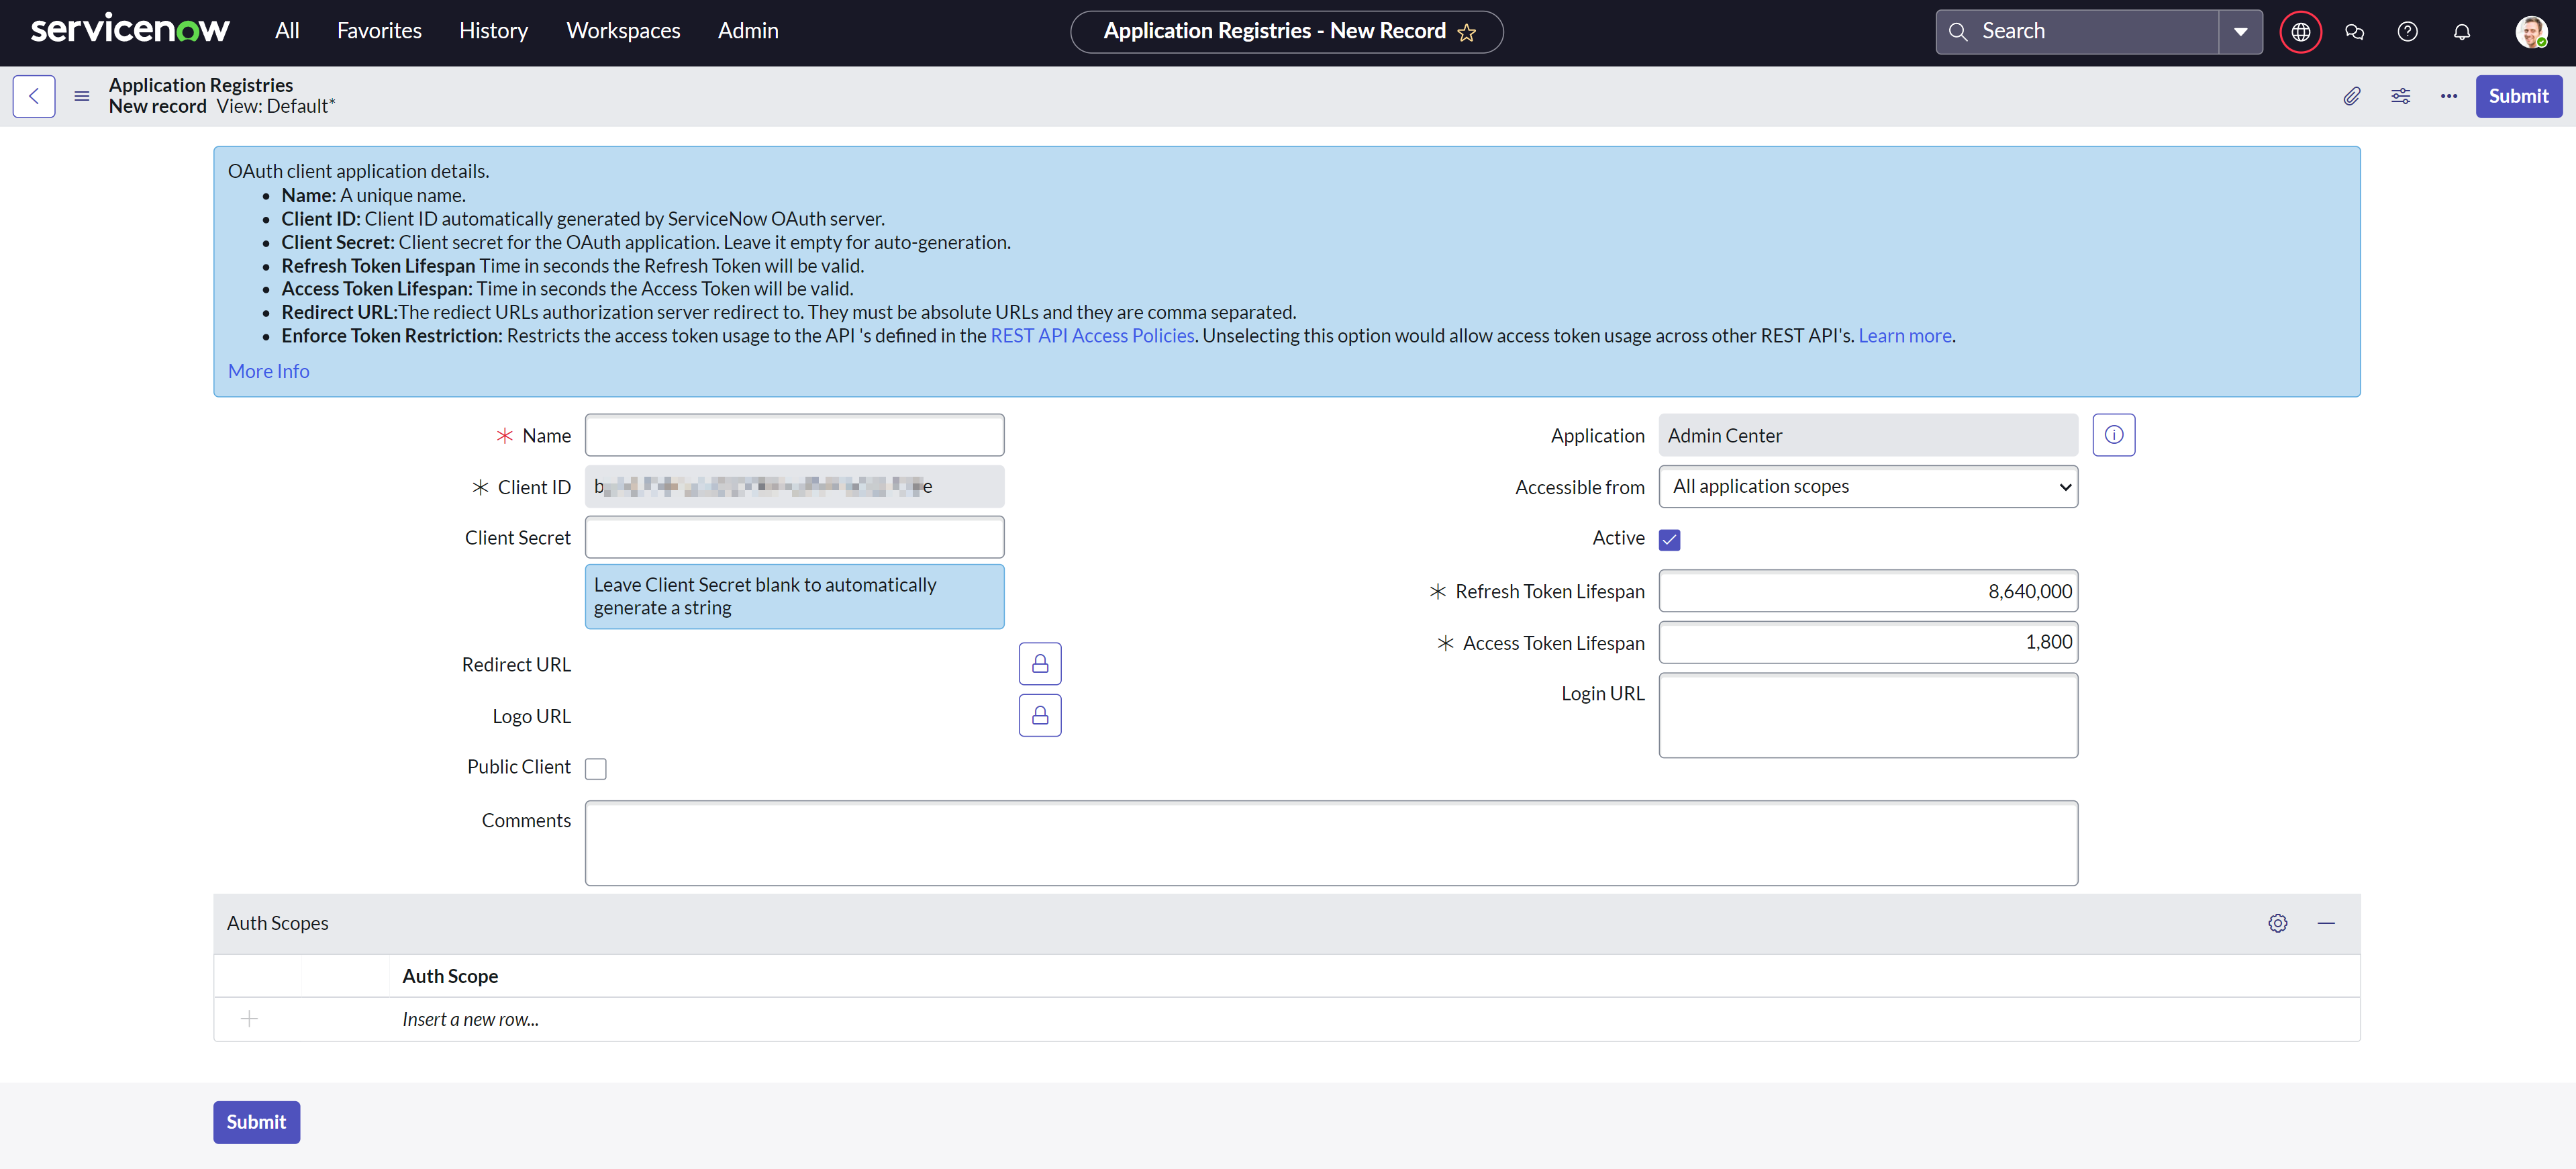
In the opened form specify the following information:
- Name — Unique Name that identifies the application.
- Client ID — This will be auto-generated by the instance.
- Client Secret — This will be auto-generated by the instance.
- Refresh Token Lifespan — you may leave the default value 8,640,000 seconds (100 days).
- Access Token Lifespan — you may leave the default value 1800 seconds (30 Minutes).
- Redirect URL — https://app.skyvia.com/oauthcallback/servicenow
-
Copy the Client ID and Client Secret generated after submitting the form.
Creating Connection
To connect to ServiceNow, perform the following steps.
- Enter your ServiceNow subdomain.
- Select the authentication type.
- Enter the credentials depending on the authentication type.
Basic Authentication
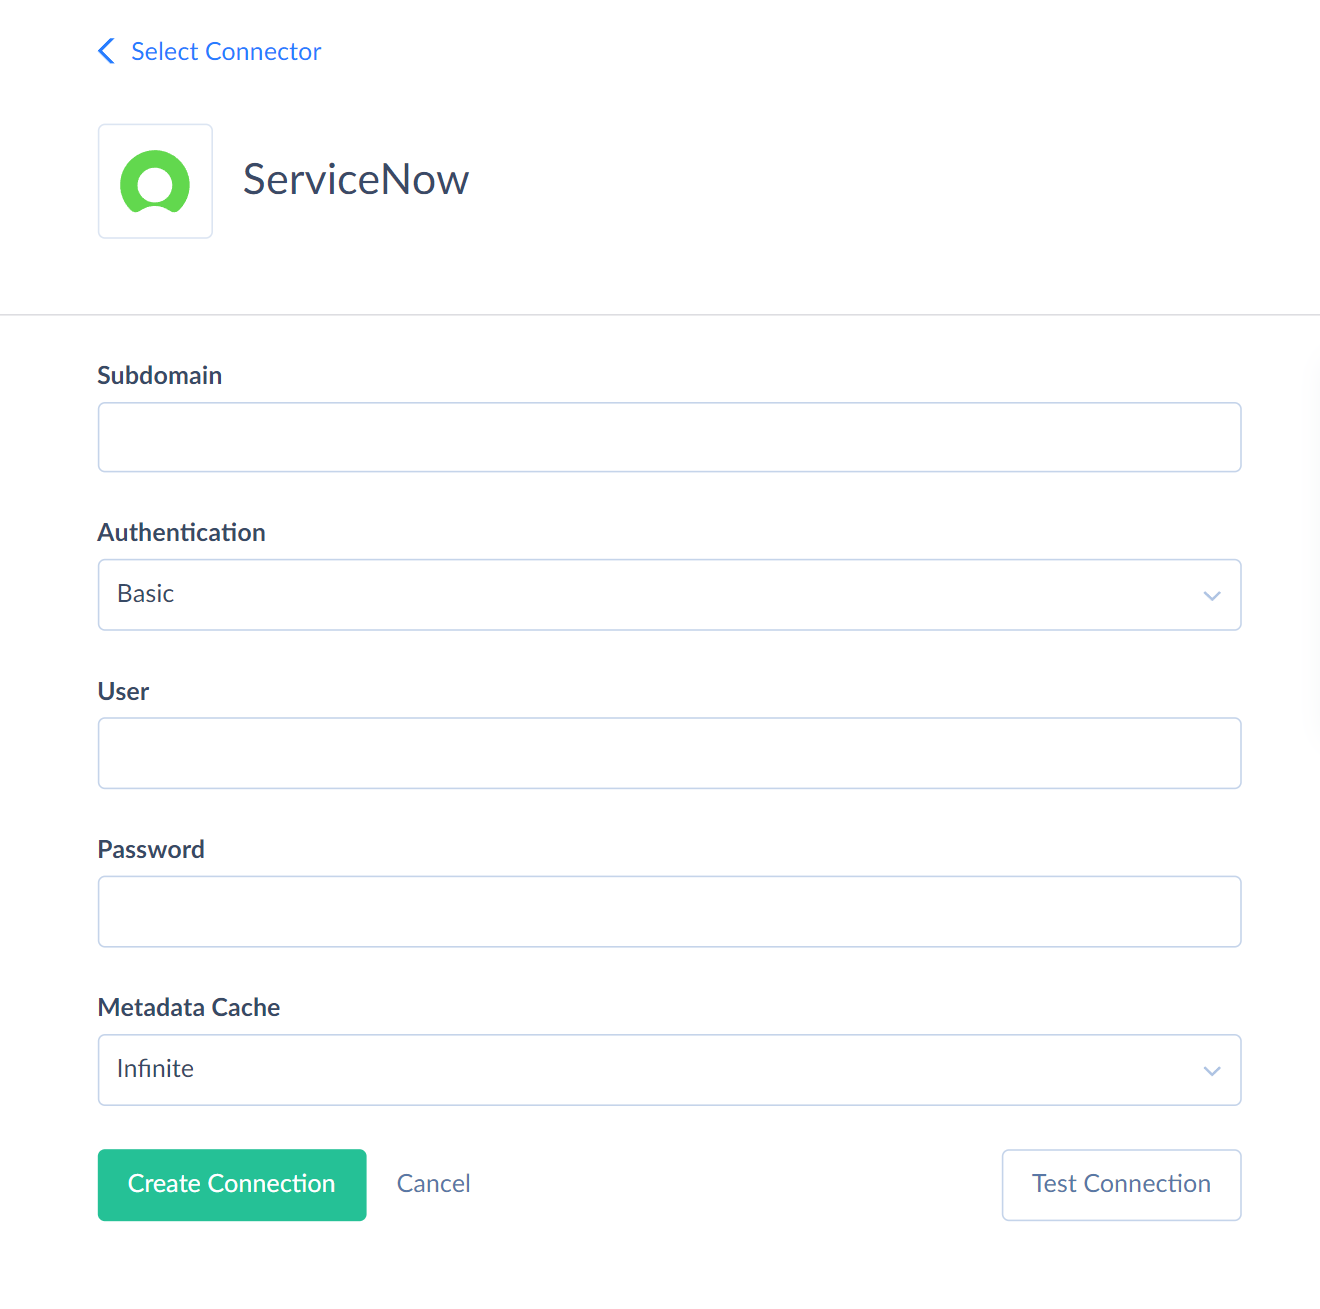
Enter your ServiceNow username and password into corresponding boxes in the Connection Editor.
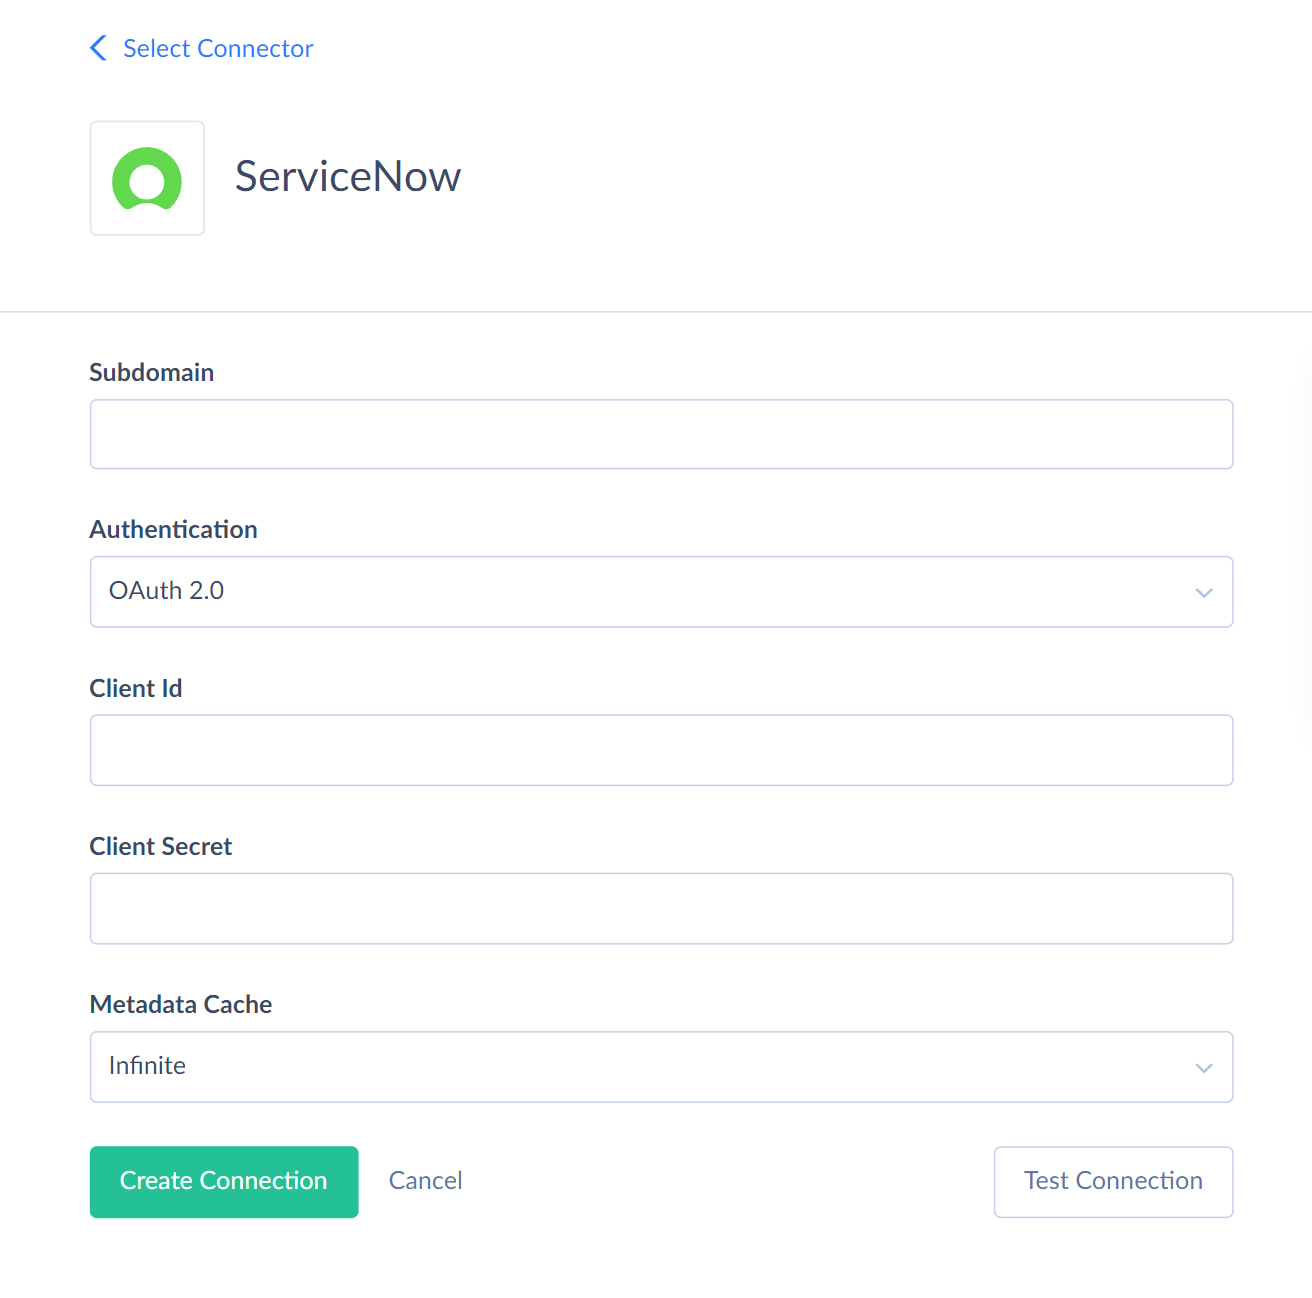
OAuth 2.0 Authentication
Enter the obtained Client ID and Client Secret into corresponding boxes.
Additional Connection Parameters
Metadata Cache
You can specify the time after which Metadata Cache expires.
Connector Specifics
Object Peculiarities
There are more than 2500 objects in the ServiceNow connector. ServiceNow has two types of objects: standard objects and the Attachments object.
Working with Attachments
Users can add file attachments to the standard objects in ServiceNow. All the attachments are stored in the Attachments object and related to the standard object they belong to. The related object stores the corresponding Attachments record sys_id in the attachment field. To add an attachment using Skyvia, perform the following actions.
-
Insert a record to the Attachments object first. Get the sys_id of the newly inserted record.
-
Add the obtained sys_id of the newly created Attachments record to the attachment field of the related object.
Incremental Replication and Synchronization
Skyvia supports Synchronization and Replication with Incremental Updates for ServiceNow objects, which contain the CreatedDate or UpdatedDate fields.
DML Operations Support
Skyvia supports the following DML operations for ServiceNow.
| Operation | Object |
|---|---|
| INSERT, UPDATE, DELETE | Standard Objects |
| INSERT, DELETE | Attachments |
Supported Actions
Skyvia supports all the common actions for ServiceNow