Dynamics 365
Dynamics 365 is a product line of ERP and CRM applications from Microsoft. Skyvia supports the CRM part of Dynamics 365.
Data integration: Skyvia supports importing data to and from Dynamics 365, exporting Dynamics 365 data to CSV files, replicating Dynamics 365 data to relational databases, and synchronizing Dynamics 365 data with other cloud apps and relational databases.
Backup: Skyvia Backup supports Dynamics 365.
Query: Skyvia Query supports Dynamics 365.
Establishing Connection
To create a connection to Dynamics 365, authenticate with one of the options: OAuth 2.0 or User name & Password.
Creating OAuth Connection
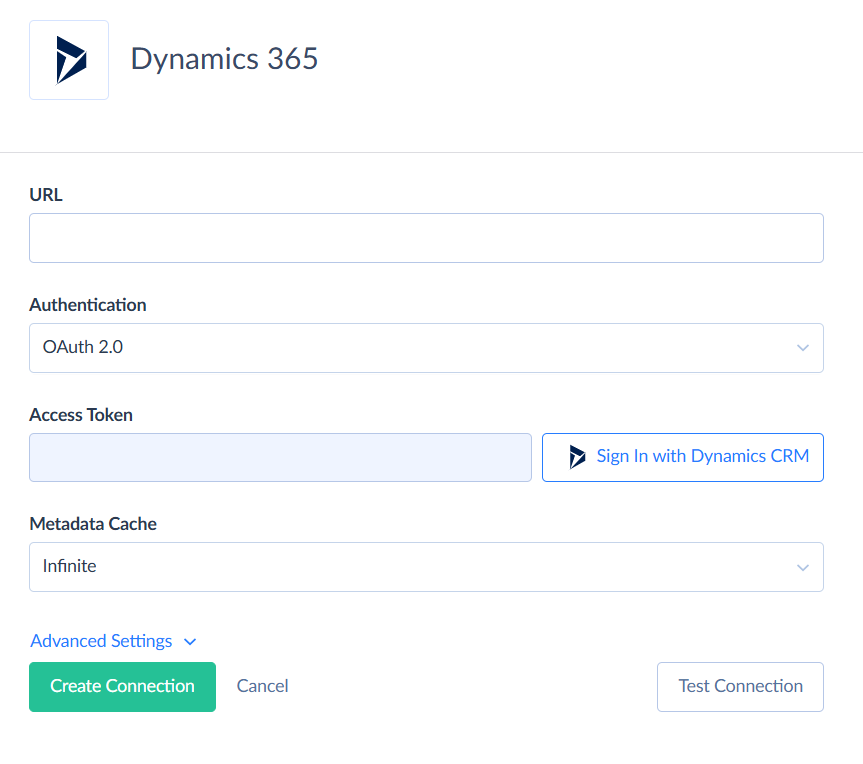
To connect to Dynamics 365 using OAuth 2.0, perform the following steps:
-
Enter the URL of your Dynamics CRM.

-
Click Sign In with Dynamics CRM.
-
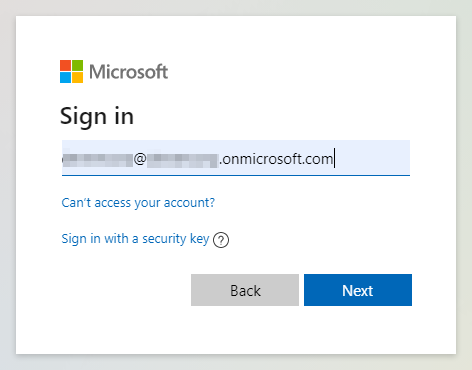
Sign in to your Dynamics CRM account.

-
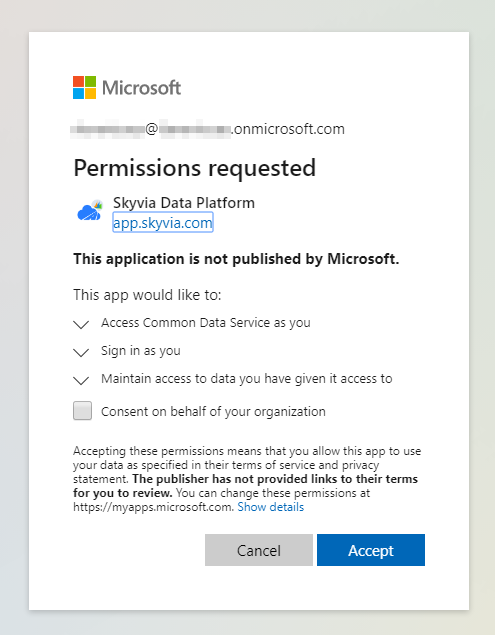
Click Accept on the Permission Access window.

Creating Username & Password Connection
To connect to Dynamics 365 using User name & Password, specify the instance URL, Username and Password.
Additional Connection Parameters
Metadata Cache
You can specify the period after which Metadata Cache expires.
Batch Size
The Batch Size specifies the max number of records to send to Dynamics 365 in one batch. Default value is set to 500. Max possible value supported by Dynamics 365 is 1000.
If you experience timeout errors when loading data to Dynamics 365, decrease the Batch Size value. Dynamics 365 may need time to process records depending on the number of fields in a record, triggers, etc.
Bypass Business Logic Execution
This parameter helps to avoid triggering certain plugins, business rules, workflows, and flows in Dynamics 365 after executing INSERT, UPDATE or DELETE operations using Skyvia. Possible values for this parameter are the following:
| Value | Description |
|---|---|
| Asynchronous | Bypass only asynchronous custom logic, excluding Power Automate Flows. |
| Synchronous | Bypass only synchronous custom logic. |
| Both synchronous and asynchronous | Bypass both synchronous and asynchronous custom logic, excluding Power Automate Flows. |
| None | Default value. Do not bypass. |
Connector Specifics
Filtering Specifics
When you use Not equals operator in query or data integrations, result includes records matching the filter conditions and the records with null values.
Object Relations
In Dynamics 365, certain fields can reference different types of objects. Skyvia displays an additional field with the same name as the reference field, followed by a $type suffix to specify the object type.
For example, the parentcustomerid field in the Contact object can link either to another Contact or to an Account:
parentcustomerid = '{FBC26792-C828-482F-86D9-DAC2814918FA}'
parentcustomerid$type = 'Contact'
If the reference field is marked as required, map the *$type field too.
Skyvia detects related fields for polymorphic relations, but has certain limitations when working with them. You can't join related objects in a single export task. You can't add an object referenced by such field when performing one-to-many import or synchronization. Skyvia can restore such relations only when the reference field is not required and is updatable. You can use Lookup component in Data Flow to load data from the referenced objects.
Object Peculiarities
Connections
To avoid creating duplicates, restore only records where IsMaster field equals true. Alternatively, filter out records without IsMaster set to true in the backup settings.
Incremental Replication and Synchronization
Skyvia supports Replication with Incremental Updates for objects that have UpdatedDate or CreatedDate fields.
Skyvia supports Synchronization for objects that support the INSERT and UPDATE operations and have the UpdatedDate or CreatedDate fields.
Skyvia will remove records deleted in Dynamics 365 from the other source only if auditing is enabled in Dynamics 365. To enable auditing, follow the steps in the Dynamics 365 documentation.
Supported Actions
Skyvia supports all the common actions for Dynamics 365.