Security Settings
Skyvia allows both public and private access to exposed data. Specifying certain user accounts and passwords, you allow access to the exposed data only to authenticated users. Skyvia supports HTTP basic authentication with username and password. It does not support privileges and customizing access rights to different exposed objects.
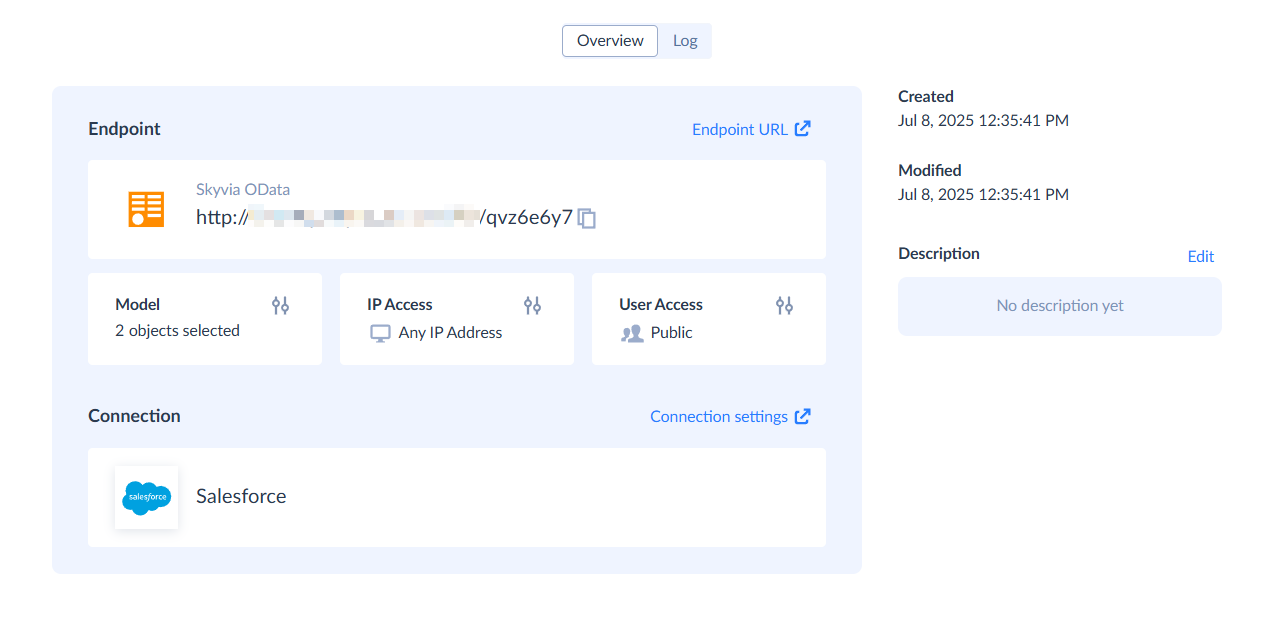
You can define security settings on the Configure security step of the endpoint wizard. For an existing endpoint, open its details and use the controls on the Overview tab.
Public and Private Access to Endpoints
To view endpoints and their security status, open the Endpoints tab. A Lock icon indicates that the endpoint is private. To change its security settings, click on it and change the User Access settings.
![]()
User Accounts
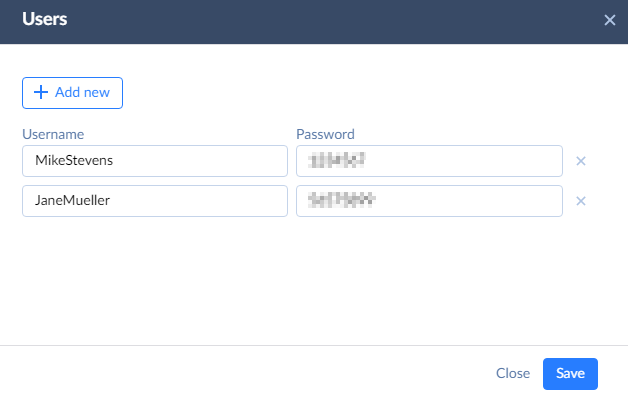
You can view the number of user accounts, created for an existing endpoint, on the Overview tab of the endpoint details, to the right of the endpoint protocol. If there are no user accounts created, it shows "Public". Click the arrow button to the right of the number of users in order to manage users for the endpoint. The Users dialog box will open.
To add a user, click +Add new, then enter the username and password.
To modify a user, edit their username and password in this dialog box.
If you need different users to be able to access different sets of data, you can create different endpoints, exposing these sets of data. If you don't specify any users, the endpoint data will be publicly available to anyone without authentication.
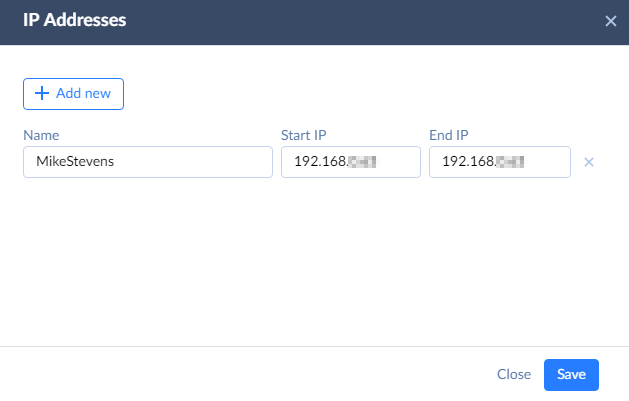
IP Addresses
Skyvia allows you to limit the IP addresses, from which the data of the endpoint can be accessed. You can specify one or more allowed IP address ranges.
The number of specified IP ranges for an existing endpoint is displayed on the Overview tab of the endpoint details, to the right of number of endpoint users. To manage IP addresses for the endpoint, click the arrow button to the right of the IP ranges number. The IP Addresses dialog box will open.
To add a range of IP addresses, click +Add new, then type in the meaningful range name and enter Start IP and End IP addresses of the range. Access from each of the IP addresses within the range will be allowed. To specify a single IP address, enter the same address for start and end addresses.
If you don't specify any IP address ranges, the endpoint data will be available from any IP.