Shopify (Legacy)
Shopify is an e-commerce platform that allows anyone to sell online, at their retail location and everywhere in between.
Data integration: Skyvia supports importing data to and from Shopify, exporting Shopify data to CSV files, replicating Shopify data to relational databases, and synchronizing Shopify data with other cloud apps and relational databases.
Backup: Skyvia Backup supports Shopify backup.
Query: Skyvia Query supports Shopify.
Establishing Connection
To create a connection, you will need the access token.
Getting Access Token
To obtain the access token, you need to create a custom app. Sign in to your admin Shopify account and perform the following steps:
-
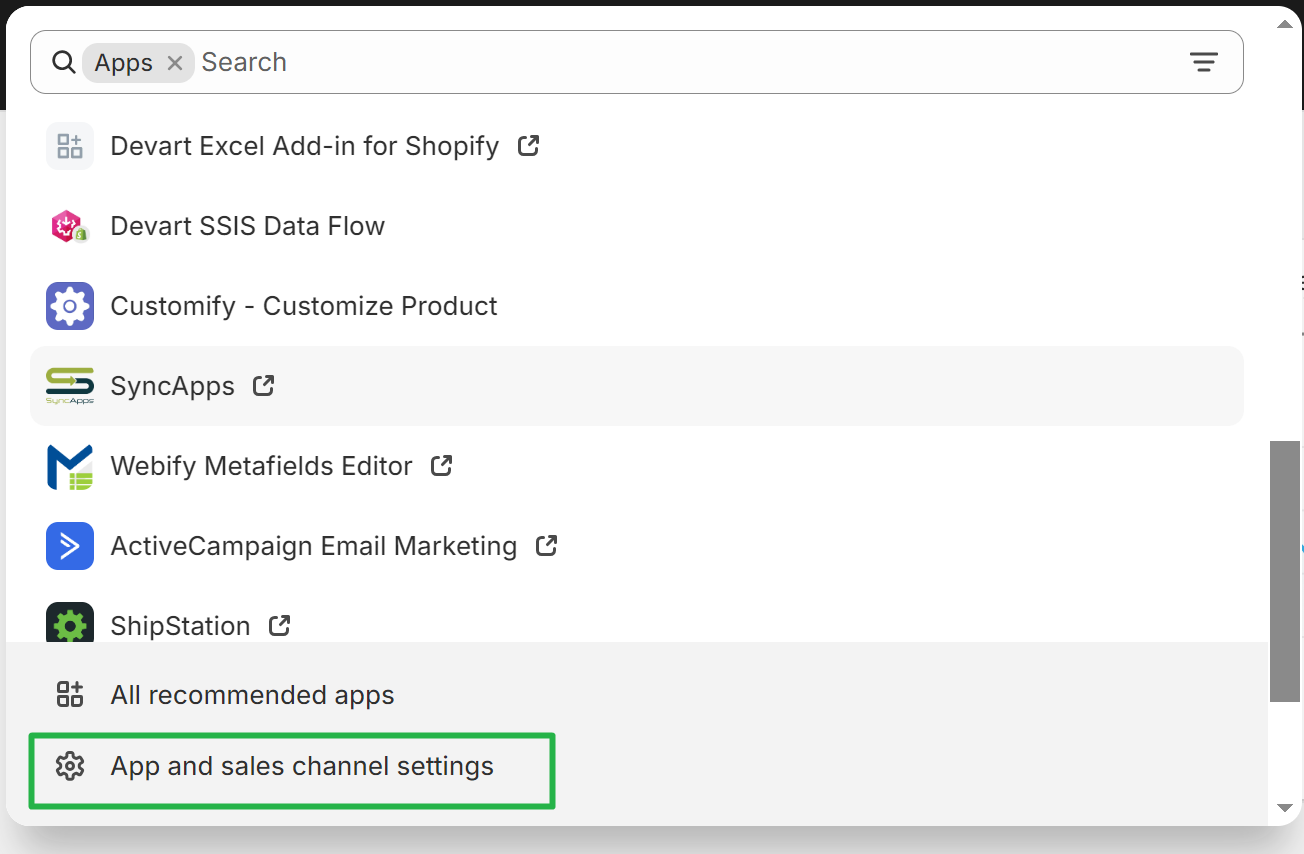
In the menu on the left, click Apps.

-
Click App and sales channel settings.
-
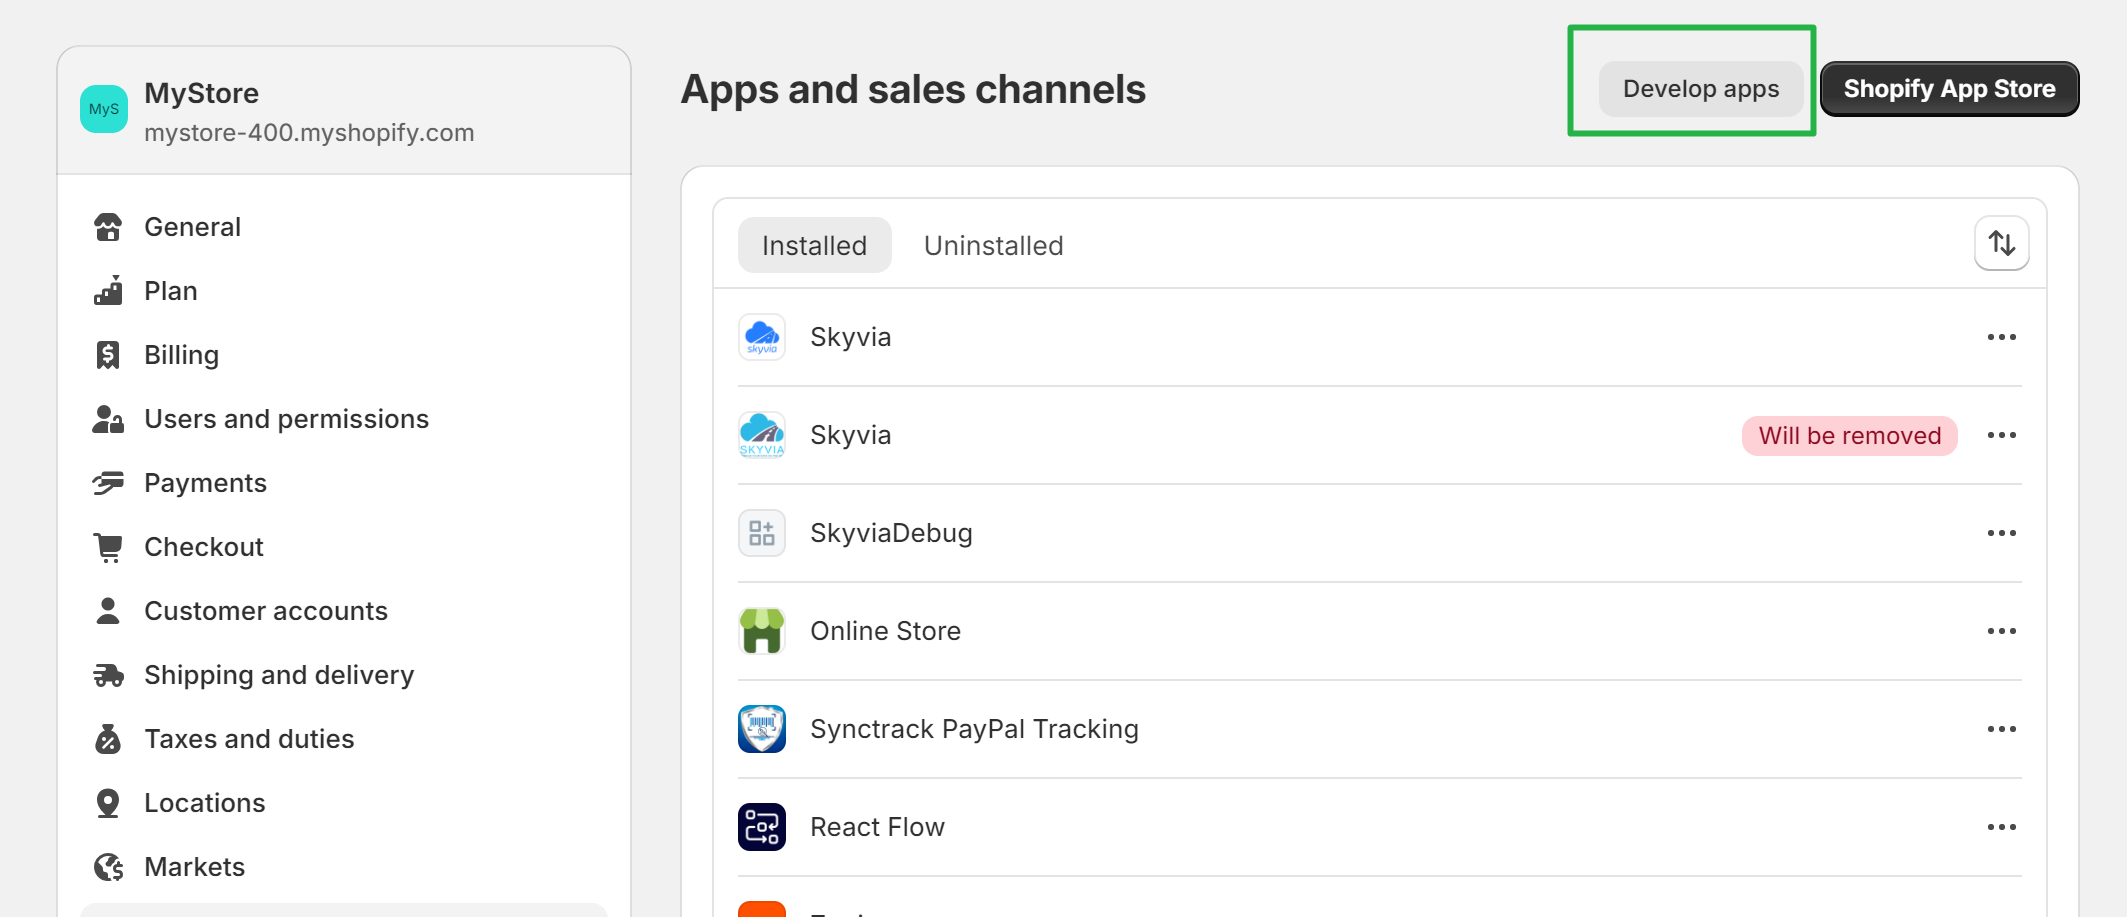
On the top of the page, click Develop apps.
-
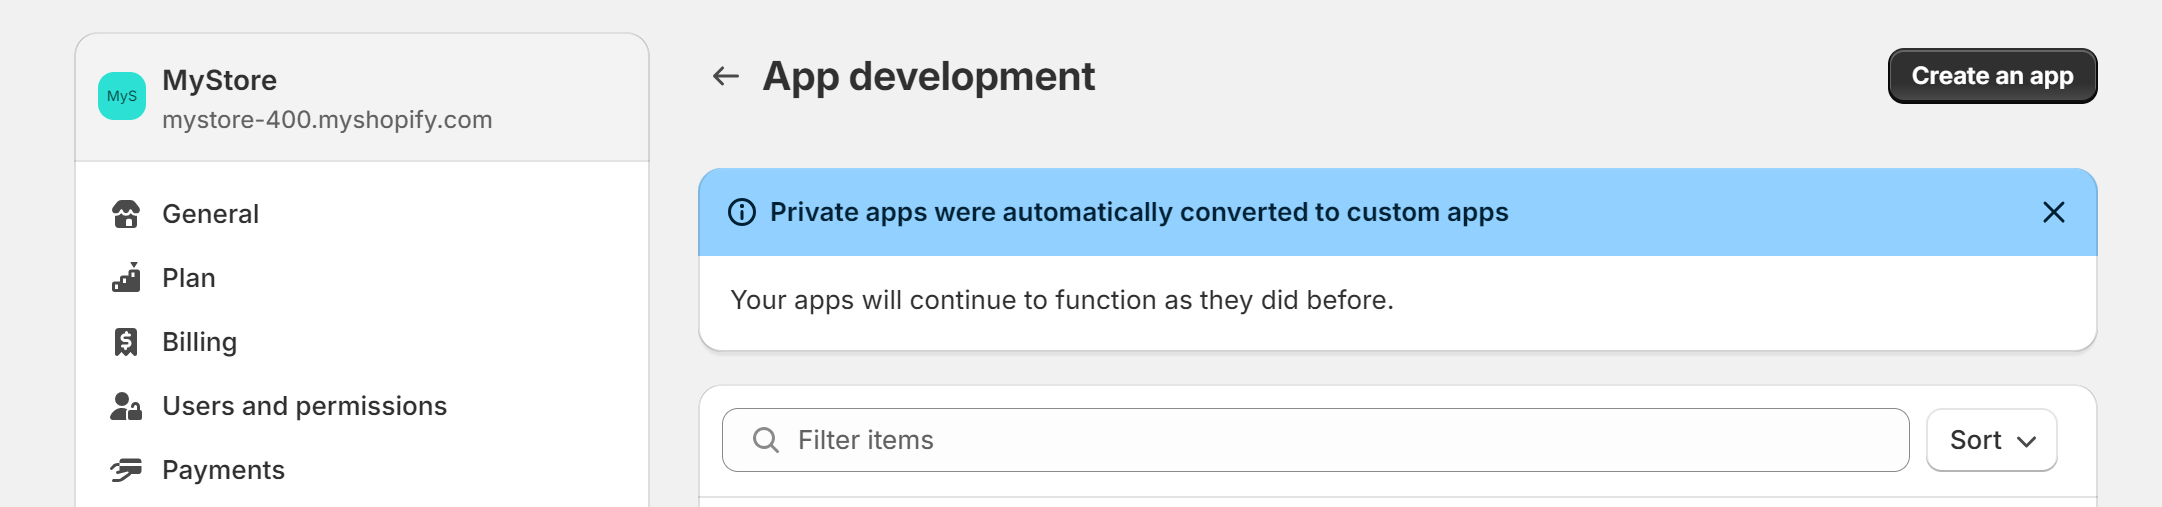
On the top of the page, click Create app.
-
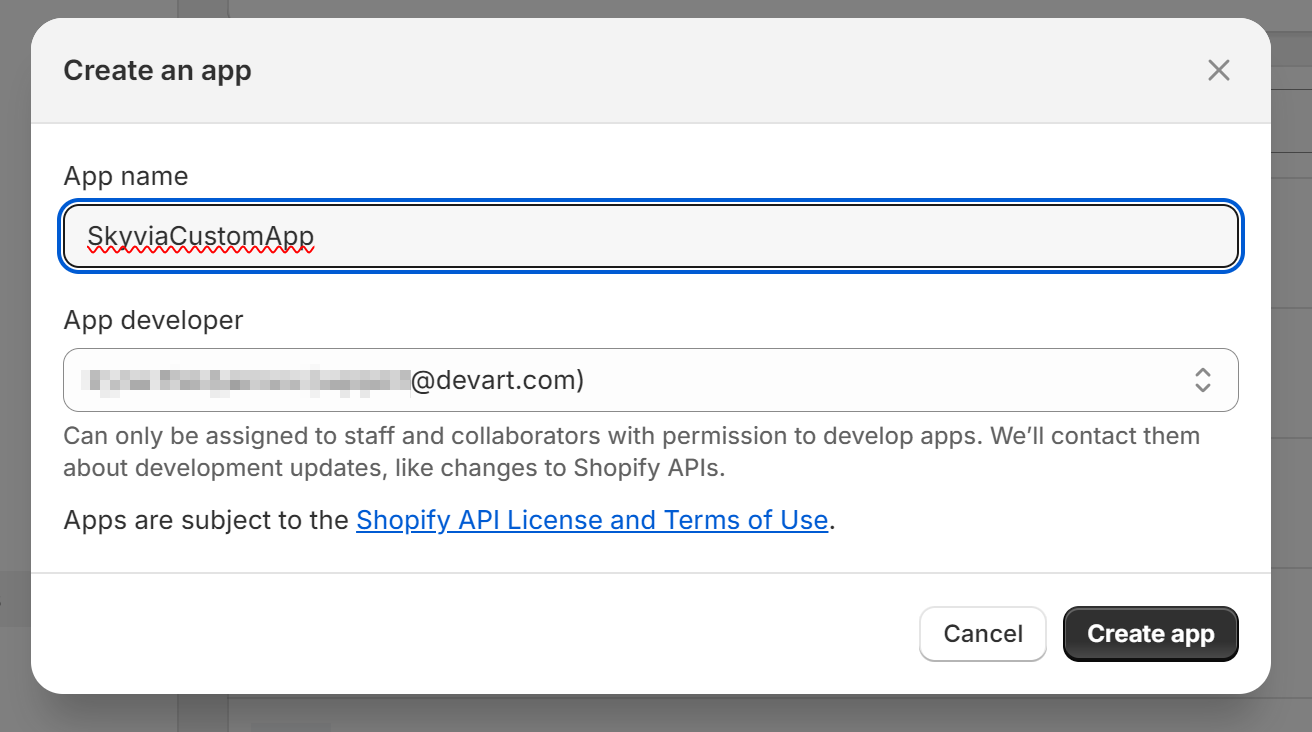
Specify custom app name, for example, SkyviaCustomApp.
-
Select the App developer account and click Create app.
-
Click Configure Admin API scopes.
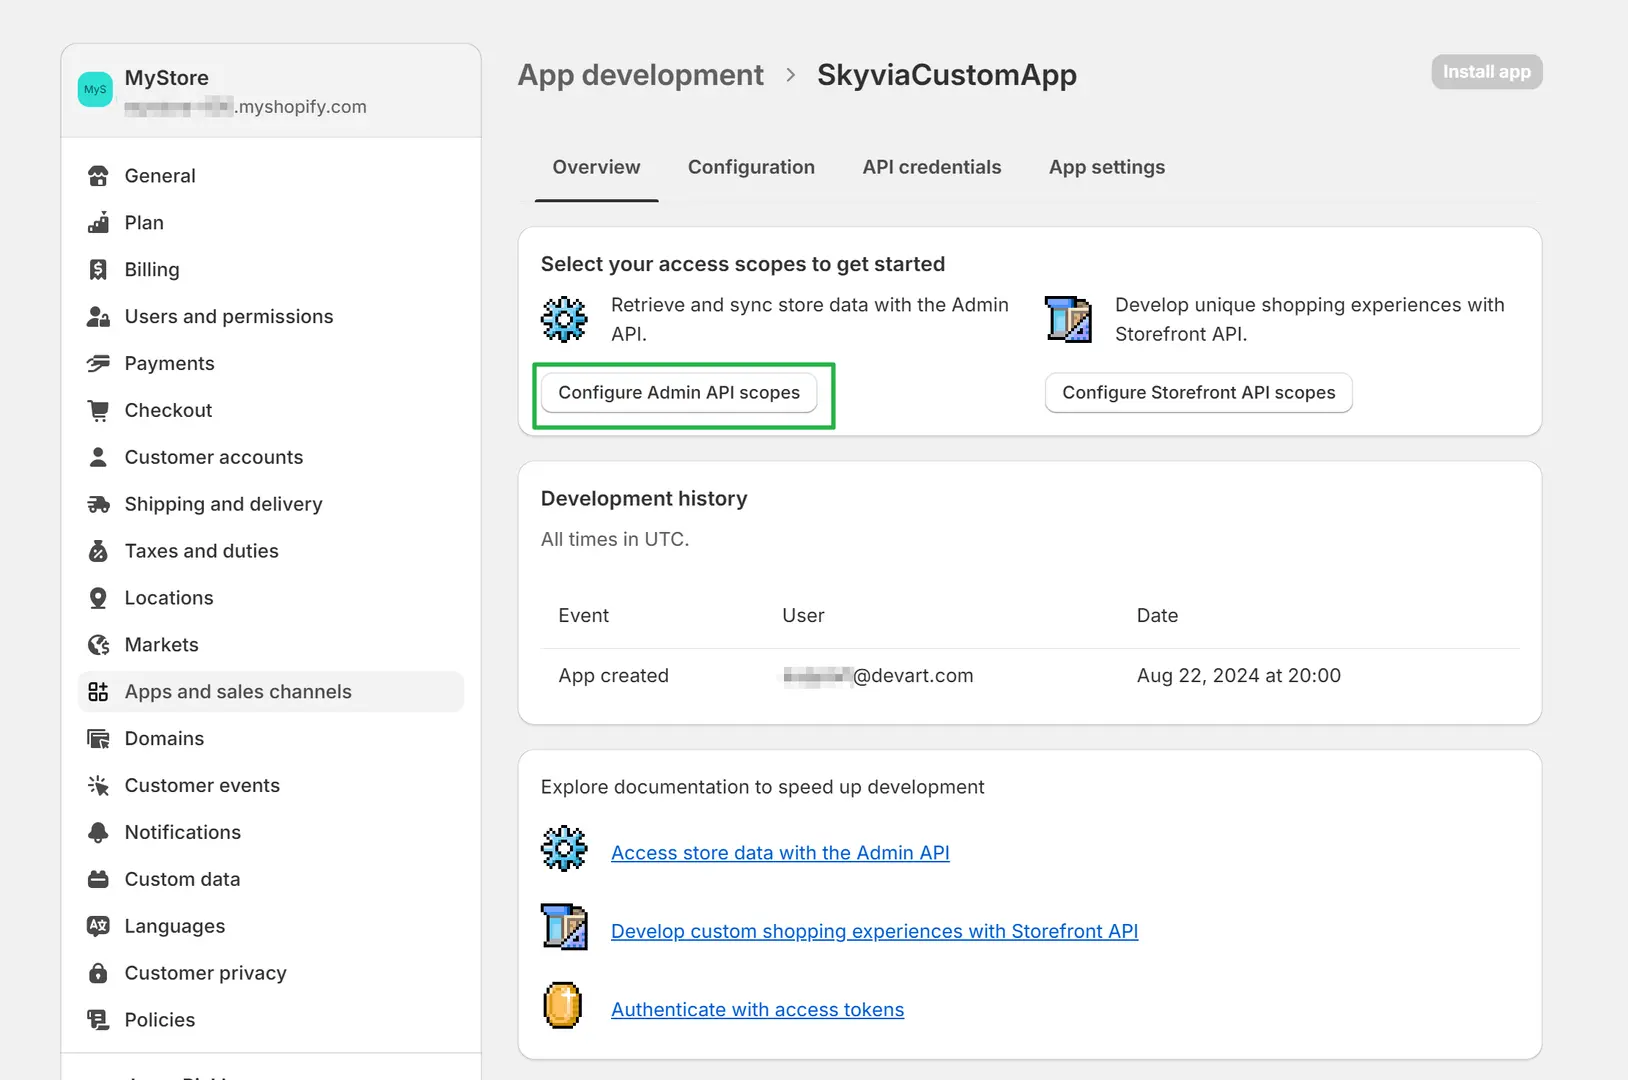
-
Select checkboxes for the scopes you want to work with. You may select all the scopes.
-
Below the list of scopes, click Save.
-
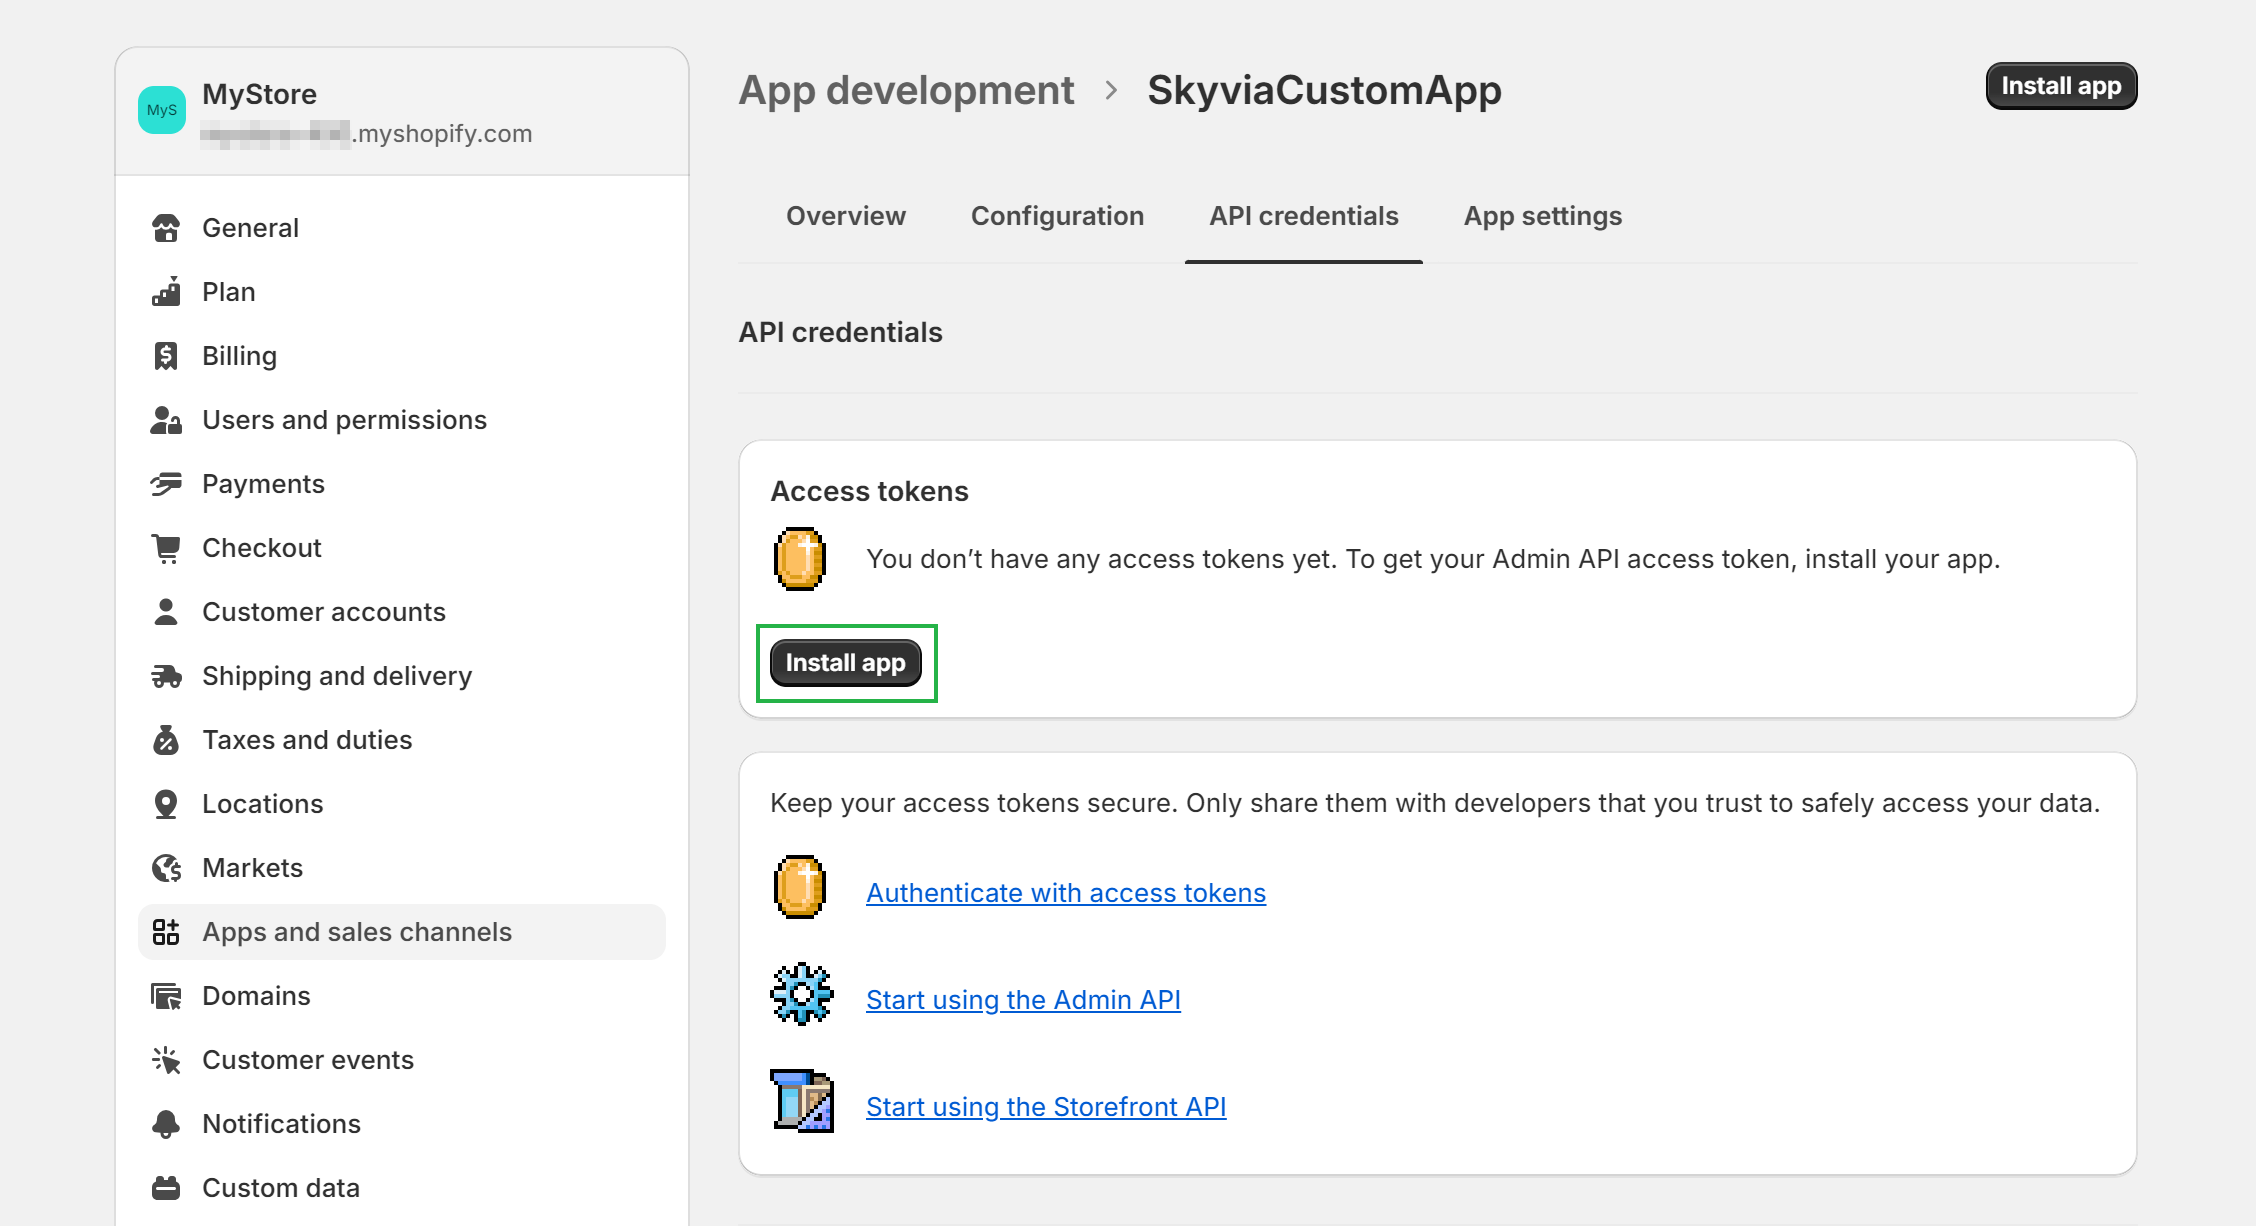
Click the API Credentials tab.
-
On this tab, under Access tokens, click Install app.
-
Click Install to confirm the app installation.
-
Click Reveal token once.
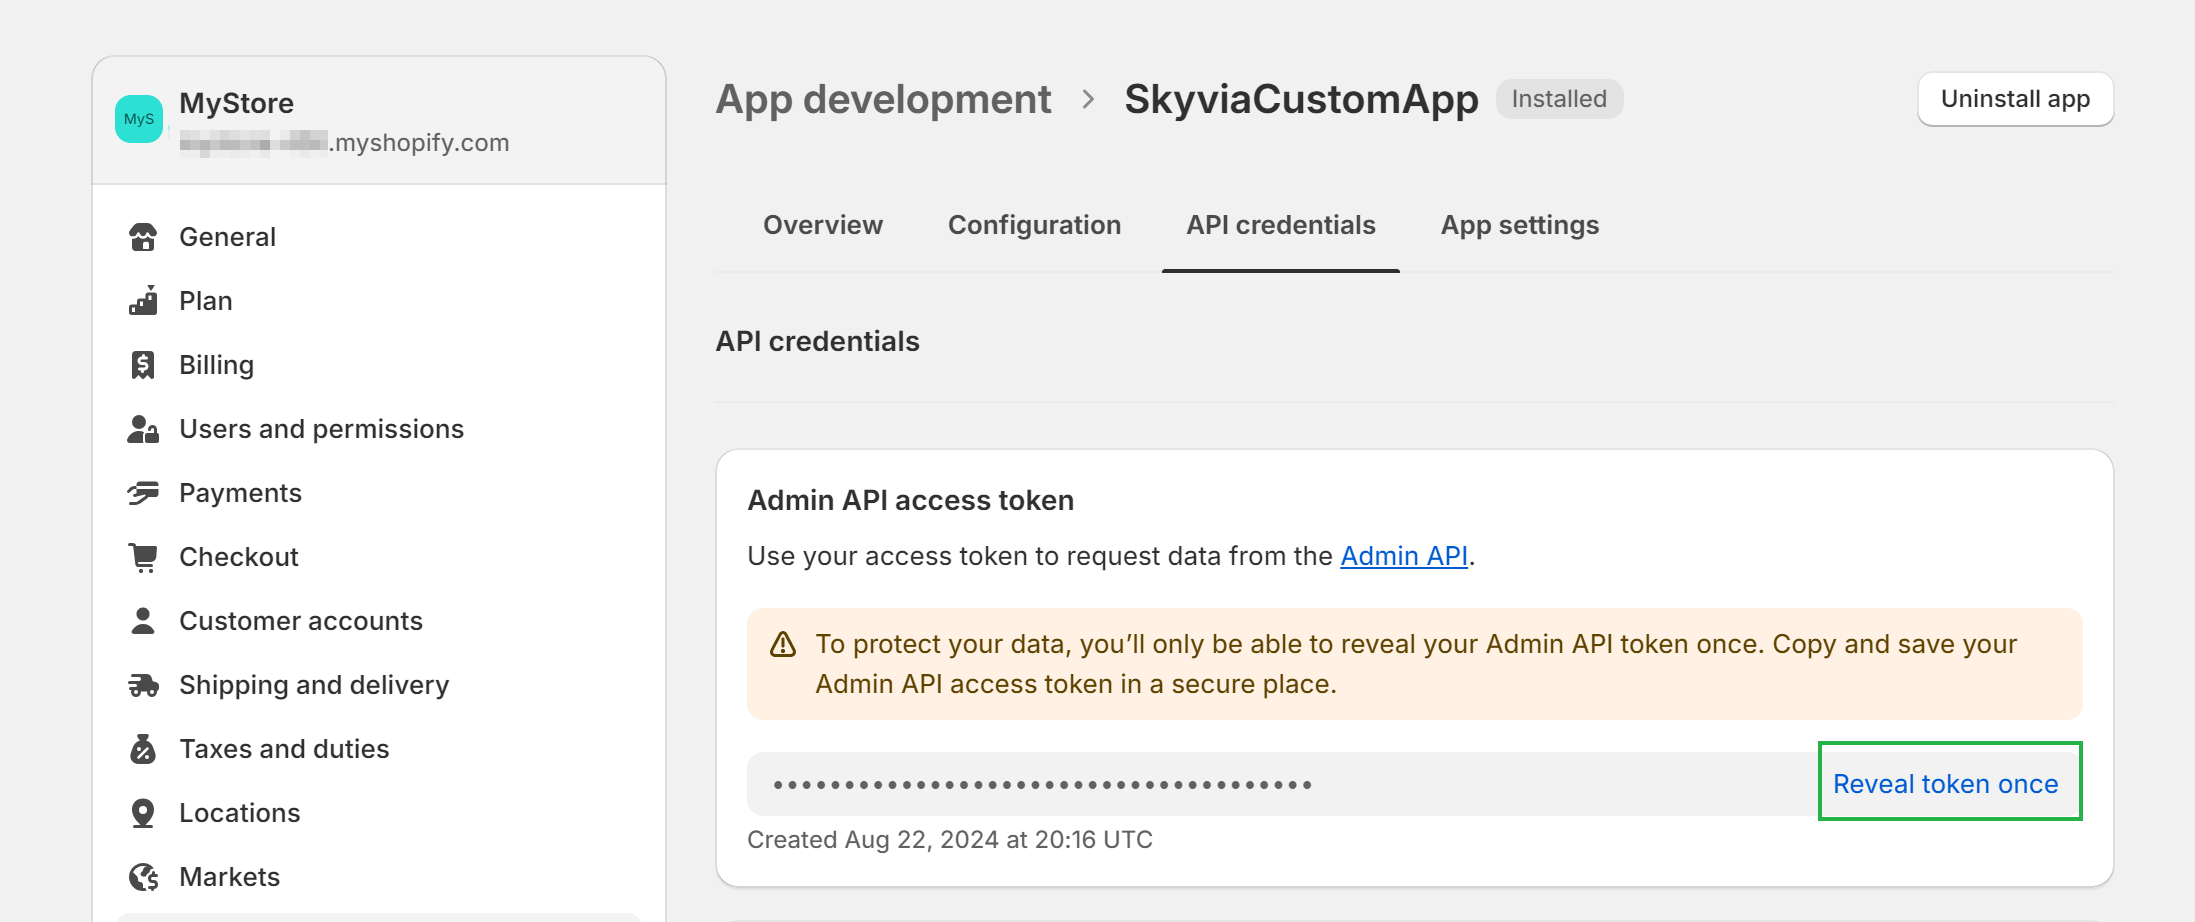
-
Copy the revealed token and store it somewhere safe.
Creating Connection
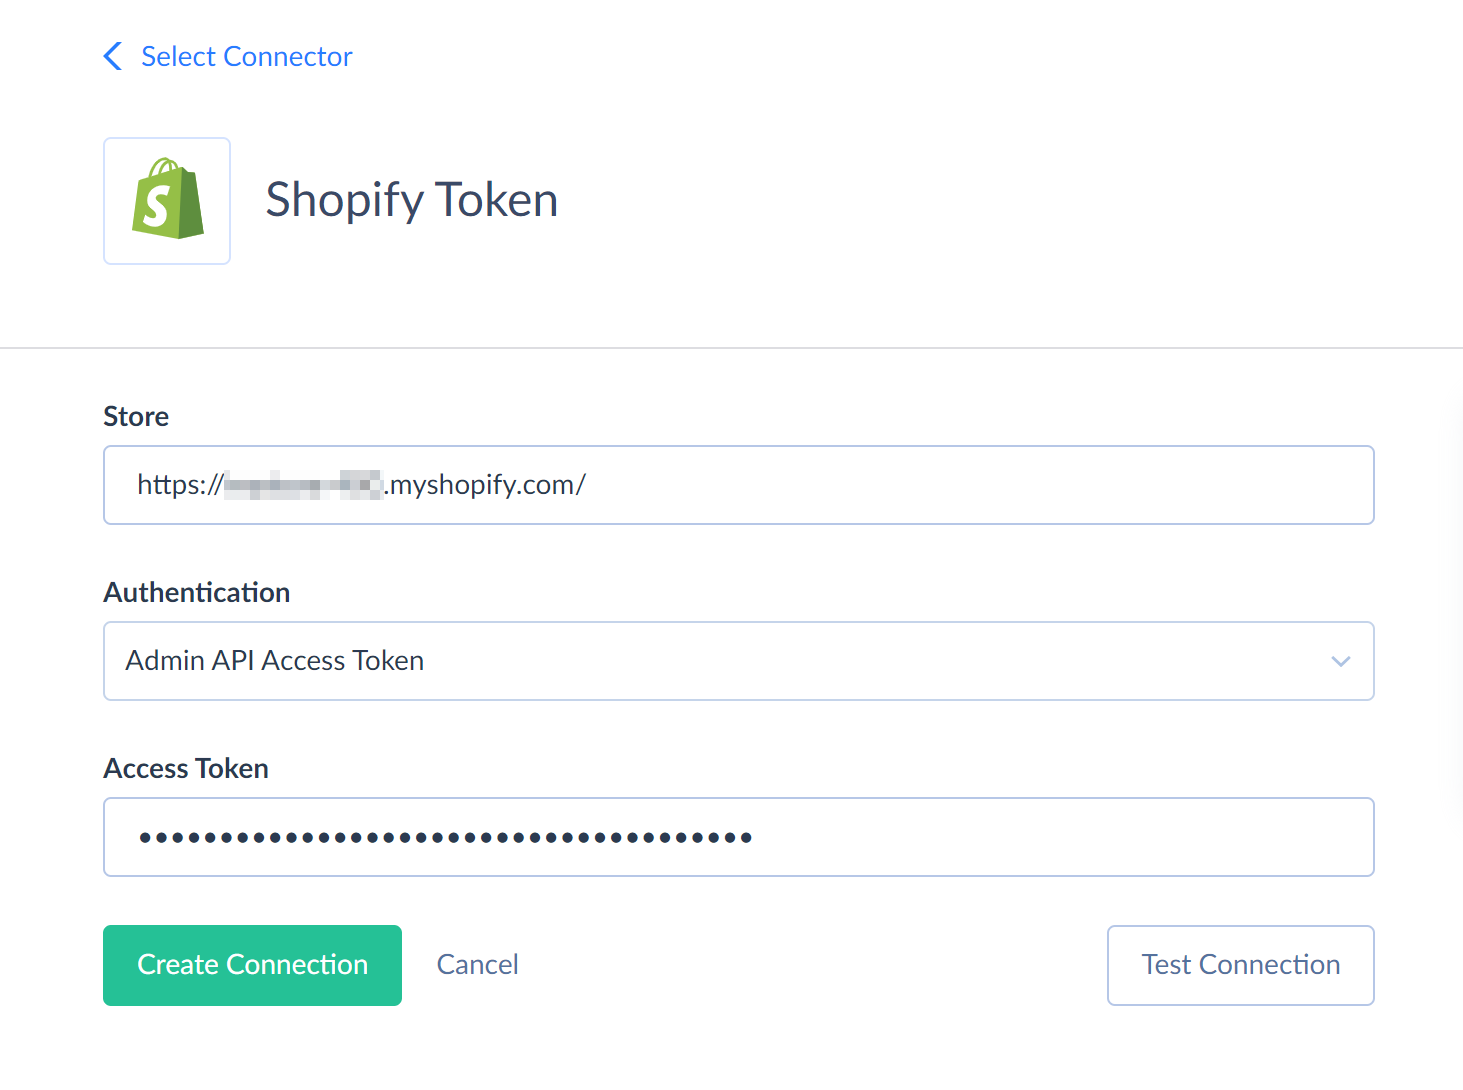
To establish connection, perform the following steps:
-
Specify your Shopify Store full domain name, not just the store part of it. For example,
mystore-300.myshopify.comorhttps://mystore-300.myshopify.com -
Paste your custom app Access Token.
Connector Specifics
Object Relations
Some of the Shopify objects can be accessed only via their parent objects. For example, to query CustomerAddresses, Shopify API requires the ID of the corresponding Customer record. To get ProductVariants records, Shopify API requires the ID of the corresponding Product record.
Skyvia does not require the ID of the parent object from user. If you don't specify the IDs of the parent objects (for example, in a filter), Skyvia queries all the parent object records first, takes their IDs and then queries child object records for each parent object record. This allows querying child objects without knowing their parents, but this method takes much time and consumes many API calls. It uses at least one API call for every parent object record (for example, product). Thus, working with ProductVariants can be very slow.
Because of this, it is strongly recommended to use filters on the parent object fields when querying data from such child objects. This reduces the number of parent object records, for which child object data must be queried.
Complex Structured Objects
Some of the Shopify tables can store complex structured data. Skyvia represents this information in such tables as a JSON field Lines. You can Import data directly to the nested fields of such tables. To do this you can use our Nested Objects mapping feature in Import. Just select the Nested Objects checkbox in the integration to enable the feature. Then, in the mapping settings, you can map the fields of the nested items.
Supported Actions
Skyvia supports all the common actions for Shopify.