How to Configure Filters in Queries
In this tutorial, we will show how to easily configure filters on a specific example. Let us suppose we need to get Salesforce accounts with Customer-Direct or Customer-Channel types added in the previous month. We can do it in two ways: with standard value filters or with list and relative filters. Using relative and list filters in this case is more convenient, however we show both ways in order to demonstrate usage of value filters and filter subgroups. With value filters, we create a query in the following way:
Value Filters
-
If there are no open queries, click +NEW in the top menu and select Builder under QUERY. If there are open queries, click the
 button to open a tab with a new query.
 -
Click Select connection and select Salesforce as the connection.
-
Drag the Accounts table from the Connection Object List to the Result Fields pane.

-
Click the Accounts table in the Connection Object List to access its fields.
-
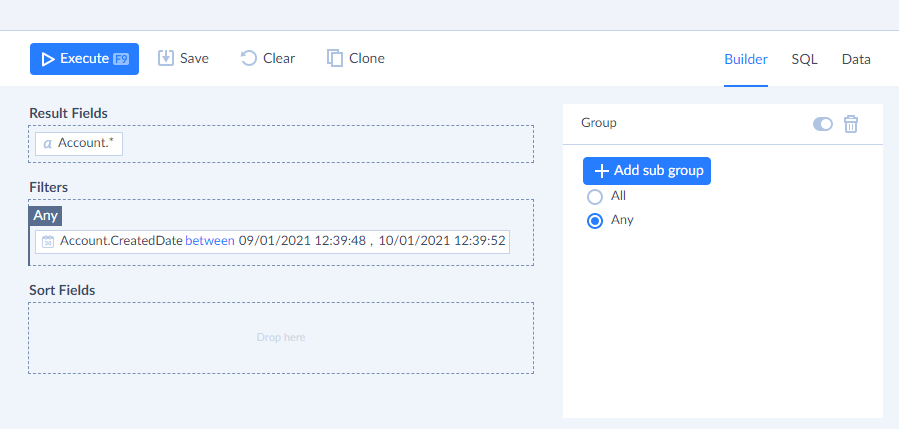
From the Connection Object List drag the CreatedDate field to the Filters pane.
-
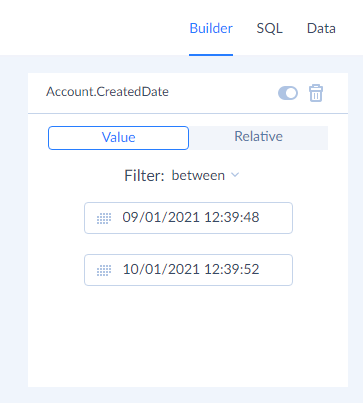
Click the CreatedDate field on the Filters pane and select between in the Filter list on the right.
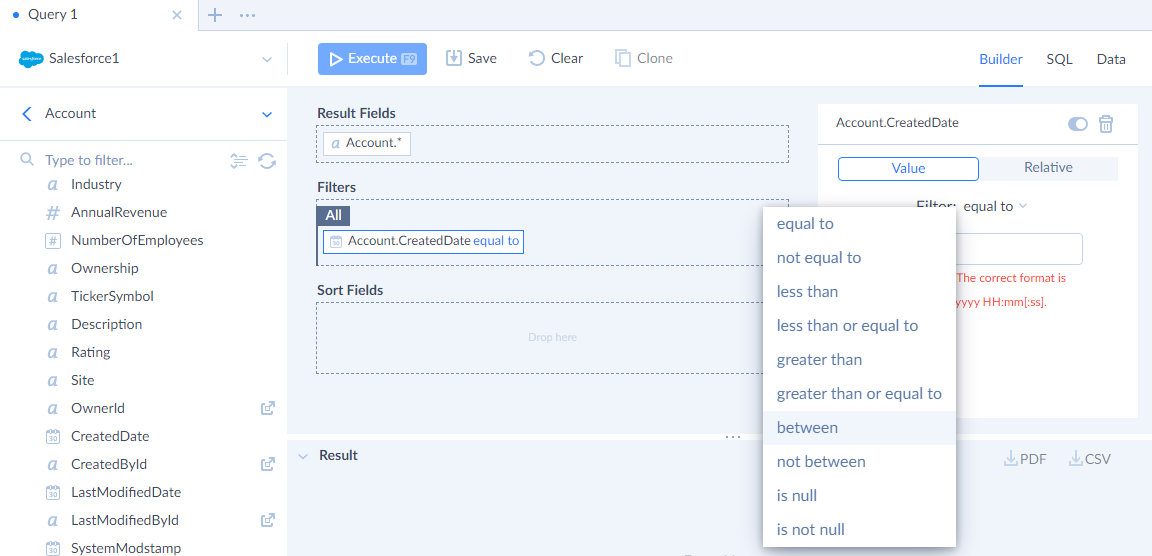
-
Specify the start and end date of the previous month in the corresponding boxes.
-
In the Filters pane, click All.
-
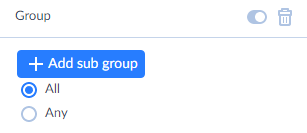
Now we need to specify the filter conditions to select records with Customer-Direct or Customer-Channel types. Note that we select records with any of these values, so we need to create a filter subgroup, which is satisfied if any of its conditions is met. For this, in the Details pane, click +Add subgroup.
-
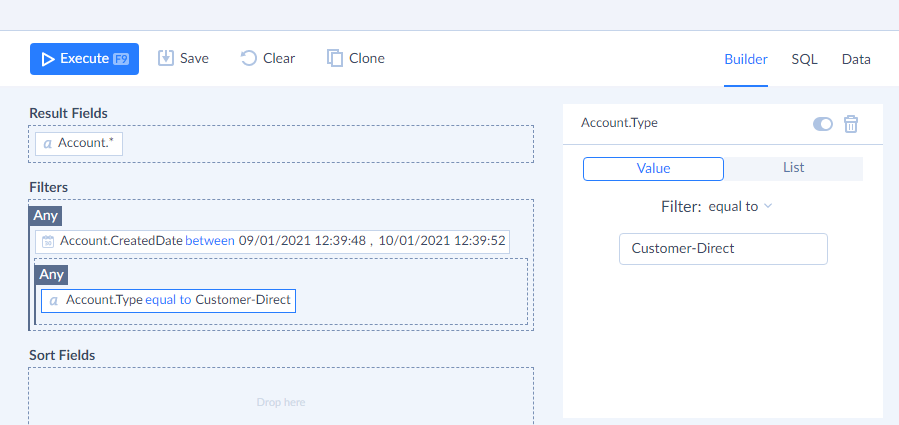
All is selected in the added subgroup by default. Click Any in the Details pane.
-
From the Connection Object List drag the Type field to the new filter group in the Filters pane.
-
Click this field in the Filters pane. The equal to filter is selected in the Details pane by default, so we need to enter only the necessary value Customer-Direct in the box.
-
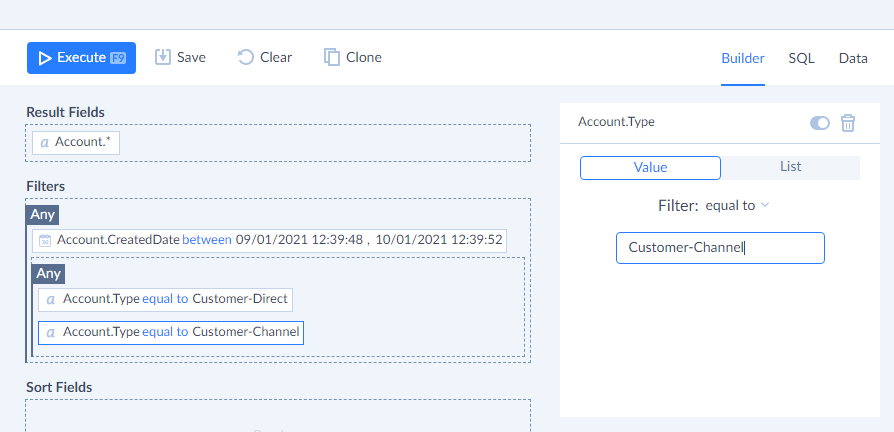
Repeat the steps 12 and 13 for the Customer-Channel value.
After this our query is ready. It looks like the following in the editor:
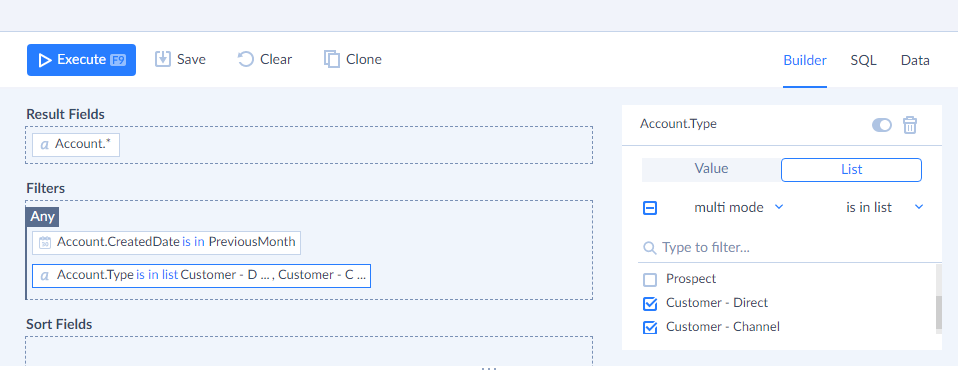
List and Relative Filters
With our list and relative filters, the same query can be created in the following way:
-
If there are no open queries, click +NEW in the top menu and select Builder under QUERY. If there are open queries, click the
button and then click Builder on the Query toolbar in order to create a new query. -
Click Select connection and select Salesforce as the connection.
-
Drag the Accounts table from the Connection Object List to the Result Fields pane.
-
Click the Accounts table in the Connection Object List to access its fields.
-
From the Connection Object List, drag the CreatedDate field to the Filters pane.
-
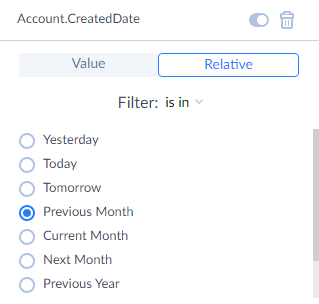
Click the CreatedDate field on the Filters pane and then click Relative on the Details pane.
-
Then click Previous month in the Details pane.
-
From the Connection Object List, drag the Type field to the Filters pane.
-
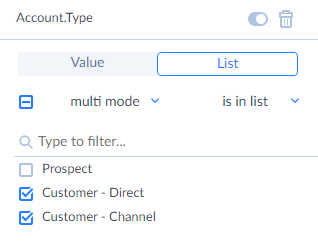
Click the Type field on the Filters pane and then click List on the Details pane.
-
Select checkboxes for the Type values to query rows with. In our case these are Customer-Direct and Customer-Channel values. If the necessary values are not displayed, click Load more in the end of the checkbox list to load more values from the data source.
That's all, our query is ready. It looks like the following in the editor: