Databricks
Databricks is a cloud-based data warehouse. It’s designed to let teams store, process, analyze, and model massive amounts of data in one place.
Establishing Connection
To create a connection to Databricks, select the authentication type and specify the required connection parameters. Skyvia supports the following authentication types for Databricks connection:
To connect to Databricks, enable Unity Catalog in your workspace. As of November 8, 2023, Databricks automatically enables it for new workspaces.
Getting Credentials
Personal Access Token
To connect to Databricks using Personal Access Token, you need to get the token first. Perform the following steps:
-
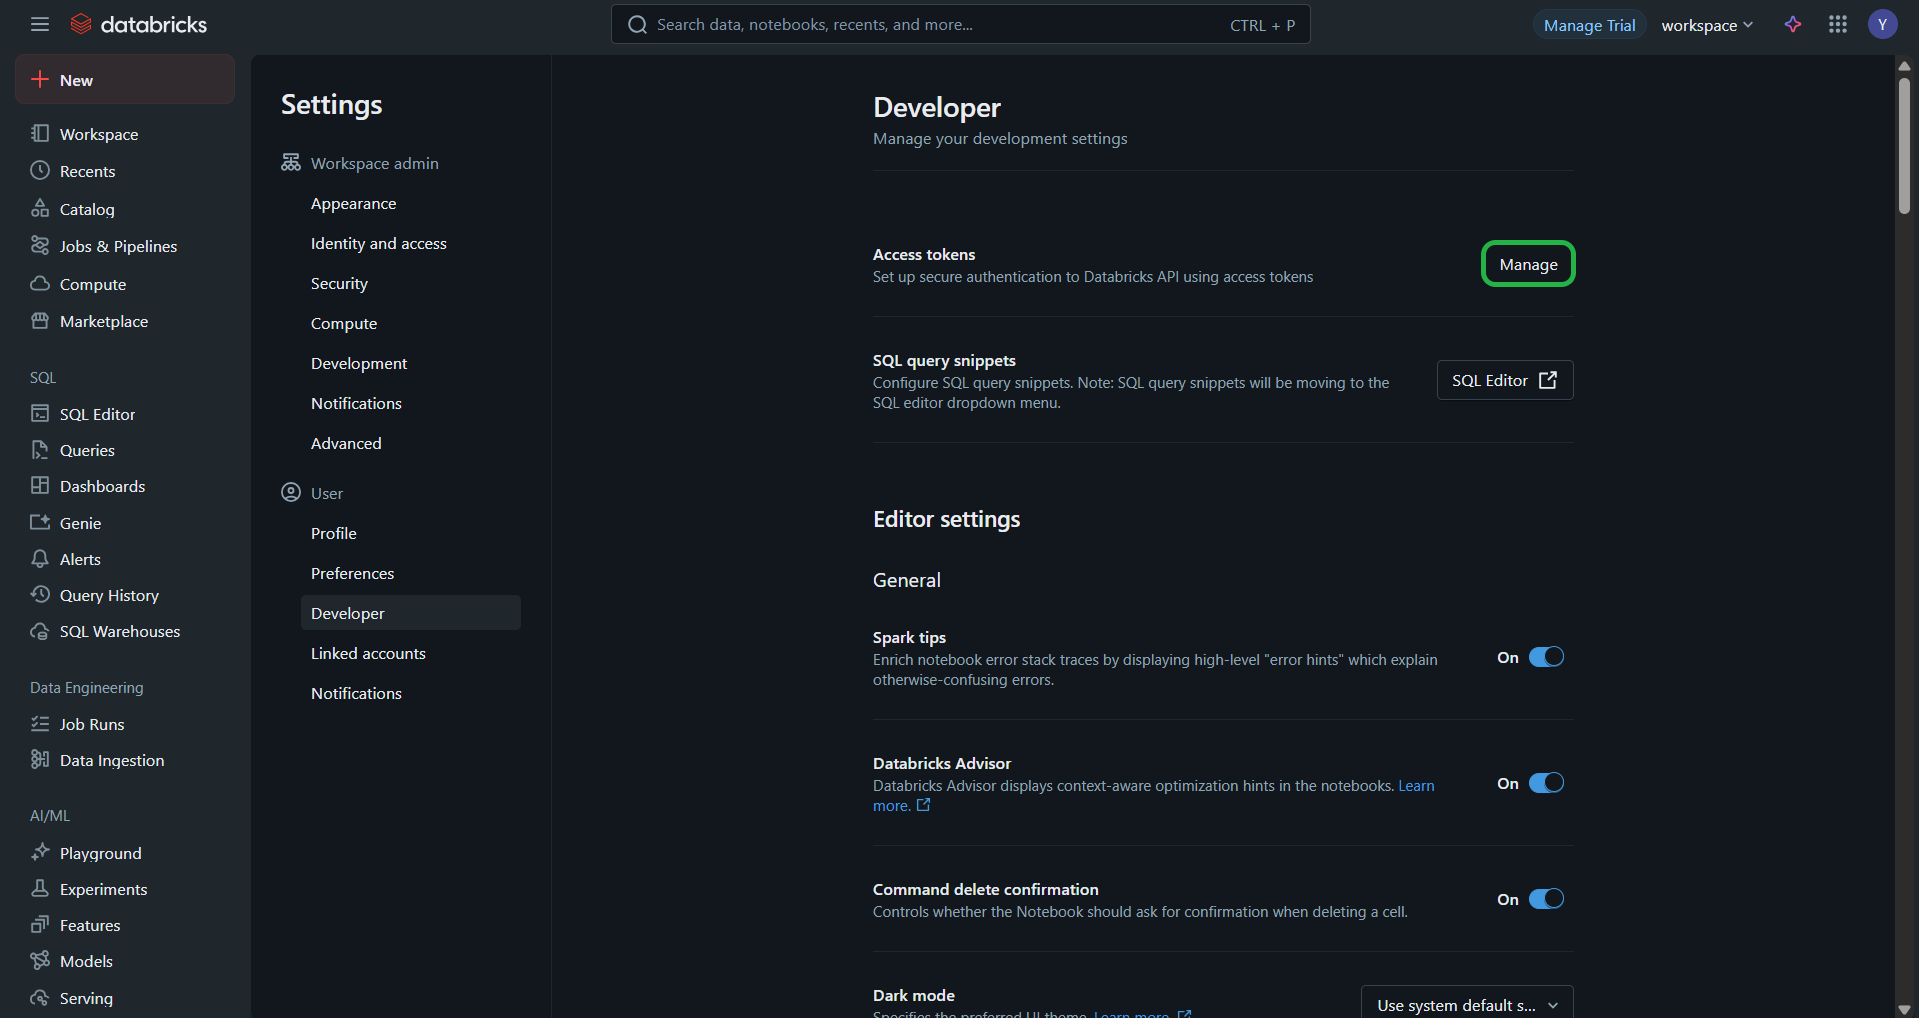
In your Databricks workspace, click your Databricks username in the top bar, and then select Settings from the drop down.
-
Click Developer.
-
Next to Access tokens, click Manage.
-
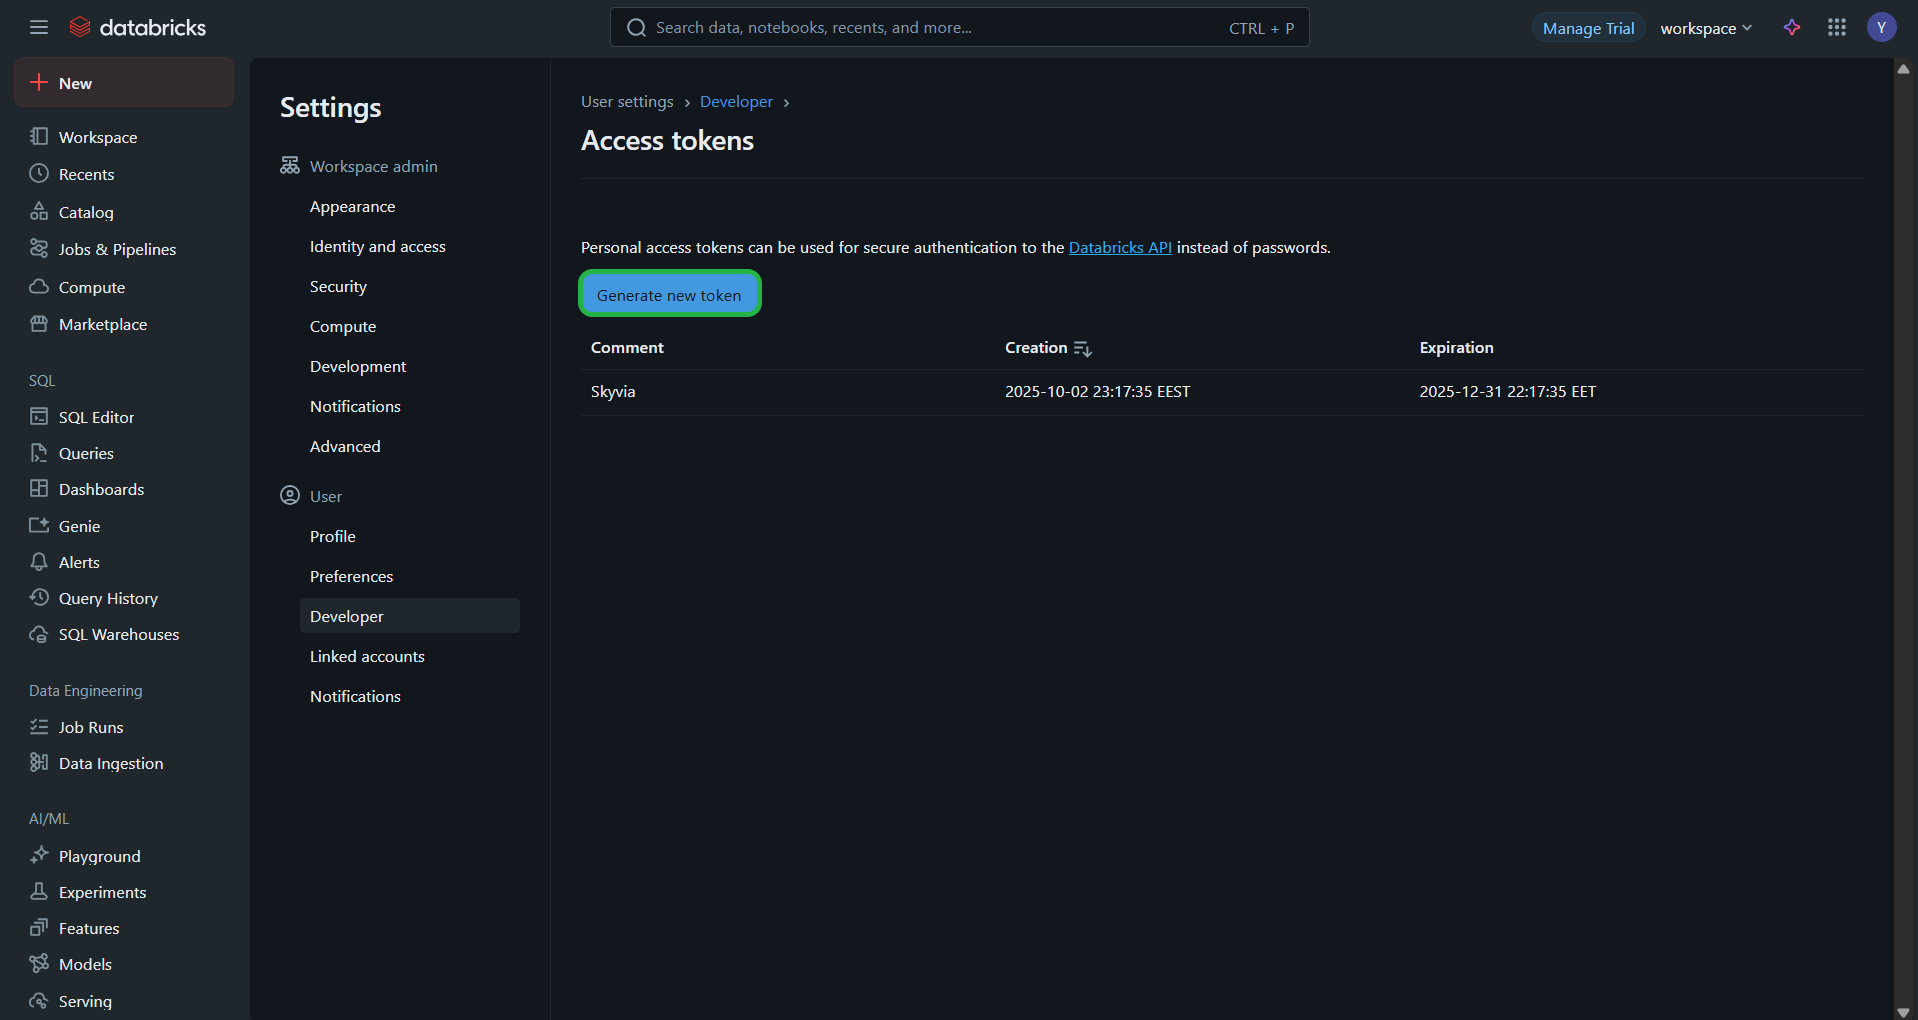
Click Generate new token.
-
Add a comment and click Generate.
-
Copy the token.
Client ID and Client Secret
Before creating a Skyvia connection to Databricks, register Skyvia as an OAuth 2.0 application in your Databricks Account Console and obtain a Client ID and a Client Secret.
-
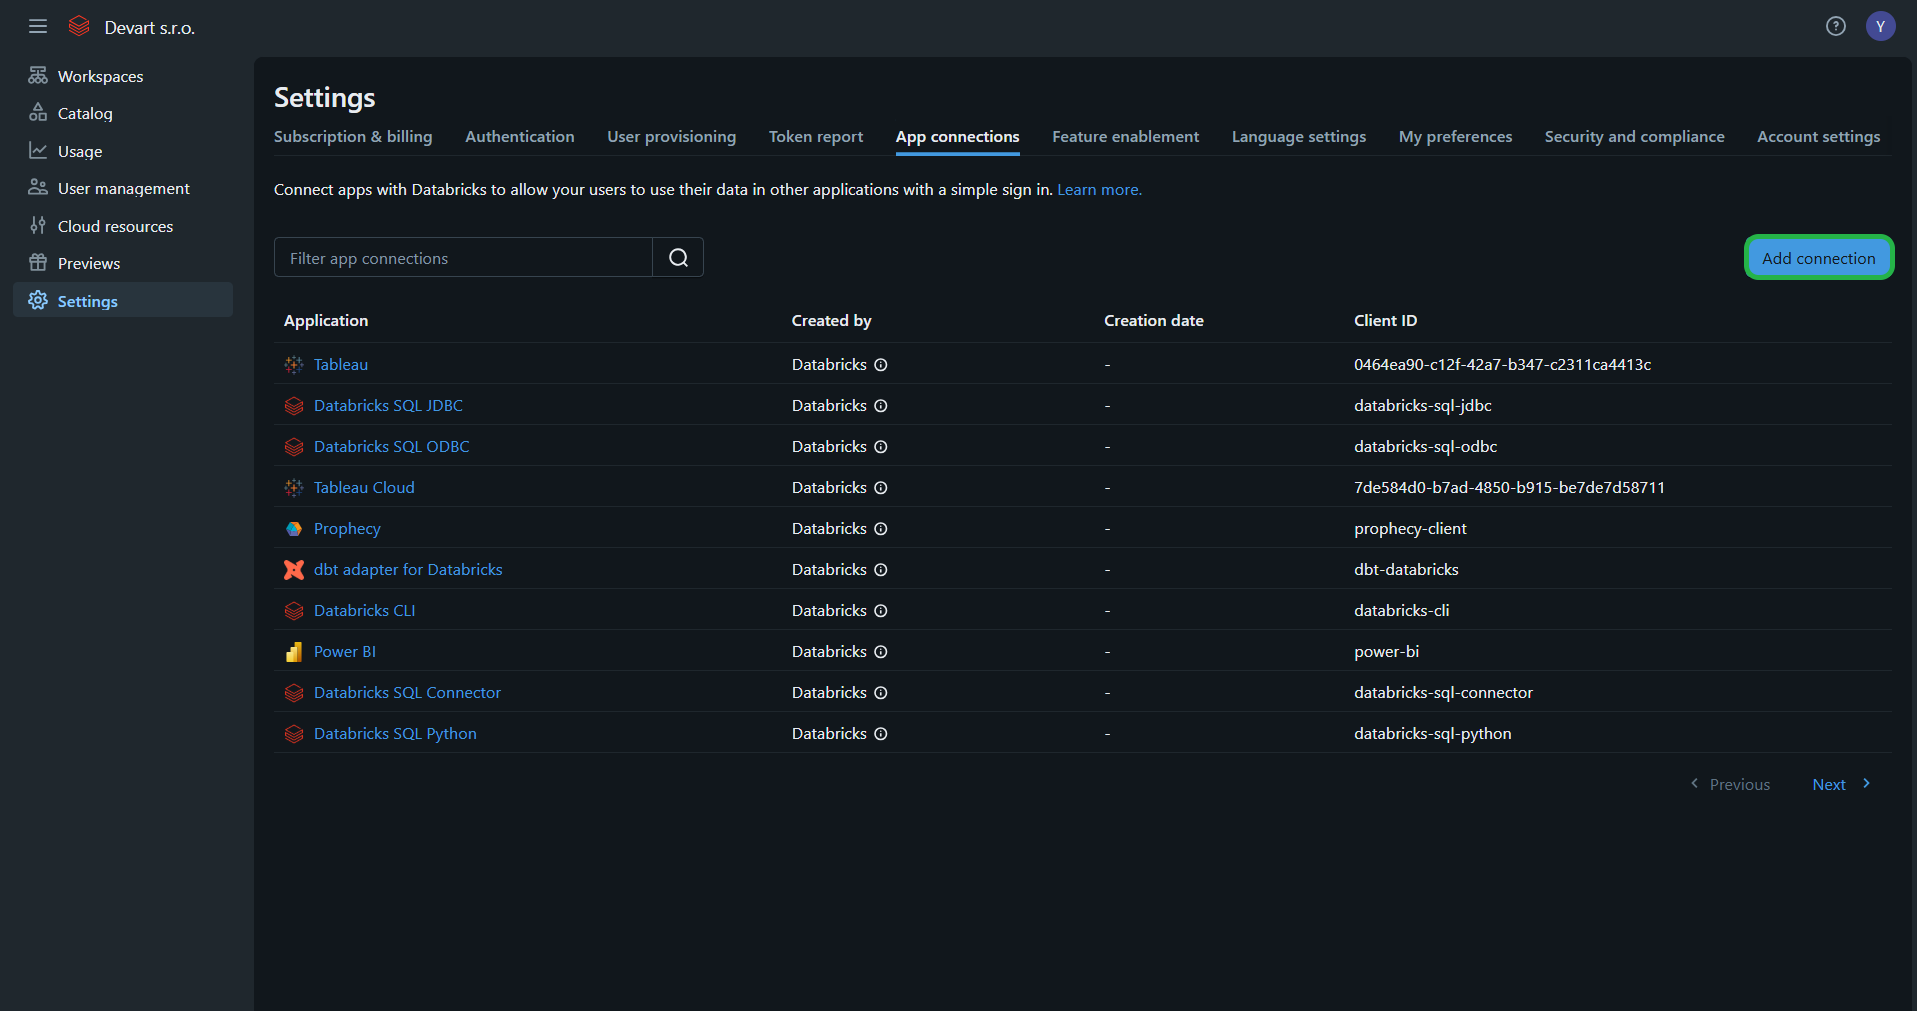
Open Databricks Account Console. Navigate to Settings.
-
Select the App connections tab. Click Add connection.
-
Enter any Application Name.
-
Specify this exact Redirect URL:
https://app.skyvia.com/oauthcallback/databricks -
Choose All APIs in Access scopes.
-
Select the Client secret checkbox.
-
Click Add and copy Client ID and Client Secret.
Creating Connection Using Personal Access Token authentication
To connect to Databricks using OAuth 2.0, specify these required parameters:
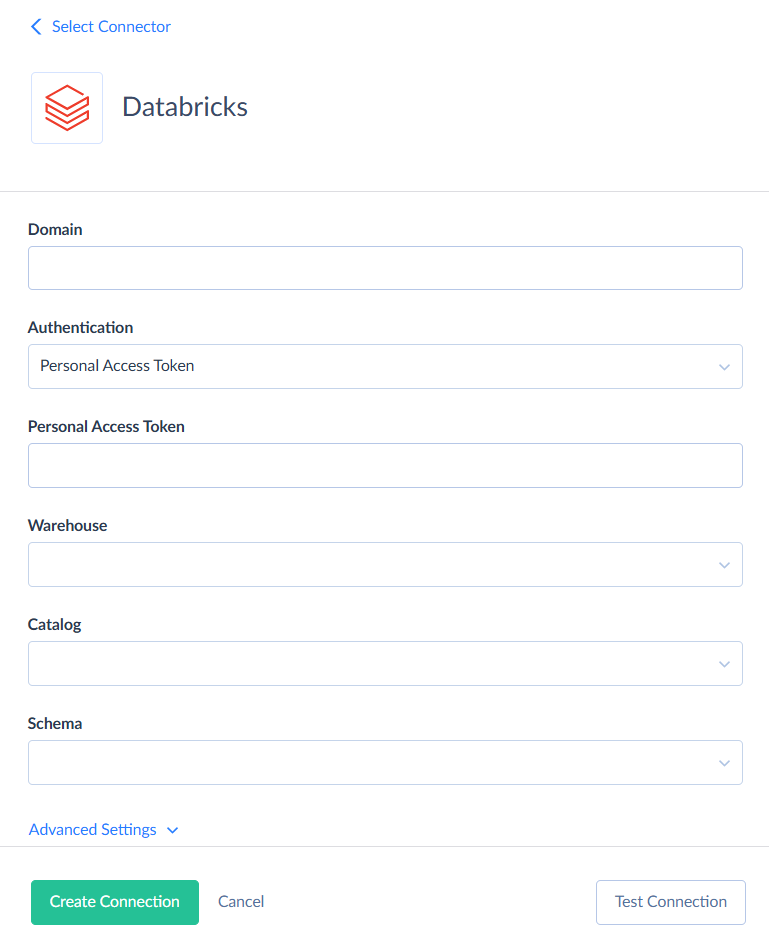
- Domain - a Databricks Workspace URL.
- Personal Access Token - a user-generated token from your Databricks account.
- Warehouse - the name of the Databricks SQL warehouse.
- Catalog - the Unity Catalog to use as the default context for queries.
Creating Connection Using OAuth 2.0 authentication
To connect to Databricks using OAuth 2.0, specify these required parameters:
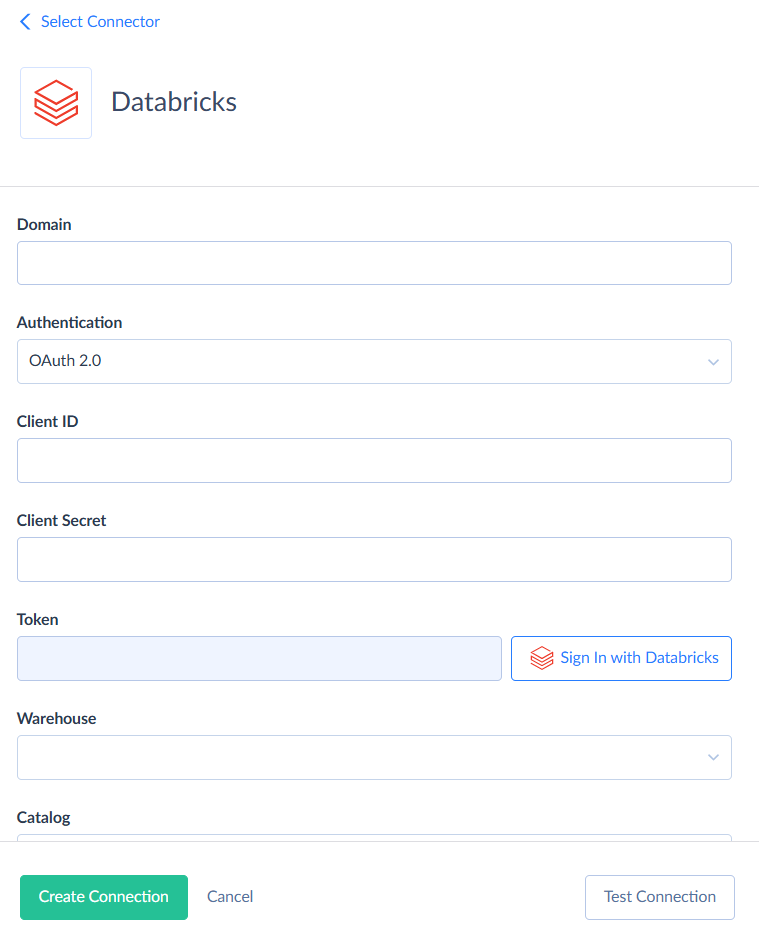
- Domain - a Databricks Workspace URL.
- Client ID - a unique identifier assigned to your application.
- Client Secret - an application’s secret key.
- Token - an OAuth 2.0 bearer token. Click Sign in with Databricks to obtain it.
- Warehouse - the name of the Databricks SQL warehouse.
- Catalog - the Unity Catalog to use as the default context for queries.
Additional Connection Parameters
Schema is a current schema name in the database. Although this parameter is optional, you need to specify it when using replication or import in the Bulk Load mode.
Advanced Settings
Command Timeout
Specifies the wait time before terminating an attempt to execute a command and generating an error. Command Timeout doesn't affect the wait time for data fetching. Change this value if command execution takes too long, and this causes timeout errors.
CHAR(38) As Guid
Specifies whether values in columns of type CHAR(38) should be interpreted as GUIDs.
Use Bulk Import
When selected, Skyvia imports data by creating temporary CSV files, uploading them to the Databricks storage, and then instructing it to load the data from those files. This process runs in parallel for better performance. Once done, the CSV files are deleted. However, this method doesn't provide detailed error logs for individual records.
If you clear this checkbox, Skyvia will use standard SQL commands (INSERT, UPDATE, DELETE) to load data. Disabling bulk import provides a per-record error logs, but significantly reduces integration performance. You can disable it if you're importing a small number of records or need a detailed error log.
This option affects only import integrations with the INSERT, UPDATE and DELETE operation and with Databricks as a target.
Supported Actions
Databricks connector supports the following actions:
- Execute Command in Source, Lookup, and Target Data Flow components and in Import and Export tasks in the Advanced mode.
- Execute Query in Source Data Flow components and in Import and Export tasks in the Advanced mode.
- Lookup in Lookup Data Flow components.
- Insert in Target Data Flow components.
- Update in Target Data Flow components.
- Delete in Target Data Flow components.