How to Set Up Replication of Dynamics 365 Data to SQL Azure
In this tutorial, we will show how to configure replication of your Dynamics 365 data to a relational database so that the replicated data were kept up-to-date with Dynamics 365 automatically. In our tutorial we will demonstrate it with Dynamics 365 accounts, contacts, leads, lists and listmembers, however the same can be applied to any Dynamics 365 object. We will also show how to switch replication mode so that while incremental replication is used most objects, for some objects different method is used.
Creating Connections
In order to replicate data from Dynamics 365 to SQL Azure, first we need to create connections to Dynamics 365 and SQL Azure databases. If you have already created the necessary connections, you may skip these steps. To create a connection to Dynamics 365, perform the following steps:
- Click +Create New in the top menu
- Click Connection in the menu on the left.
- In the opened Select Connector page, select Dynamics 365. To quickly find it, you can either use the Type to filter box or filter connectors by categories using the All list (for Dynamics 365, select the CRM category).
- The default name of a new connection is Untitled. Click it to rename the connection, for example, to Dynamics 3651.
- Enter the following connection parameters:
- URL — url that you use to connect to Dynamics 365. Usually it looks like: https://companyname.crm.dynamics.com
- Username — your Windows Live ID.
-
Password — password for your Windows Live ID account.
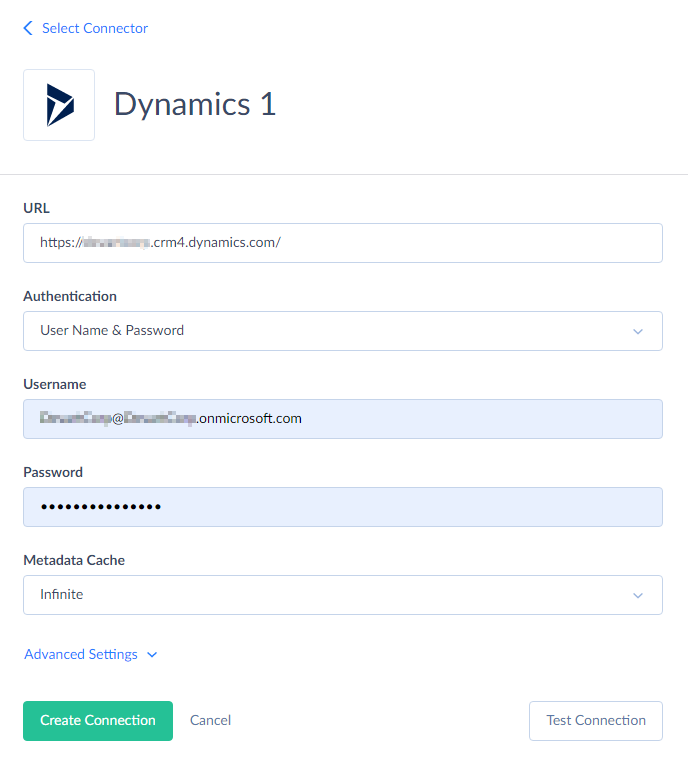
- Click Create Connection.
To create a connection to SQL Azure, perform the following steps:
- Click +Create New in the top menu.
- Click Connection in the menu on the left.
- Select SQL Server. To quickly find it, you can either use the Type to filter box or filter connectors by categories, using the All list (for SQL Server, select the Database category).
- The default name of a new connection is Untitled. Click it to rename the connection, for example, to SQL Azure.
- In the Server box, enter “TCP:<server name>”. Replace “<server name>” with your actual server name.
-
Specify your User Id, Password, and Database to connect to.
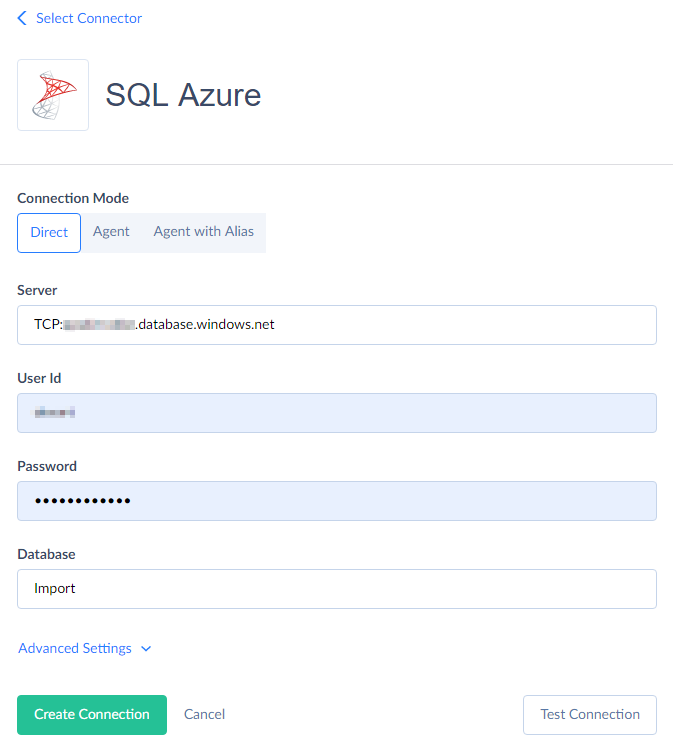
- Click Create Connection.
Now we have the necessary connections created. Let’s create an integration that performs the necessary data replication operation.
Creating Integration
To create a replication, perform the following actions:
- Click +Create New in the top menu.
- In the Integration column, click Replication.
- Rename your integration by clicking and editing the integration name. The default integration name is Untitled. Please note, if you omit this step, the integration name will remain Untitled in the list of created integrations.
-
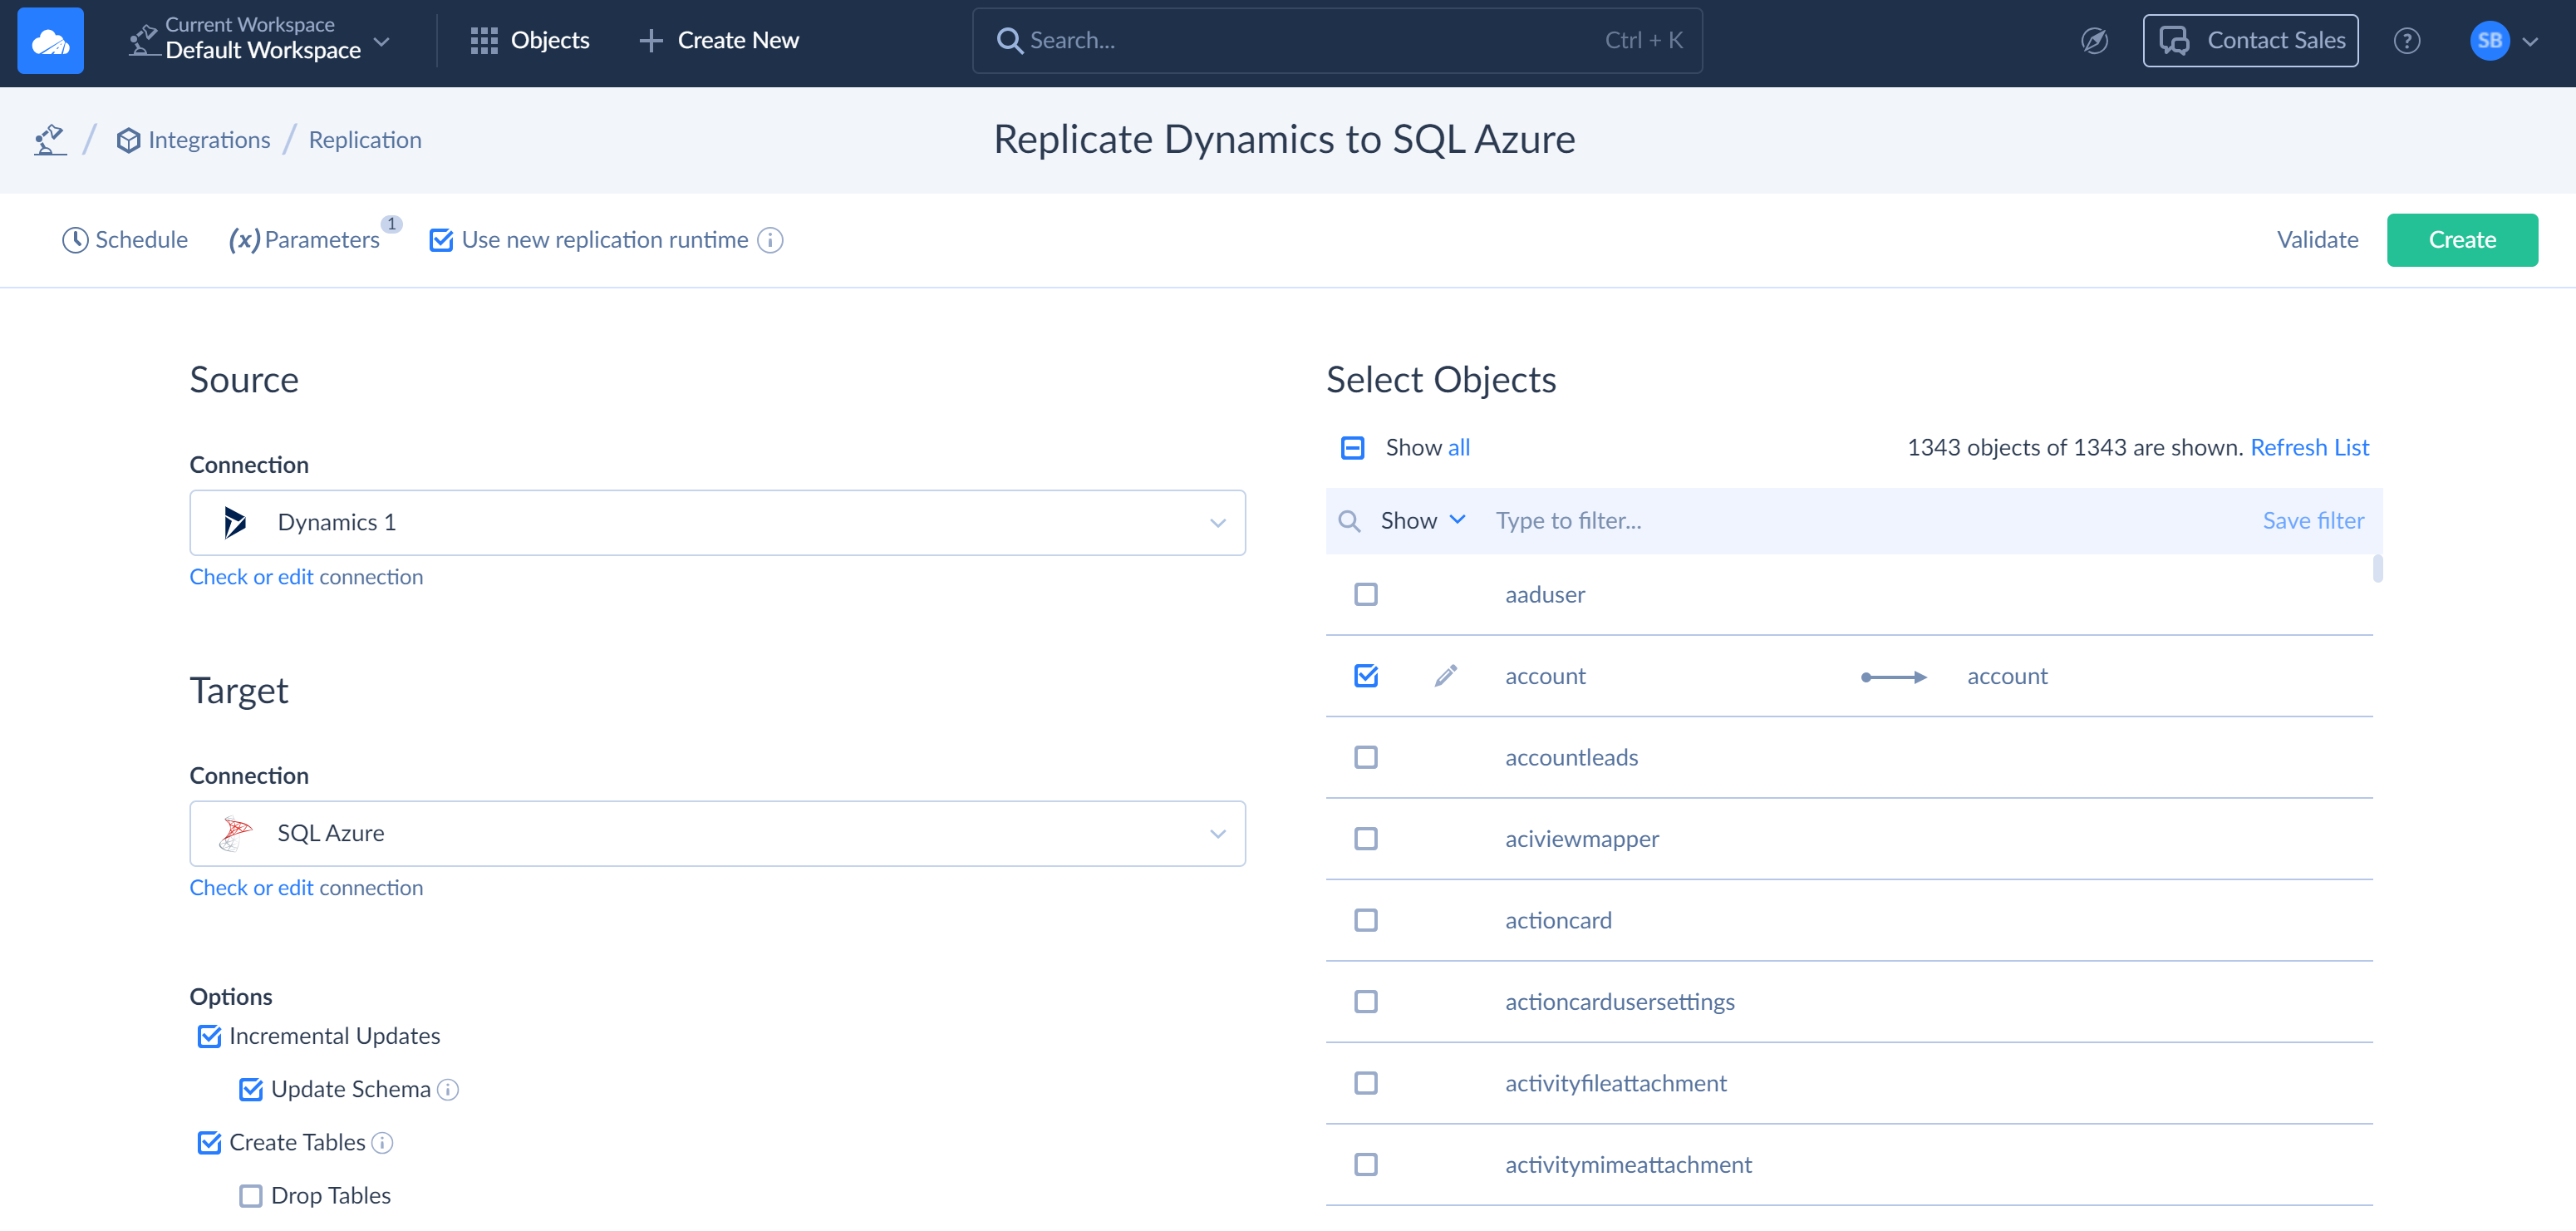
Under Source, in the Connection drop-down list, select the Dynamics 365 connection.
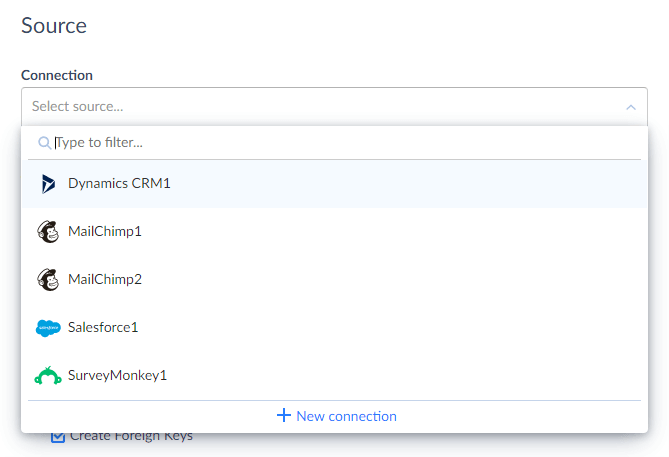 {: .img-zoomable
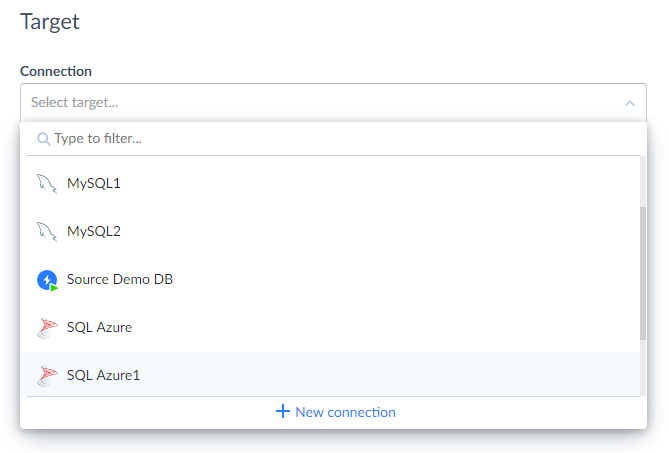
 -
Under Target, in the Connection drop-down list, select the SQL Azure connection.
-
In the grid under Select Objects, select checkboxes for the objects you want to replicate. In our tutorial we will replicate account, contact, lead, and marketing lists data - list and listmember objects.
-
Let’s suppose, marketing lists are rarely modified. We do not want to check the list object for changes every time, and want to only replicate their data when we know something has changed. So we can switch replication mode for it to Resync on demand. For this, open the replication task by clicking the
 Edit button next to the list object and, in the Mode list, select Resync on demand. Skyvia will replicate this object the first time, and then only when you reset the corresponding LastSyncTime parameter.
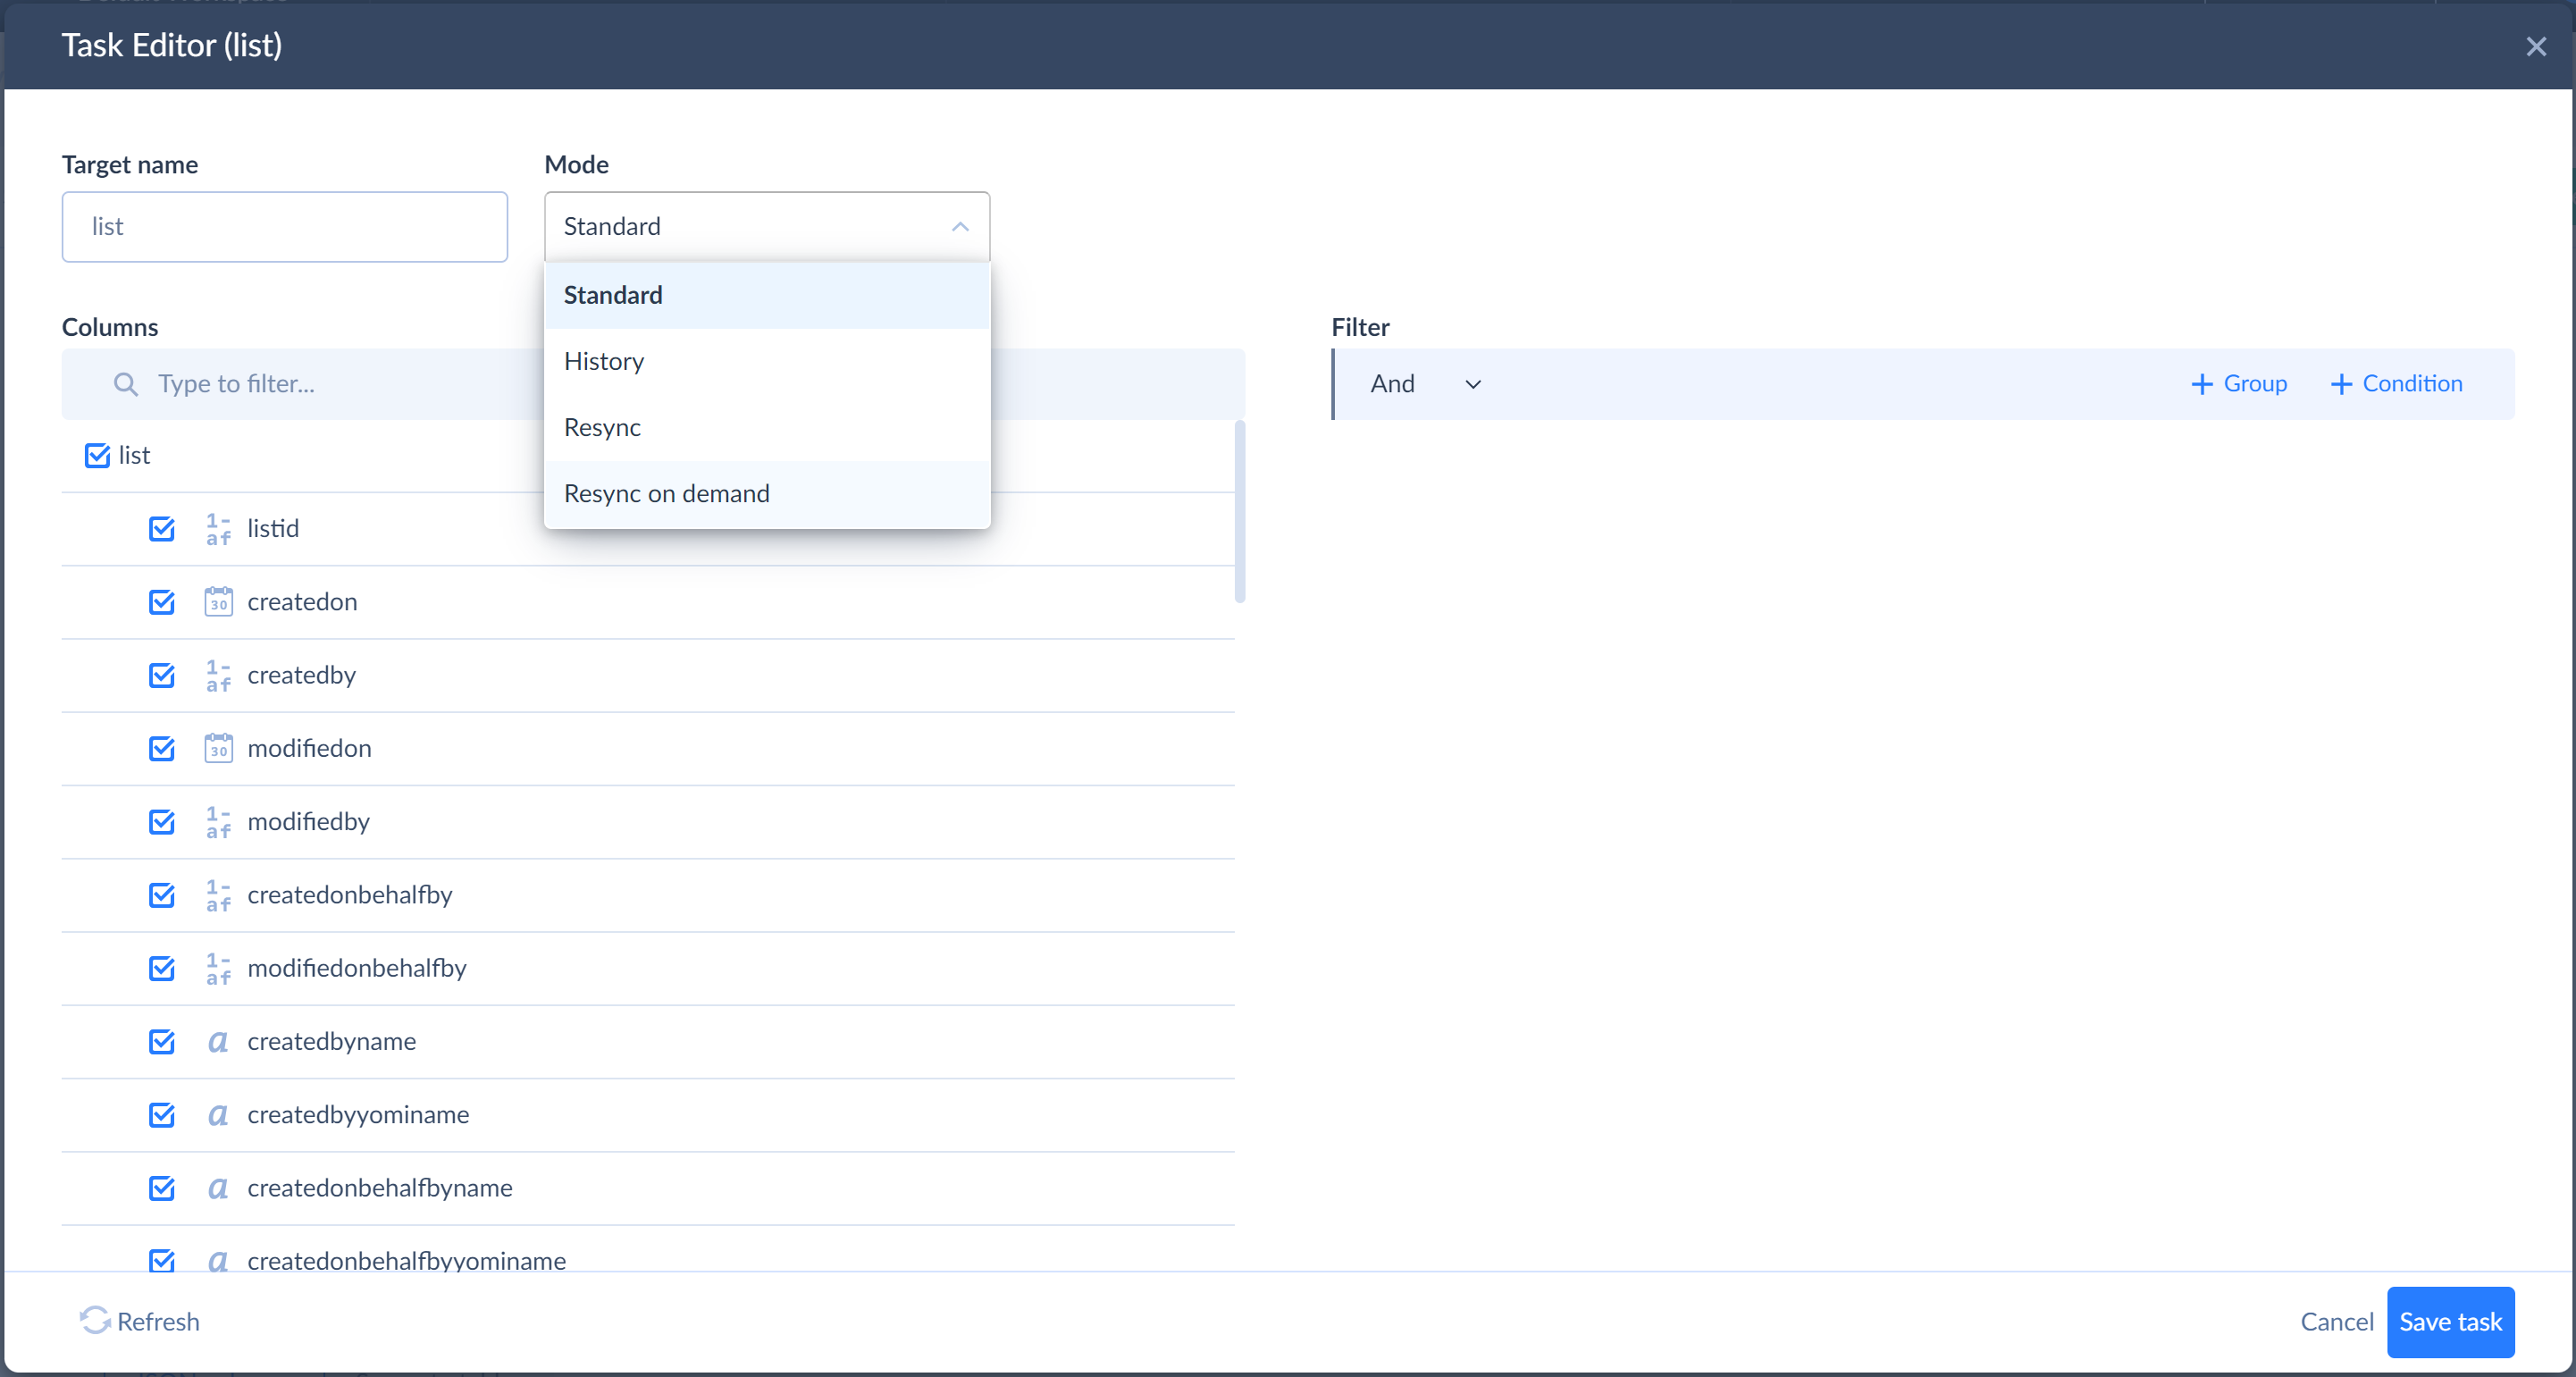
-
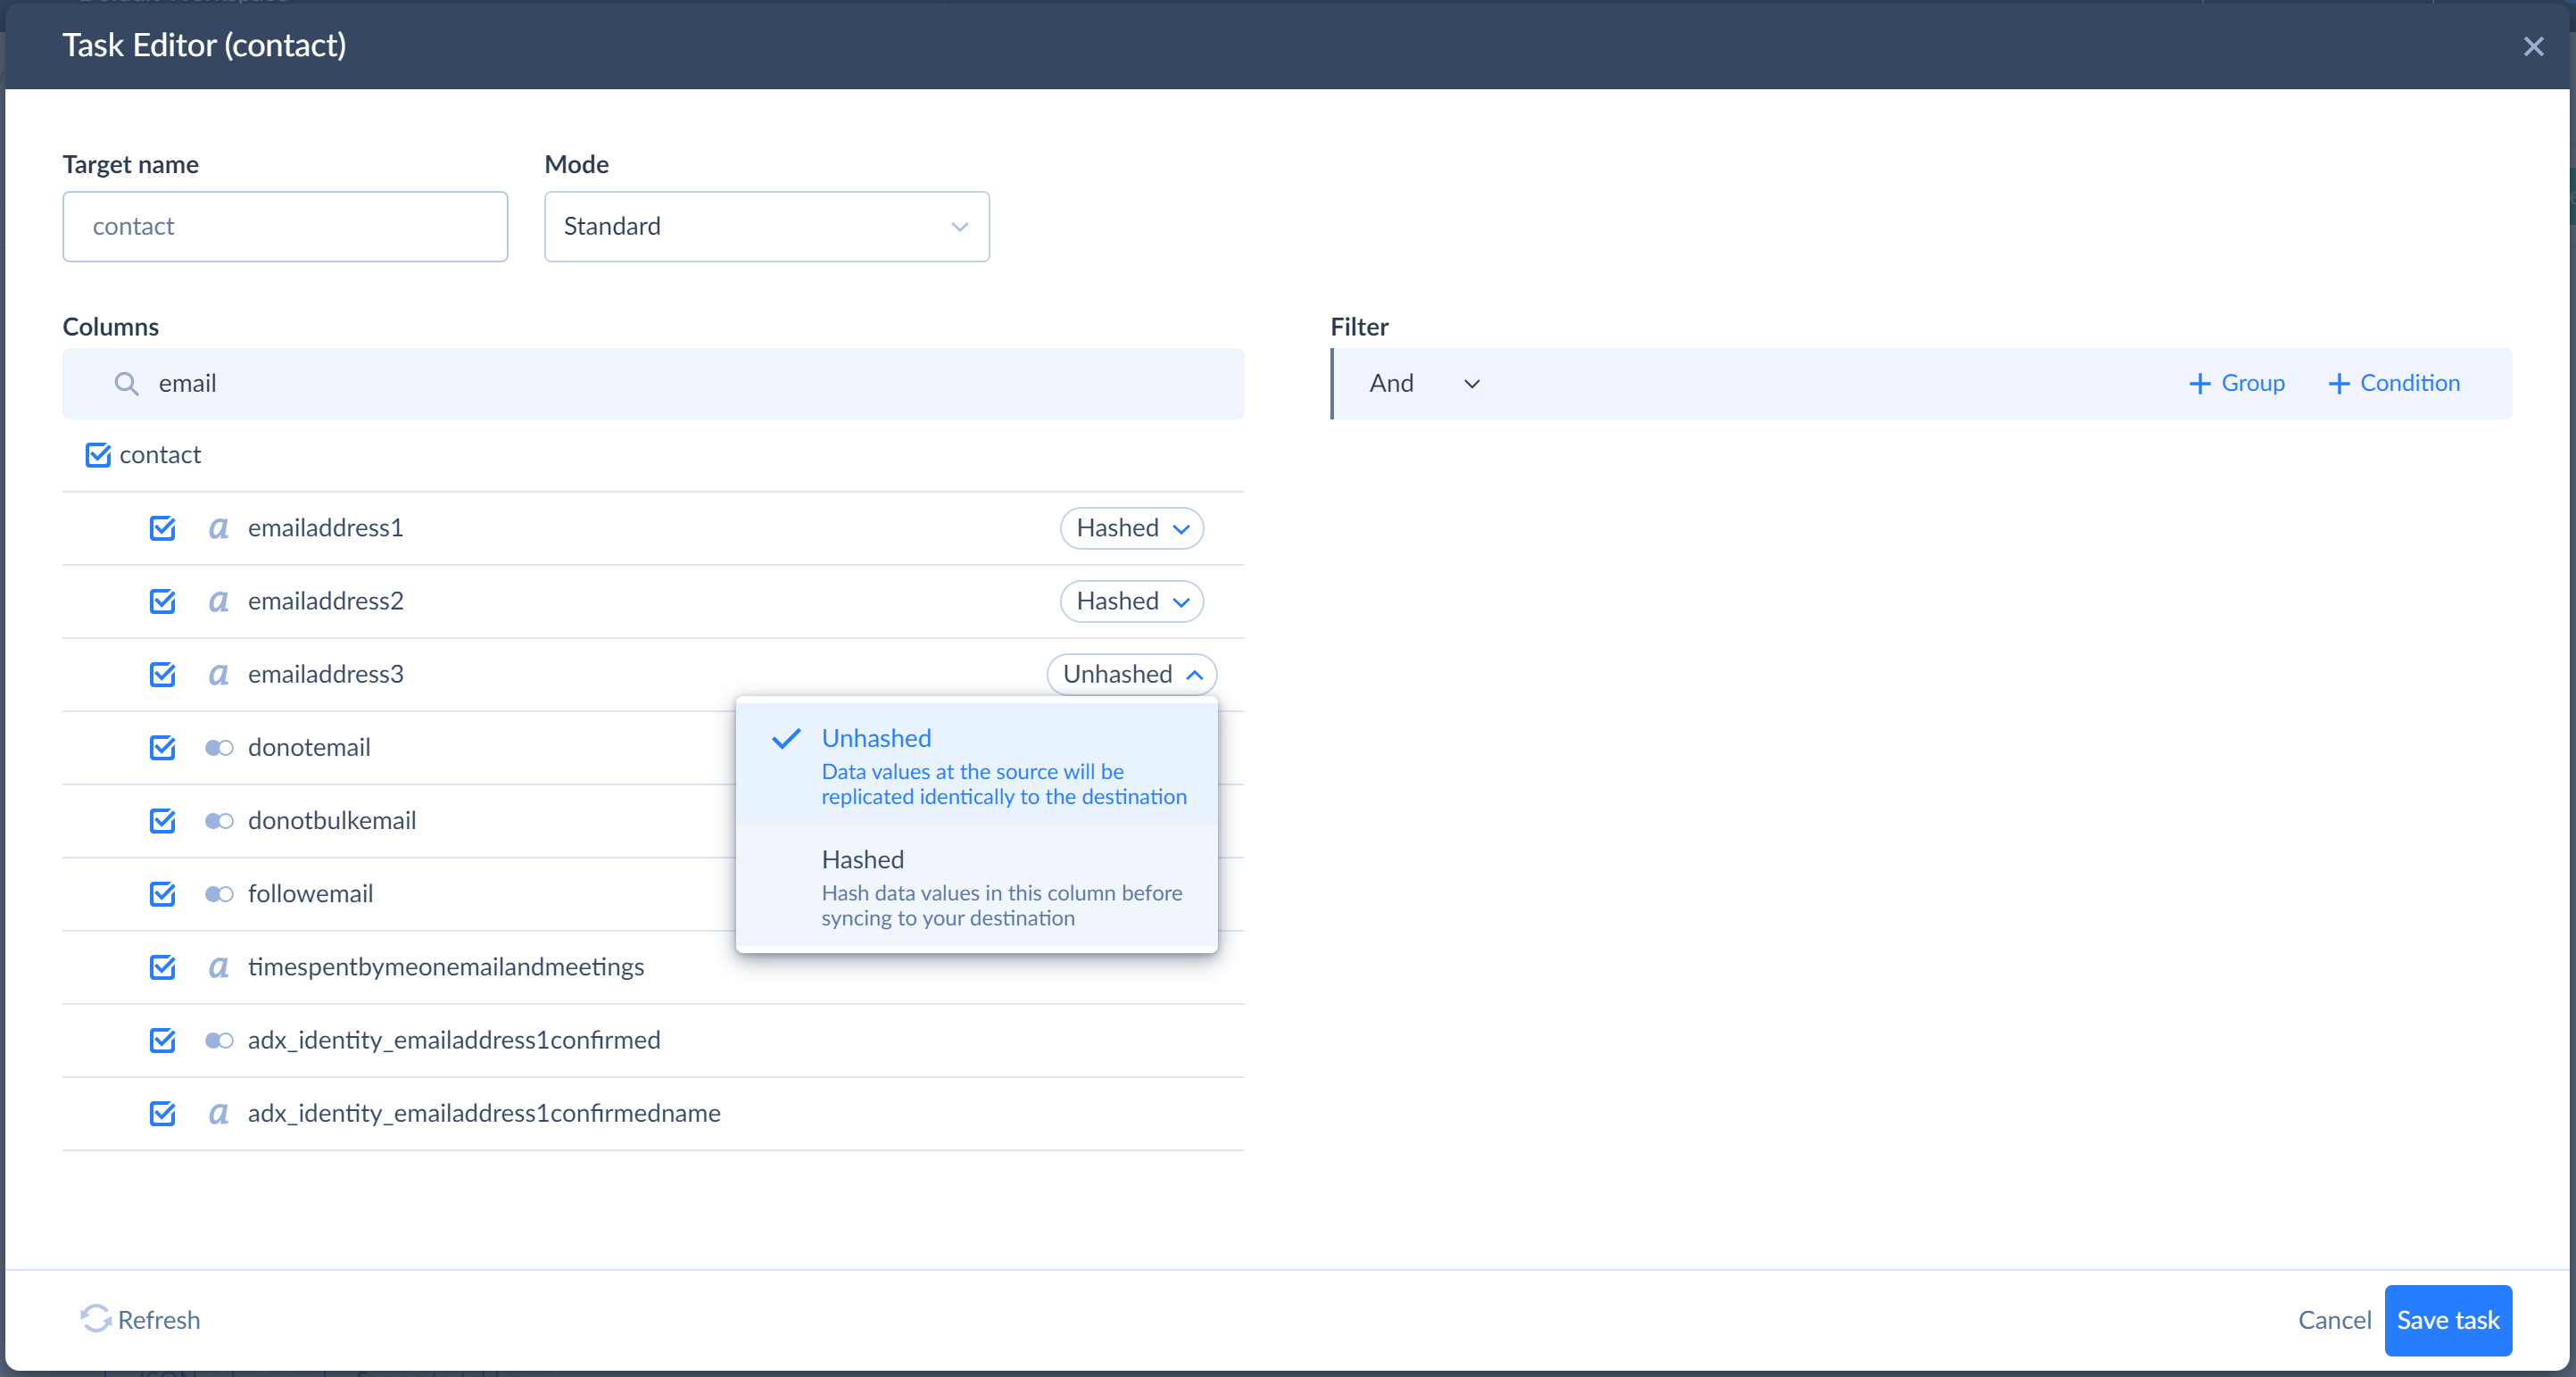
Let’s also assume that we don’t want to replicate the contacts’ emails. However, we still want to check for duplicate emails later. Here Skyvia’s Hashing feature comes in handy. To enable hashing for the emails fields, open the replication task for the contact object, point to the Email field, click Unhashed, and then select Hashed.
- Click the Create button.
- Run the integration by clicking Run.
Now you have your data replicated to a relational database. On the Monitor tab, you can check the Run History of the integration.
Scheduling Integration Execution
After we have replicated our data, we want to keep them up-to-date. For this, we will configure the integration to run every hour during workdays automatically.
Perform the following actions to set the schedule:
- Click Schedule on the left side of the toolbar.
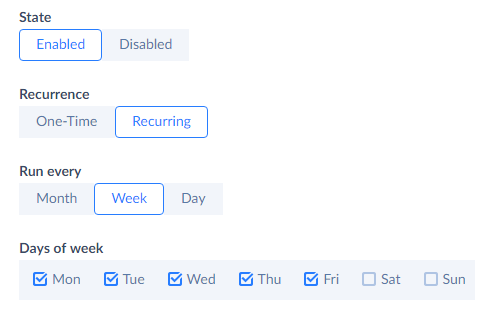
- Under Run every, select Week.
-
Under Days of week, select checkboxes with all the workdays.
- Click Occur once at and then select Recur every in the list.
- Enter “1” (without quotes) into the Recur every box and click the Set time restrictions link.
- Enter 9:00 and 18:00 to the corresponding boxes.
-
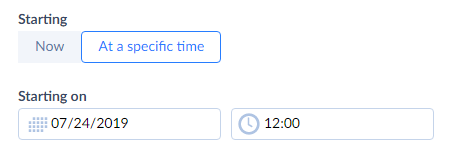
Click Now to put the schedule into action immediately or select At a specific time in the Starting list and specify the necessary date and time you want the schedule to be enabled from.
- Click Save to schedule integration execution.
After this our integration will run automatically every hour between 09:00 and 18:00 of every workday.
You may check its execution on the Monitor tab in the Run History.
You can also visit Scheduling Integrations to get more detailed information on setting an integration schedule.