SQL Server or SQL Azure
Skyvia supports usual unencrypted connections and secure SSL connections to SQL Server or SQL Azure. Note that for connecting both to SQL Server and to SQL Azure, you need to select the SQL Server connector when creating a connection.
To connect to a SQL Server server, you need to specify the database server host name or IP address, user name and password to log in with, and database name.
For connecting to local SQL Server, Skyvia offers two options: direct connections and agent connections.
In order to use a direct connection, your SQL Server must be available through the Internet. If you are connecting to SQL Server on your local computer directly from Skyvia, allow such connections in your firewall. If you are connecting to a computer in your local network, you should use port forwarding.
You can find the Skyvia service IPs to allow in the Firewall and some advice on configuring your SQL Server in order to access it directly from Skyvia in the How to Configure Local Database Server to Access It from Skyvia topic.
Agent connections don't have such requirements, but you need to install the Skyvia Agent application in order to use them.
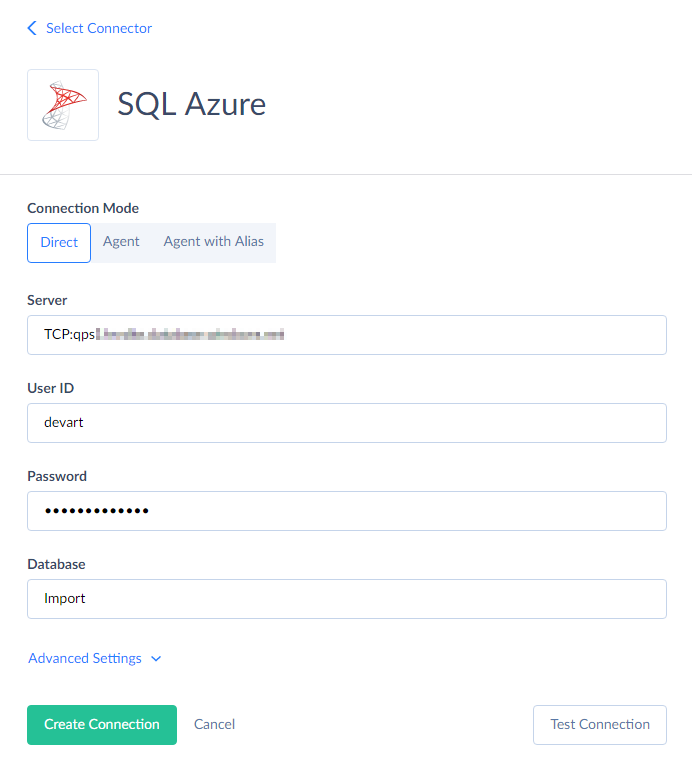
You need to specify the following parameters for TCP/IP SQL Server connection:
-
Server — name or IP address of the SQL Server instance to connect to. Here you also specify the SQL Server named instance name and, if necessary, port, in one of the following formats:
tcp:<IP><named instance>
tcp:<IP>,<port>
Here IP is the IP address or domain name of the SQL Server computer, named instance is the name of the corresponding SQL Server named instance, and port is the SQL Server port.
The port part is necessary only if your SQL Server uses a non-default port number. Otherwise, comma and port may be omitted.
-
User Id — user name to log in with.
-
Password — password to log in with.
-
Database — name of the SQL Server database you want to connect to.
If you want to use SSL connection, additionally you need to click Advanced Settings and set the following parameters:
- Encrypt — this parameter determines whether to use SSL encryption for all data sent between the client and server if the server has a certificate installed.
- Trust Server Certificate — this parameter determines whether the channel is encrypted while bypassing the certificate chain to validate trust.
- Use DATETIME2 data type — this parameter determines whether Skyvia uses datetime or datetime2 data type when creating the target table in the replication.
In Advanced Settings, you can also set the Command Timeout interval. It specifies the wait time before terminating an attempt to execute a command and generating an error. Note that it is the time to wait for any server reply since the command was sent to a server, and it doesn't include the time necessary to fetch data if the command selects some data.
Additionally, Advanced Settings include the Connection Timeout parameter. This parameter determines the time (in seconds) to wait while trying to establish a connection before terminating an attempt and reporting an error. Generally, you do not need to modify it, but in some specific cases, when a connection to the database server is not good, you may try increasing its value.
Enabling Change Tracking (CT) in SQL Server
If you plan to replicate data from SQL Server to another database or data warehouse using Log-Based Ingestion mode, you will need to activate Change Tracking (CT) in SQL Server. To do so, follow the steps below:
1. Enable Change Tracking (CT) at the Database Level
First, enable change tracking for the entire database by using the ALTER DATABASE statement.
1
2
3
4
5
6
7
USE master;
GO
ALTER DATABASE YourDatabaseName
SET CHANGE_TRACKING = ON
(CHANGE_RETENTION = 7 DAYS, AUTO_CLEANUP = ON);
GO
CHANGE_RETENTION = 7 DAYS: This sets the retention period for change tracking information. You can adjust this to meet your requirements. The retention period value should be greater than the frequency of incremental replication runs for replication to work properly.AUTO_CLEANUP = ON: This setting ensures that SQL Server automatically cleans up the change tracking information after the retention period.
2. Enable Change Tracking (CT) on Specific Tables
Then, enable change tracking for the specific tables you want to track.
1
2
3
4
5
6
USE YourDatabaseName;
GO
ALTER TABLE YourTableName
ENABLE CHANGE_TRACKING;
GO
Example
Here's an example that puts it all together. Assume you have a database named SalesDB and a table named Customers.
-
Enable Change Tracking on the Database:
1 2 3 4 5 6 7
USE master;
GO
ALTER DATABASE SalesDB
SET CHANGE_TRACKING = ON
(CHANGE_RETENTION = 7 DAYS, AUTO_CLEANUP = ON);
GO -
Enable Change Tracking on the
CustomersTable:1 2 3 4 5 6
USE SalesDB;
GO
ALTER TABLE Customers
ENABLE CHANGE_TRACKING;
GO
3. Verify Change Tracking (CT) Configuration
You can verify that change tracking is enabled by querying the system catalog views:
1
2
3
4
5
6
7
8
9
-- Check if change tracking is enabled on the database
SELECT name, is_auto_clean_on, retention_period, retention_period_units_desc
FROM sys.change_tracking_databases
WHERE database_id = DB_ID('SalesDB');
-- Check if change tracking is enabled on the table
SELECT name, object_id
FROM sys.change_tracking_tables
WHERE object_id = OBJECT_ID('SalesDB.dbo.Customers');
SQL Azure
When connecting to SQL Azure, you need to select the SQL Server connector and specify the Server value in the following format:
TCP:<Server_DNS_Name>,<Port>
The port part (with the comma) is usually not necessary; it is required only when the port, configured on the server, differs from the default one.
You can use the IP address instead of the server DNS name, but this is not recommended, because an IP address of an Azure virtual machine may change when Azure moves resources for redundancy or maintenance. You can get the server DNS name in the following way:
- In the Azure Management Portal, select VIRTUAL MACHINES.
- On the VIRTUAL MACHINE INSTANCES page, under the Quick Glance column, find and copy the DNS name for the virtual machine.
The port can be found in the following way:
- In the Azure Management Portal, find the Virtual Machine.
- On the Dashboard, click ENDPOINTS and use the PUBLIC PORT assigned to MSSQL.
Supported Actions and Actions Specifics
SQL Server connector supports the following actions:
- Execute Command in Source, Lookup, and Target Data Flow components and in Import and Export tasks in the Advanced mode.
- Execute Query in Source Data Flow components and in Import and Export tasks in the Advanced mode.
- Lookup in Lookup Data Flow components.
- Insert in Target Data Flow components.
- Update in Target Data Flow components.
- Delete in Target Data Flow components.