Hybrid Deployment
Skyvia allows hosting SQL and OData endpoints on your local computer or in a local network, without passing data via Skyvia services, via the hybrid deployment feature.
Skyvia agent application includes Connect runtime web service, which you can use to host Skyvia Connect endpoints in IIS. Agent connects to Skyvia only to obtain the endpoint metadata and connection parameters, which are passed to Connect runtime web service. The web service then connects to the data source directly and performs all the read and write operations against it without ever exchanging the data source data with Skyvia service.
To host an endpoint locally, specify an agent on the endpoint overview page and configure an IIS website with the Connect web service on the computer where the agent is installed.
Supported Connectors
Currently Hybrid deployment is supported for the following connectors:
- PostgreSQL
- MySQL
- Oracle
- SQL Server
- AlloyDB
- Acumatica
Requirements
Hybrid deployment requires IIS to be installed on the machine where you host the endpoint. If IIS is not installed on your computer, perform the following steps:
-
In Control Panel, select Programs and Features.
-
Click Turn Windows features on or off.
-
Expand Internet Information Services -> World Wide Web Services -> Application Development Features, and ensure the following are selected: .NET Extensibility 3.5, .NET Extensibility 4.8, ASP.NET 3.5, ASP.NET 4.8.

How to Set Up Endpoint
To mark the endpoint as local, perform the following steps:
-
On the endpoint overview page, click Set up at the bottom.
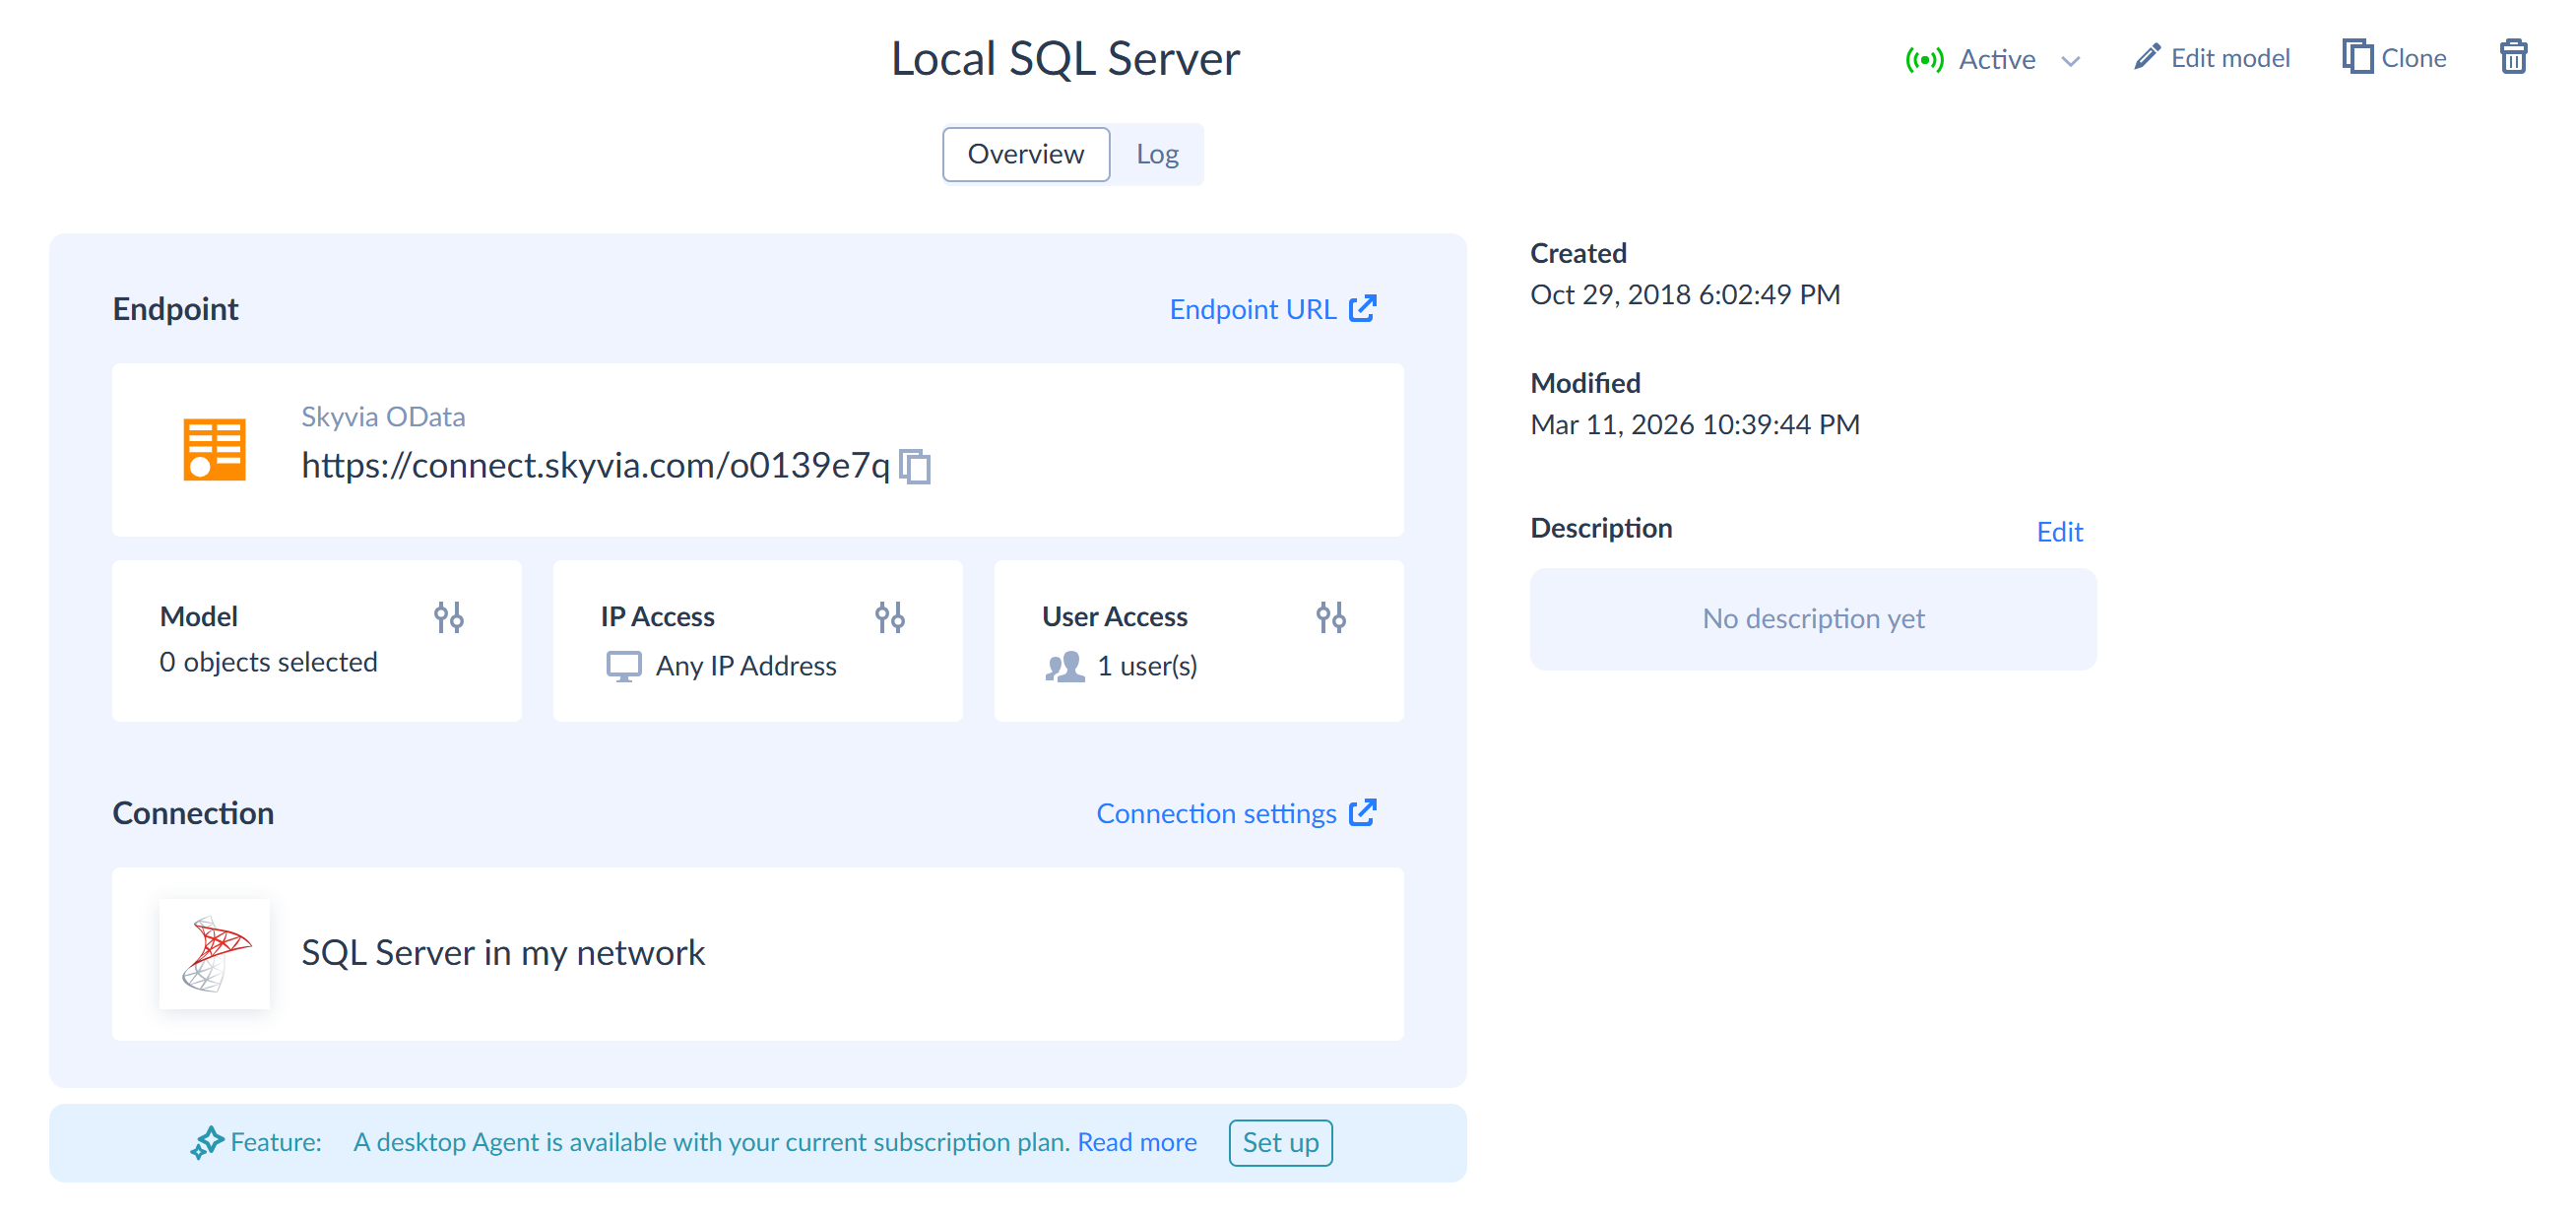
If the Set up button is not available, the endpoint either uses an unsupported connector, or your Connect plan does not include Hybrid deployment.
-
Select the agent that will host the endpoint.
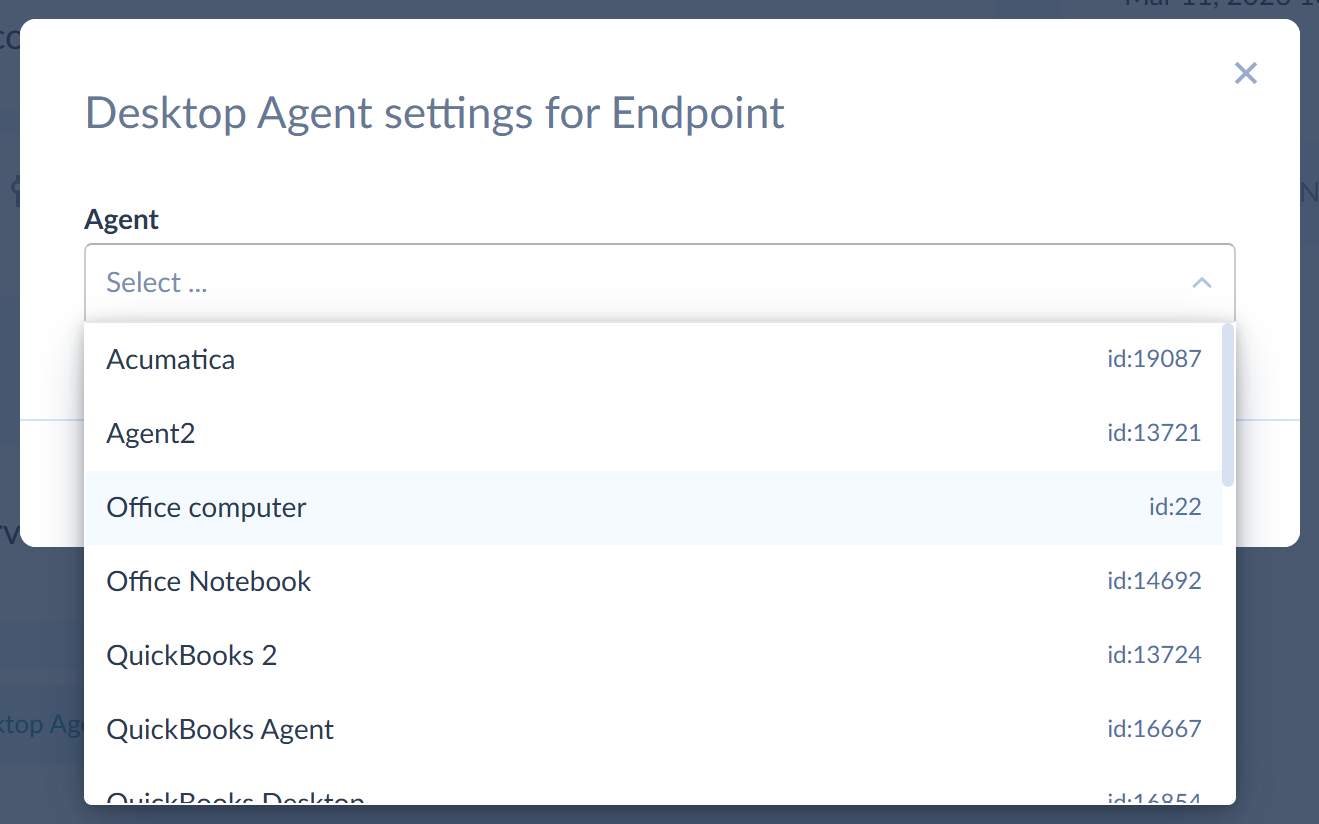
For endpoints using an agent connection, this must be the same agent as in the endpoint connection.
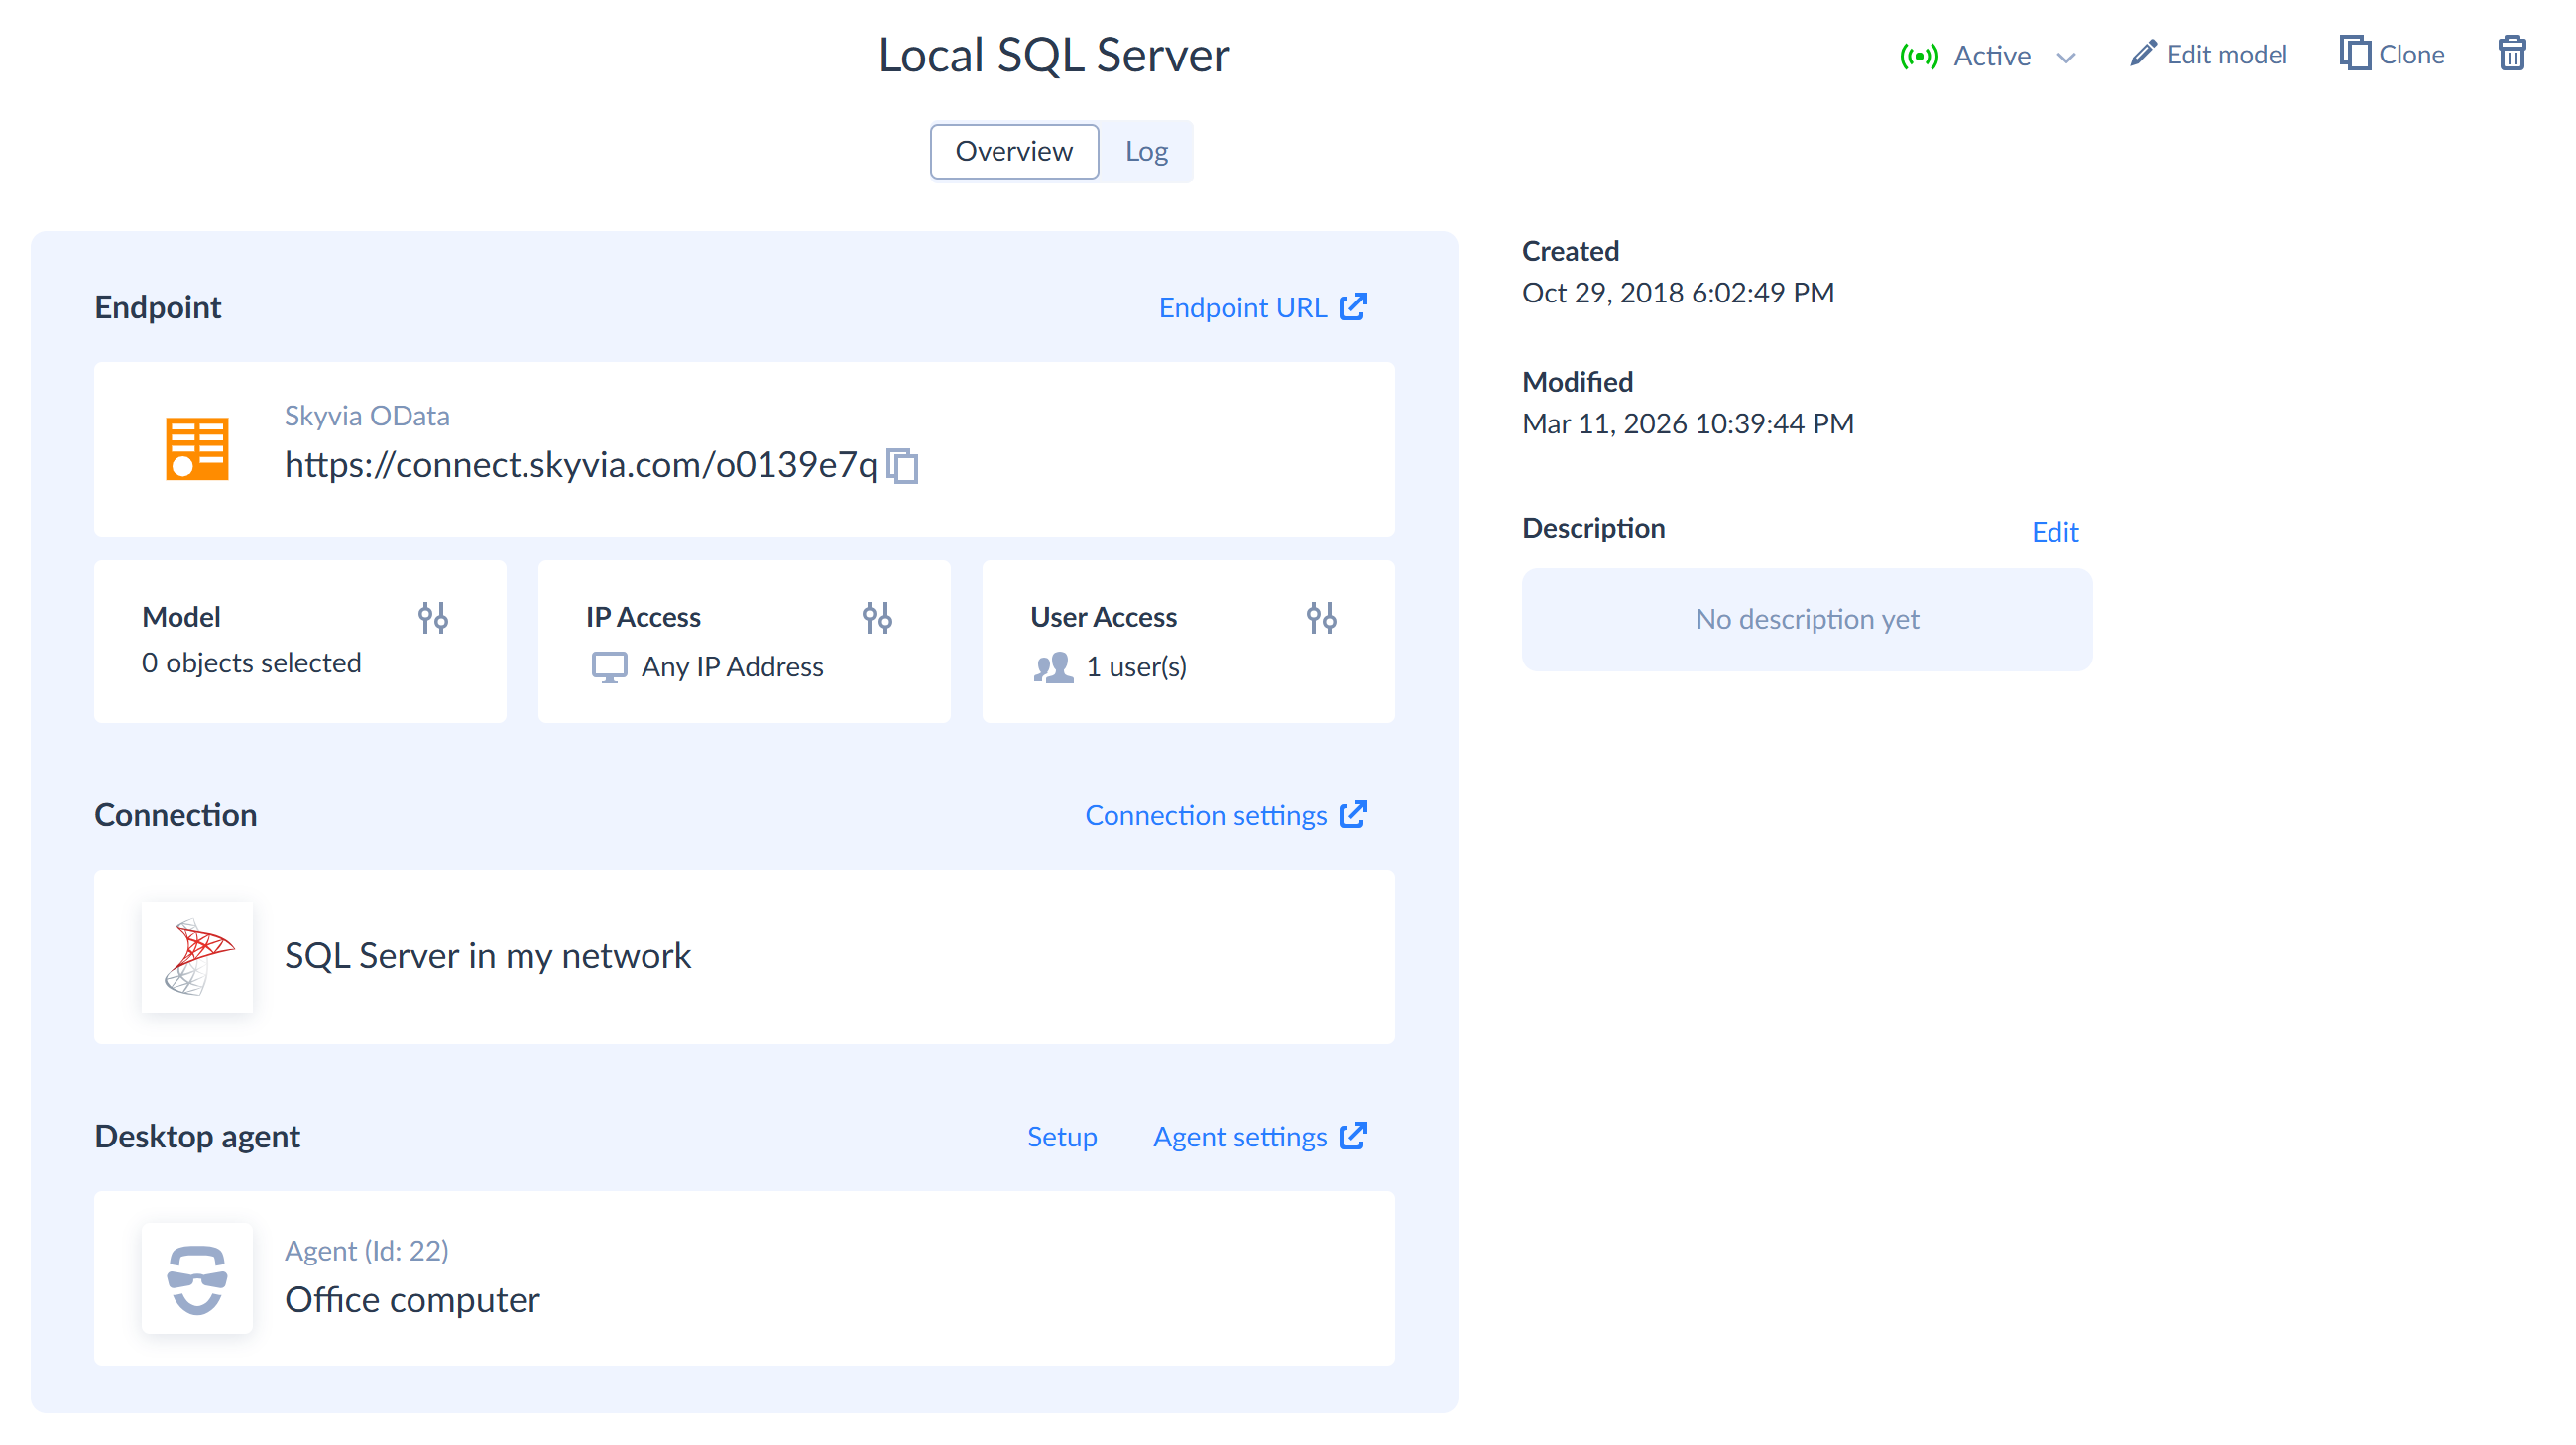
After this, the hybrid deployment is enabled for the endpoint. It is not available by the URL from https://connect.skyvia.com any more.
How to Disable Hybrid Deployment for Endpoint
To disable hybrid deployment, follow these steps:
- In the bottom of the endpoint overview page click Setup.
- Click Remove agent and then click Remove anyway.
After this, the endpoint is hosted on https://connect.skyvia.com again.
How to Set Up Web Service
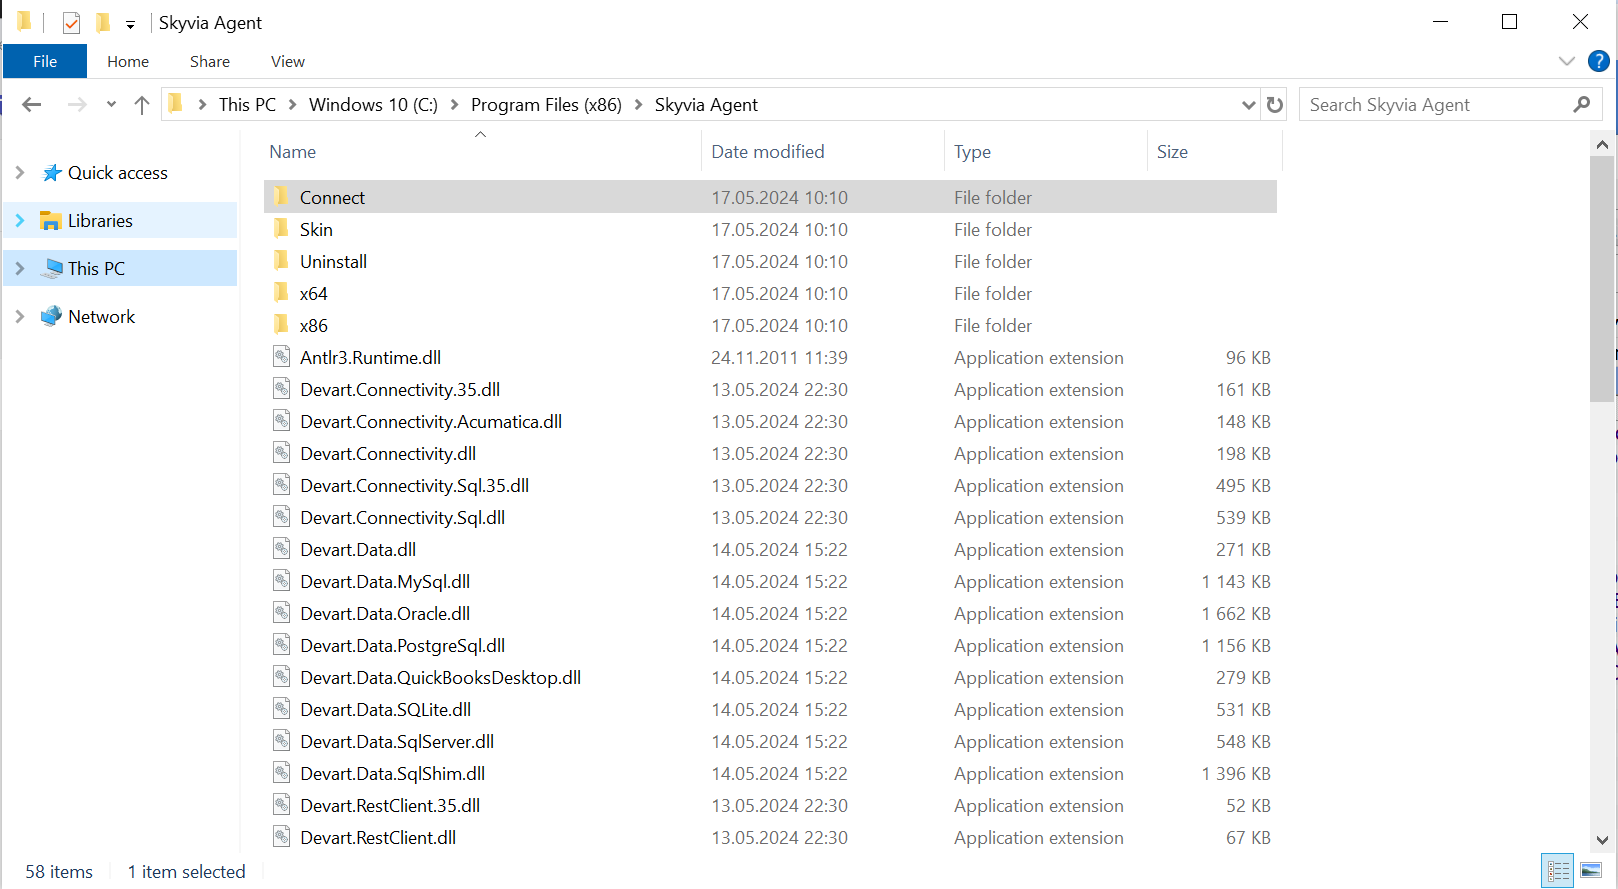
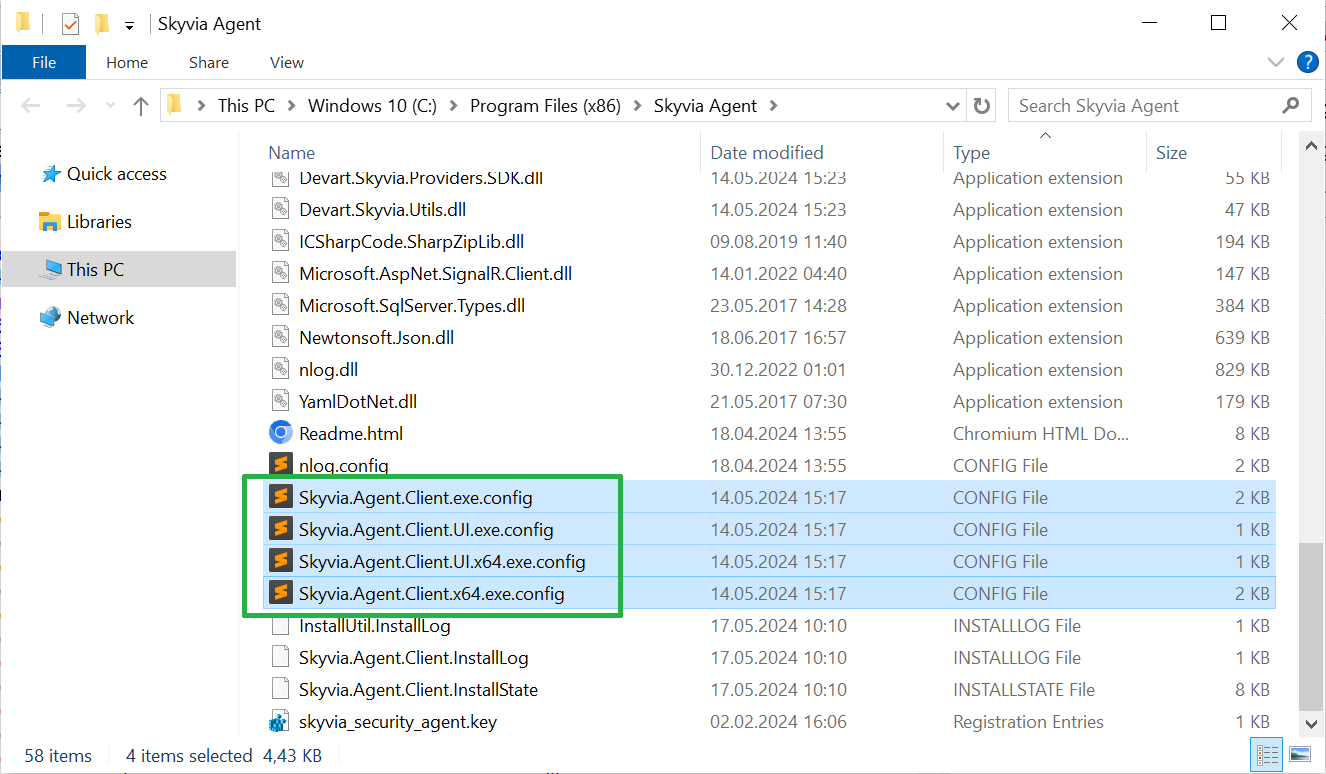
After installing the agent, the Connect web service files are located in the in the Connect subfolder of the installation folder. By default, C:\Program Files (x86)\Skyvia Agent\Connect
1. Check Settings in *.config Files
Make sure that the serviceAddress value in the Agent configuration file matches the value in the web.config file of the Connect web service. Depending on the agent version you use, the configuration file may be one of the following:
- Skyvia.Agent.Client.exe.config
- Skyvia.Agent.Client.UI.exe.config
- Skyvia.Agent.Client.UI.x64.exe.config
- Skyvia.Agent.Client.x64.exe.config
If the serviceAddress value is different, update it so that it is the same in both:
- the agent configuration file
- the Connect web.config file
The default value is "localhost:9292", where:
- localhost is the standard net domain name, reserved for the local computer
- 9292 is the port used by the connection.
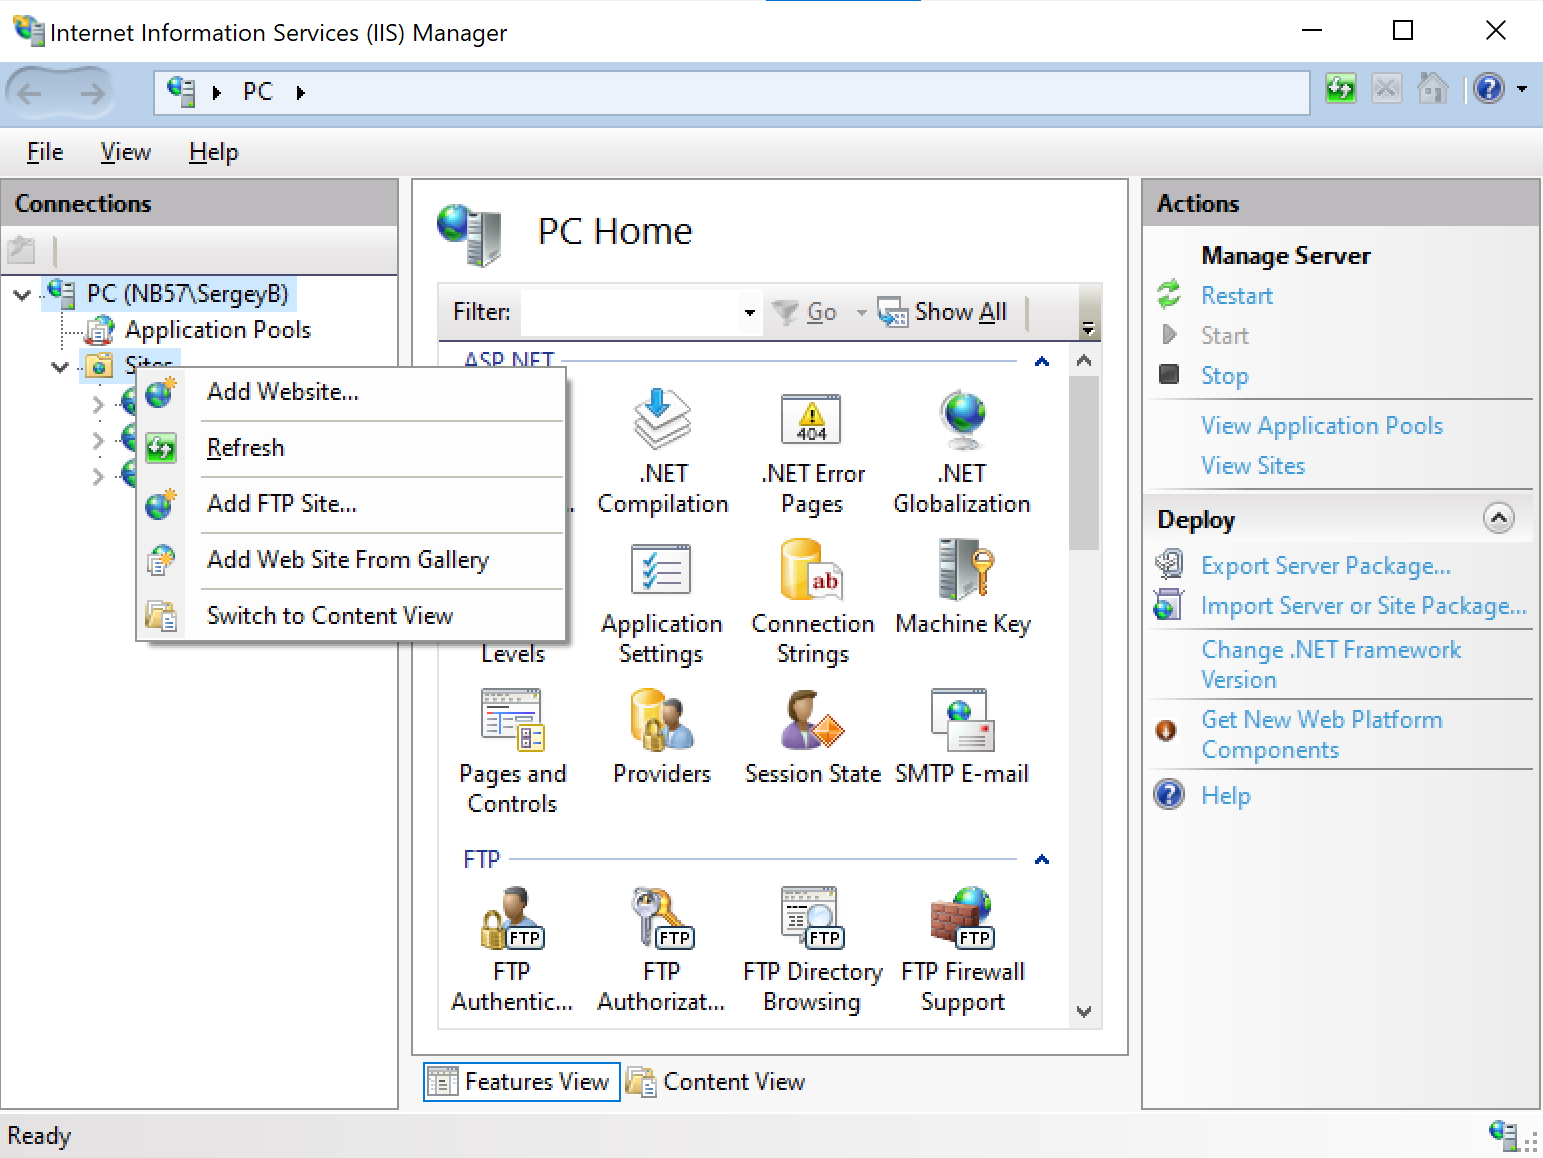
2. Set Up Connect as IIS Web Service
After this, set up Connect as an IIS web service. For example, you can do it in the following way:
-
Add a new website.
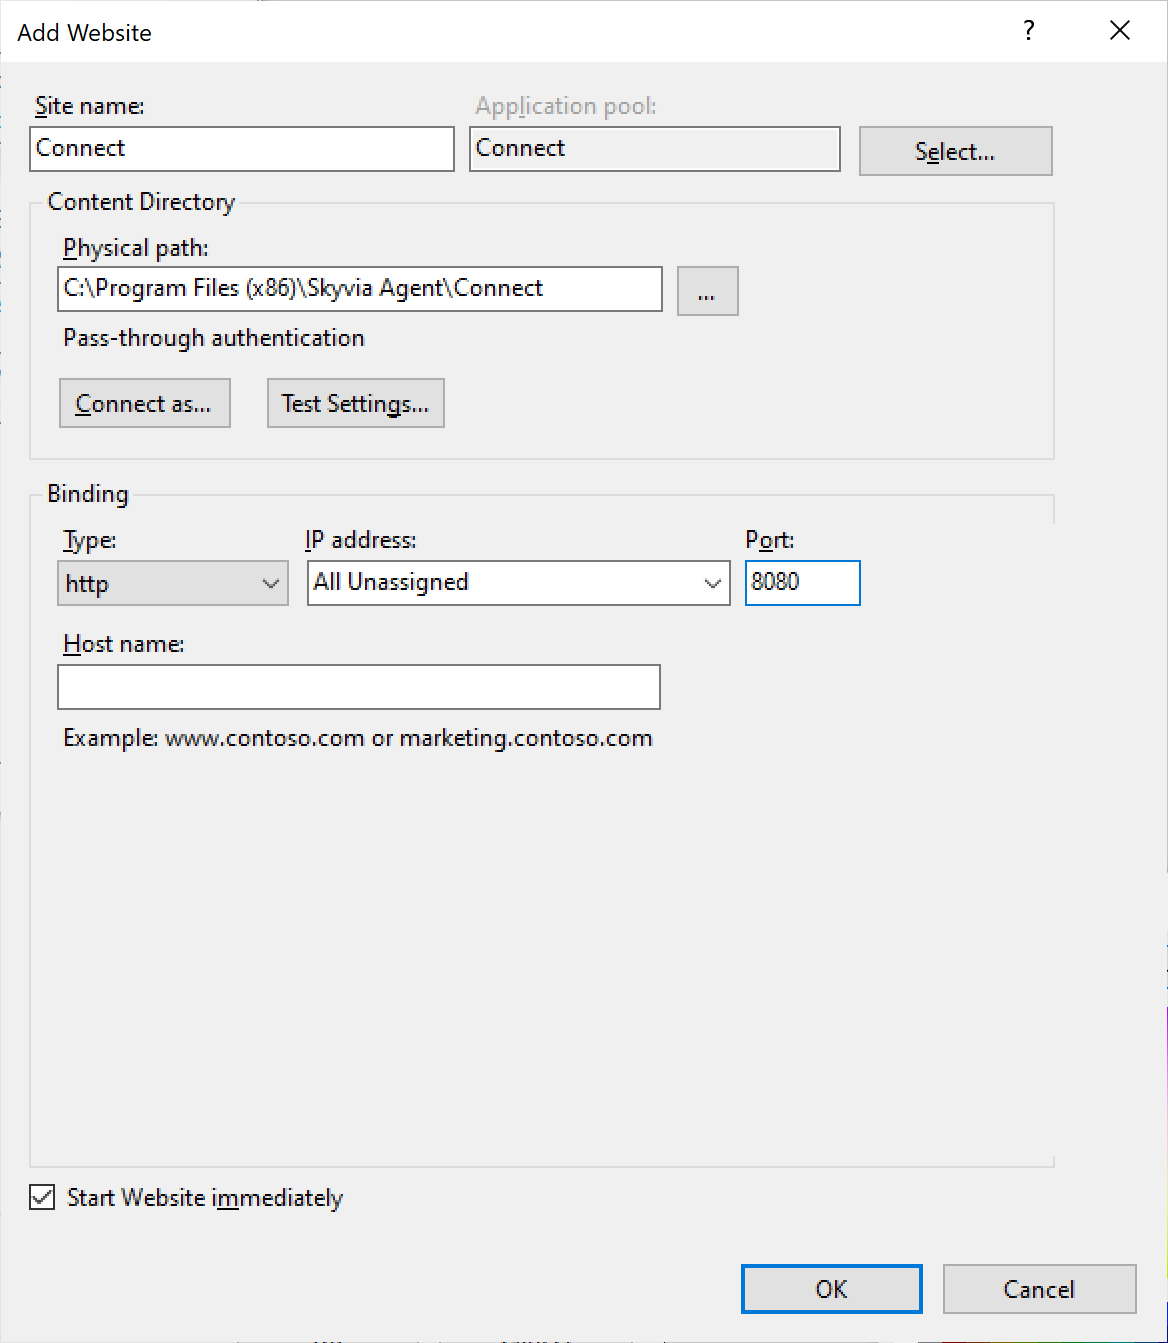
-
Specify the website settings:
- Site name — any name (e.g., Skyvia Connect)
- Physical path - the Connect folder from the agent installation directory
- Port - the port by which the endpoint is available, for example, 8080.
-
Make sure the Skyvia Agent application is running.
-
Open the web site in the browser to verify it works. For example, you can open a test page http://localhost:8080/healthcheck/ping
Endpoint URL
Each endpoint has a unique token. To get it, copy the endpoint URL from the endpoint overview page on Skyvia.
For example, https://connect.skyvia.com/o0913b7q
The token is the part after the domain: o0913b7q
To access the endpoint, append the token to the address of your local Connect service. For example:
- Local service address: http://localhost:8080/
- Token: o0913b7q
The result endpoint URL: http://localhost:8080/o0913b7q/